Plant a lasagna bulb pot for fantastic spring colour
As an Amazon Associate I earn from qualifying purchases
This year I am also doing it with an old wheelbarrow so a little bit of upcycling too. There are no rules about what you can use as a pot, just make sure it has drainage holes.

This page contains affiliate links meaning I earn a small commission if you use those links at no cost to you. I only recommend brands I use and trust.
What will you need?
Pot or container of some description with drainage holes – simple one from Amazon
Multi-purpose compost / soil
Selection of bulbs – I used crocus, miniature daffodils and tulips.
Grit/gravel for the top of the pot – optional
Plants to add winter interest to the pot – optional
Step 1:
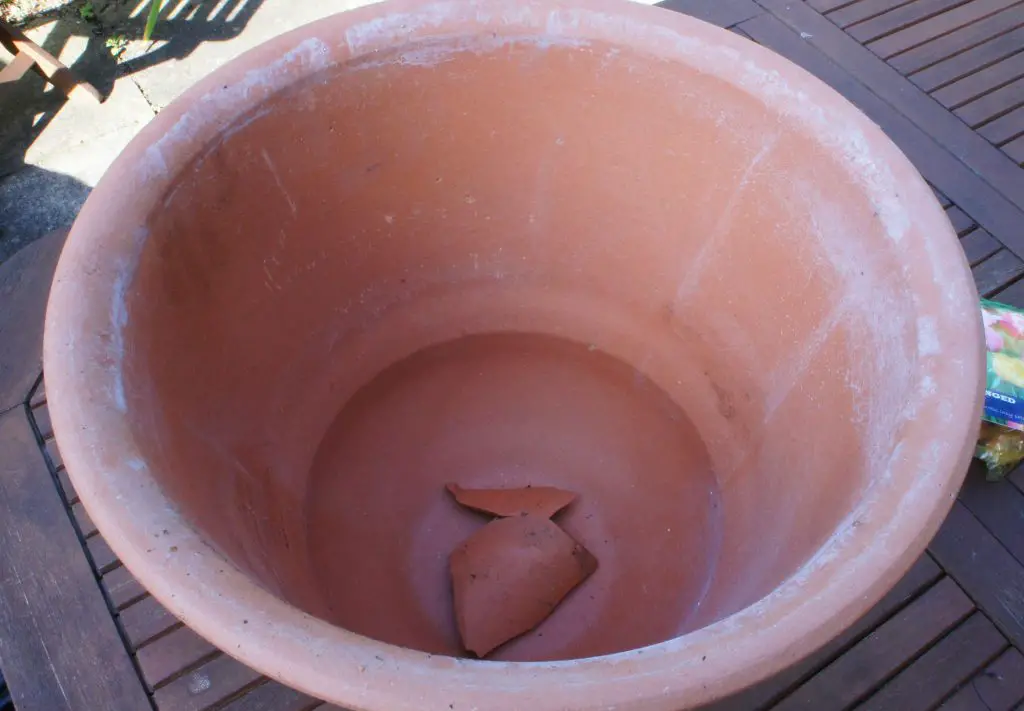
Make sure your pot has drainage holes and that they are not blocked. In this case I used broken pot pieces. Sometimes I use polystyrene from packaging that I have broken up. This also makes the pot a bit lighter.
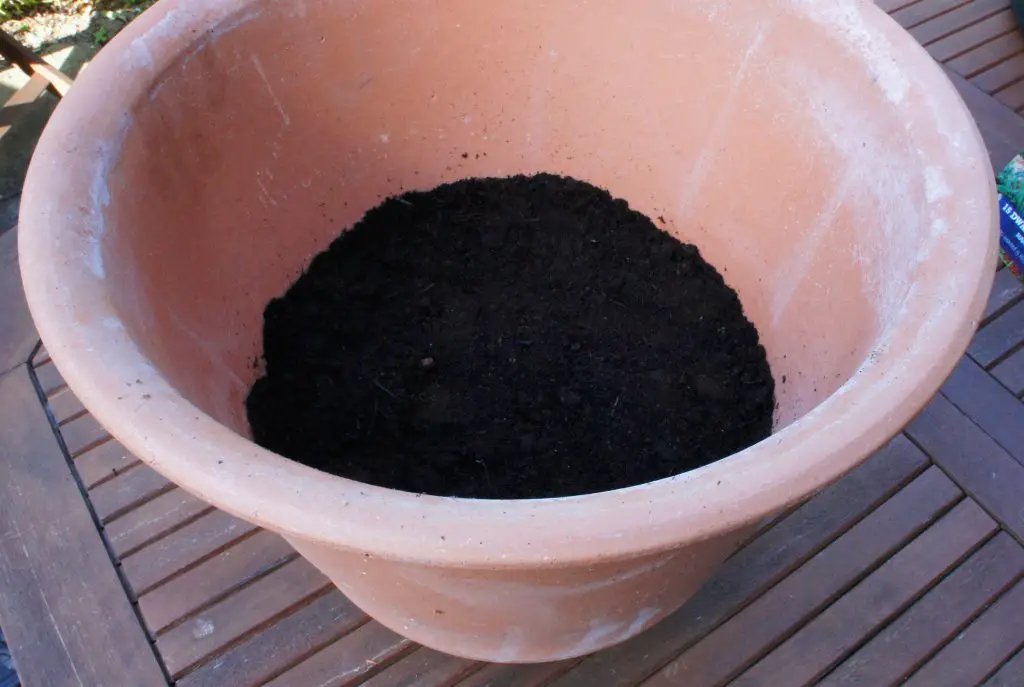
Next, add a thick layer of compost. This is the compost that your first layer of bulbs will grow into.
Step 2:
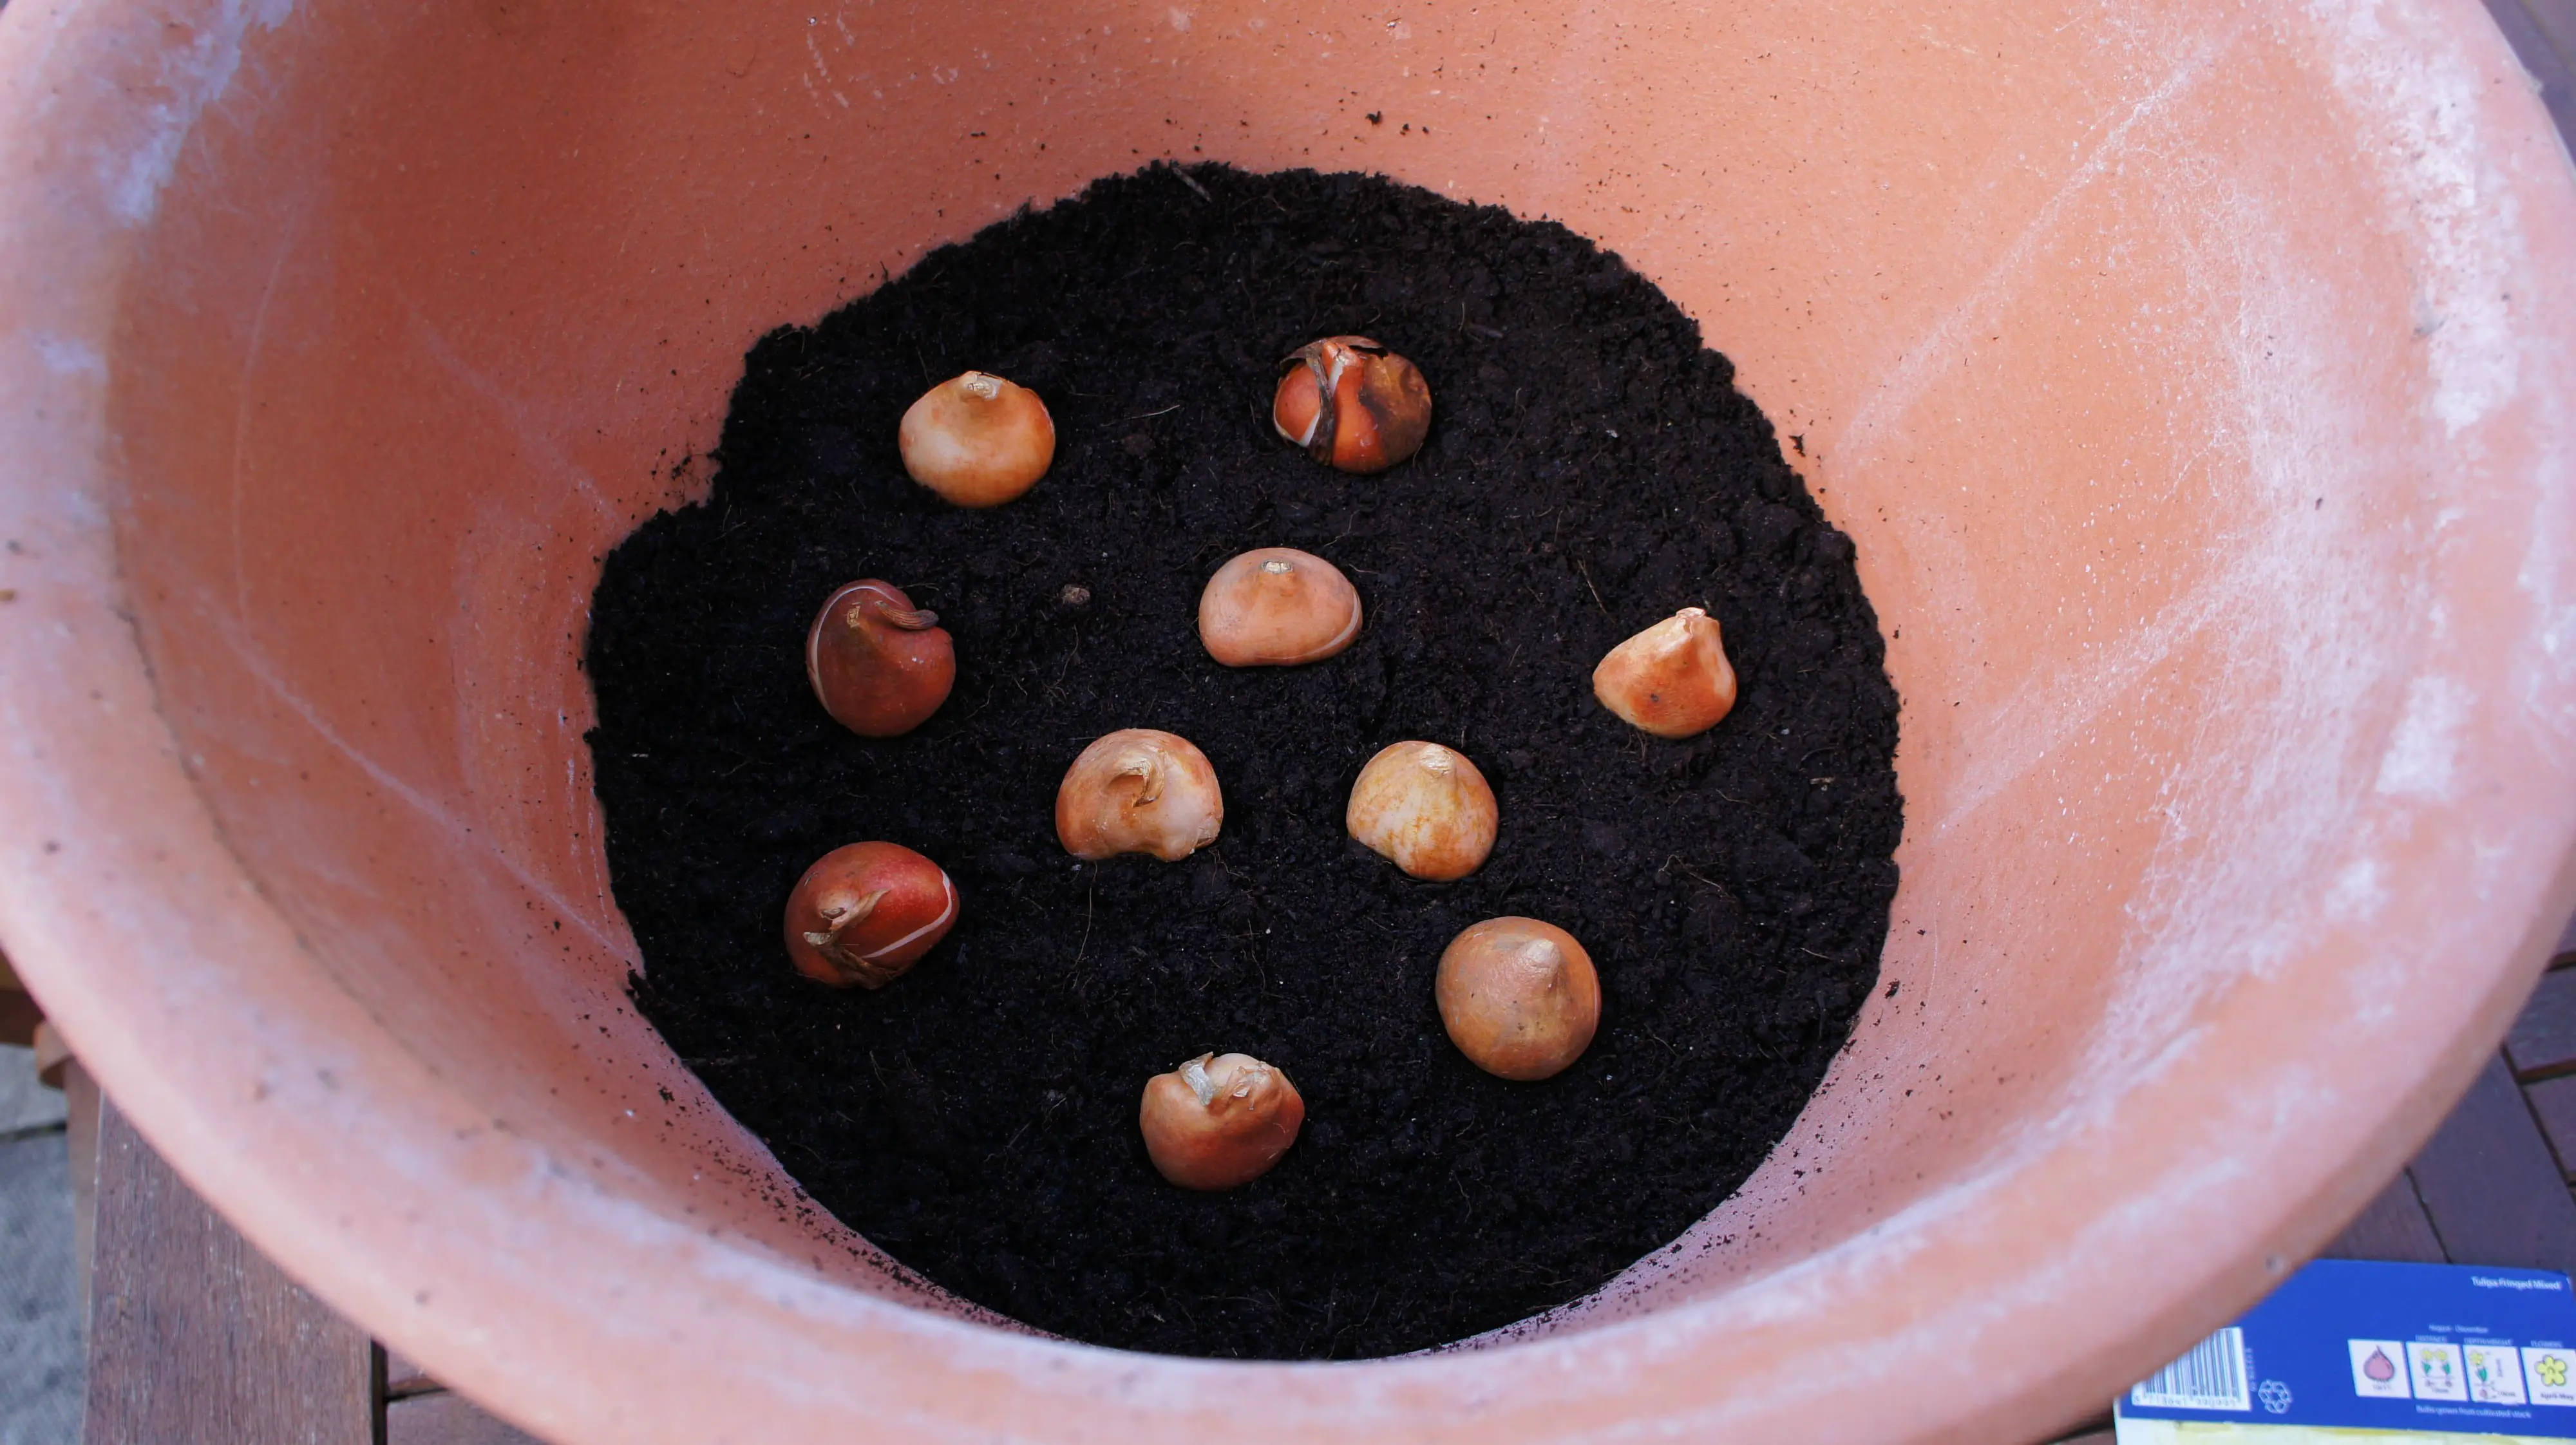
Position your largest bulbs that flower the latest around the compost. I have planted tulip bulbs.
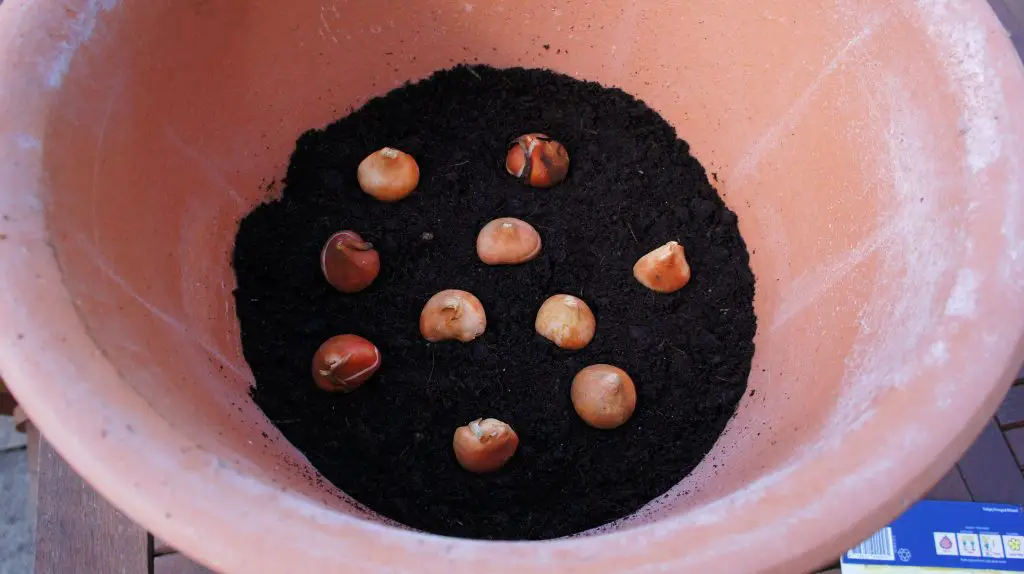
Cover the bulbs with another thick layer of compost. In my case this was about 3″ to 4″ (7.5cm to 10cm).
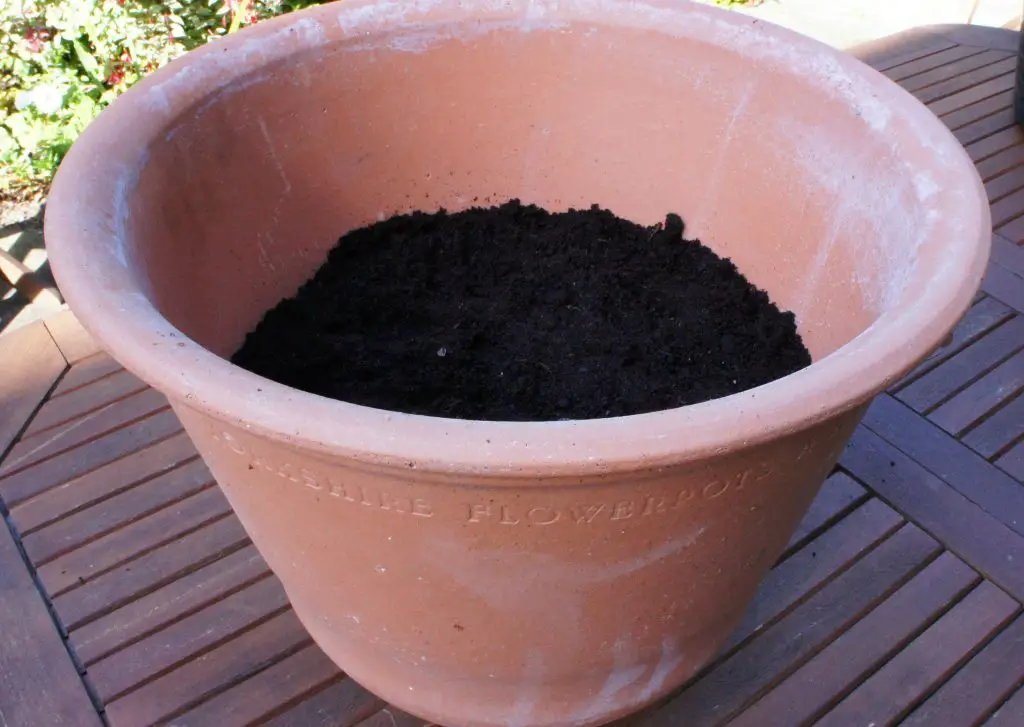
Step 3:
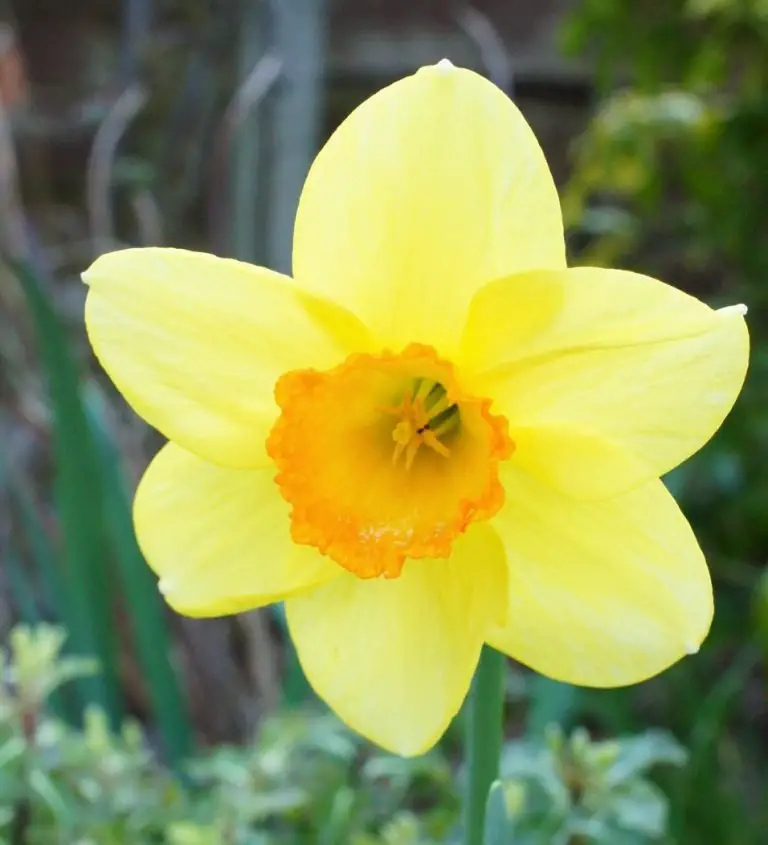
Add your next layer of bulbs. In my case these were dwarf narcissi (daffodils). Do not worry too much about whether they may be directly over the other bulbs, they will grow around each other.
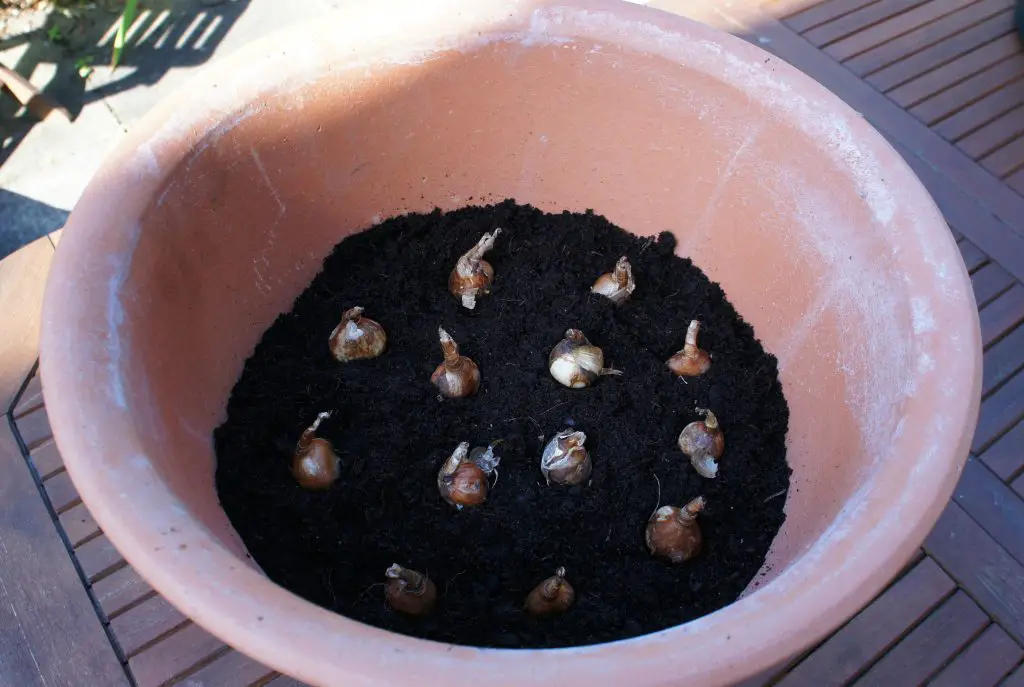
Once again, cover with a thick layer of compost.
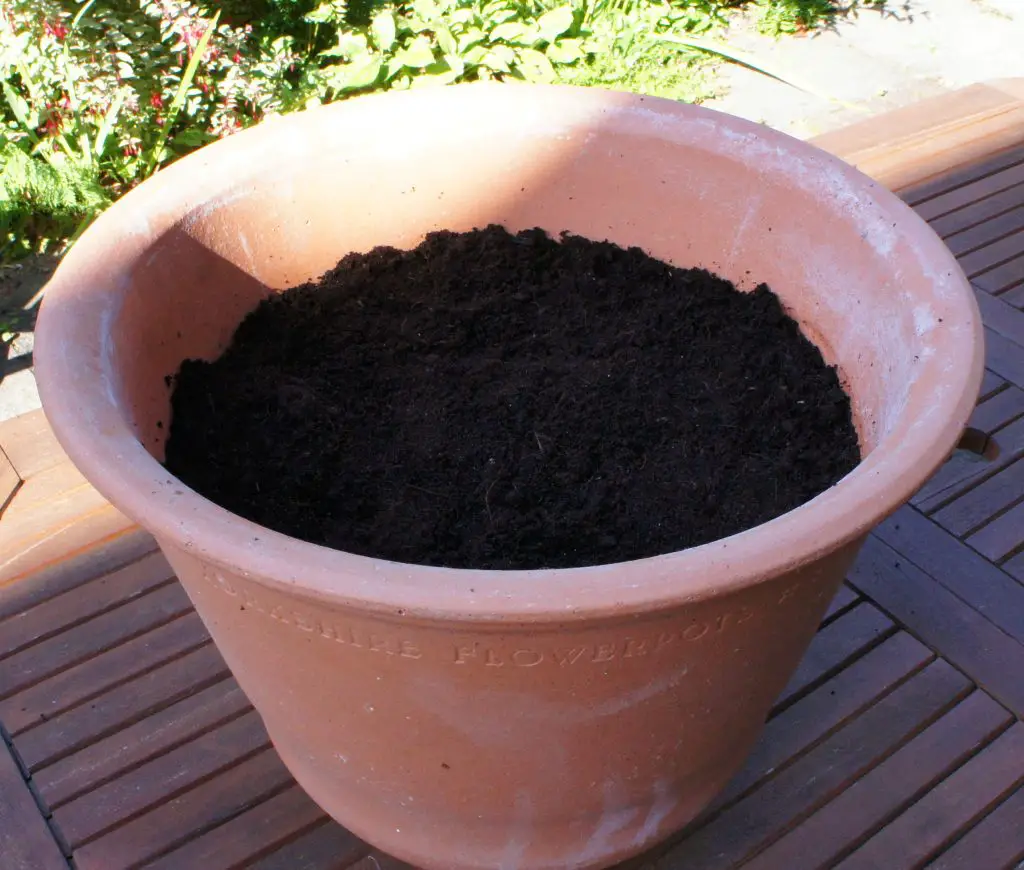
Step 4:
Add your final layer of bulbs, crocus on this layer for me. They will be up and flowering early in the spring and be very welcome after the winter.
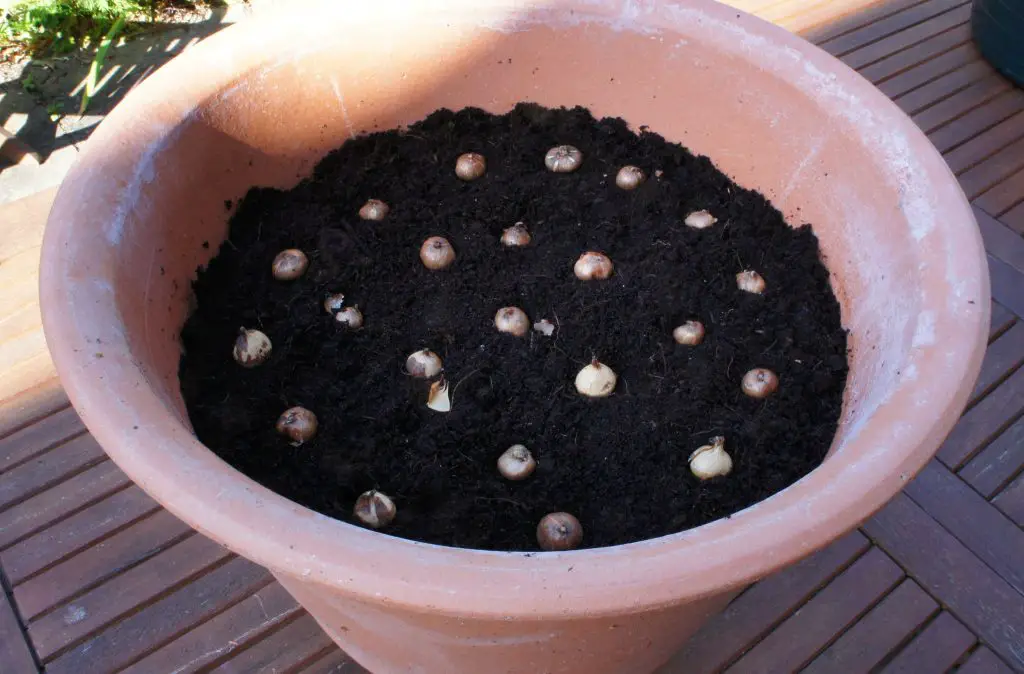
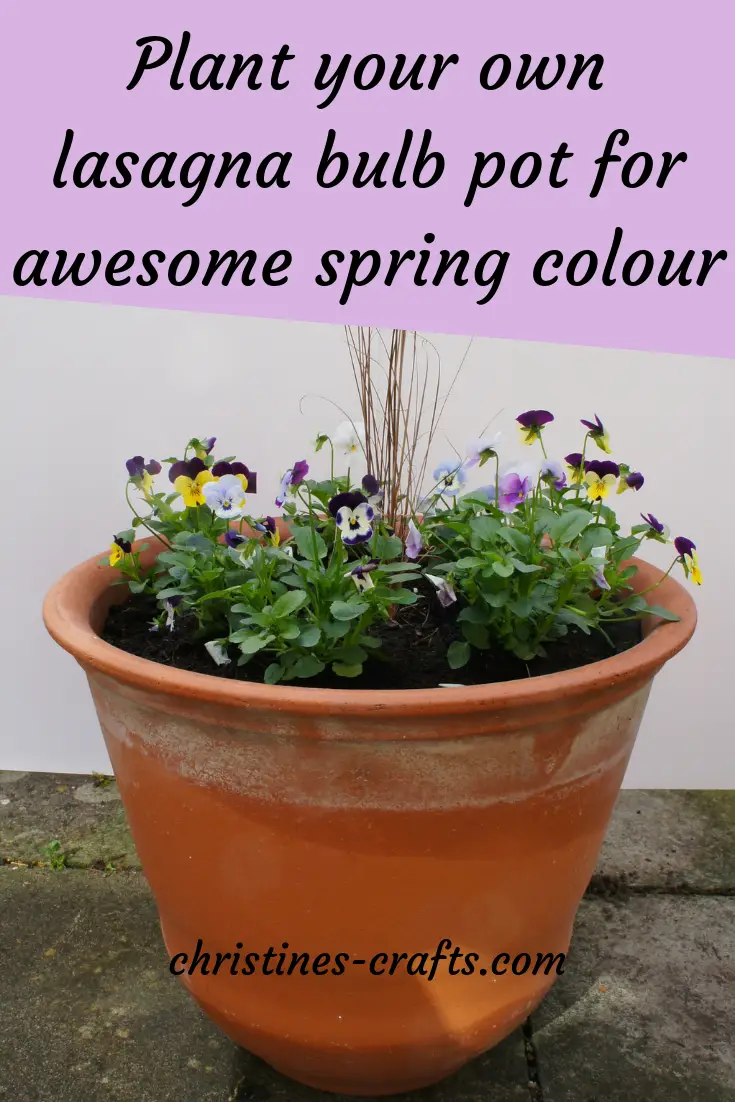
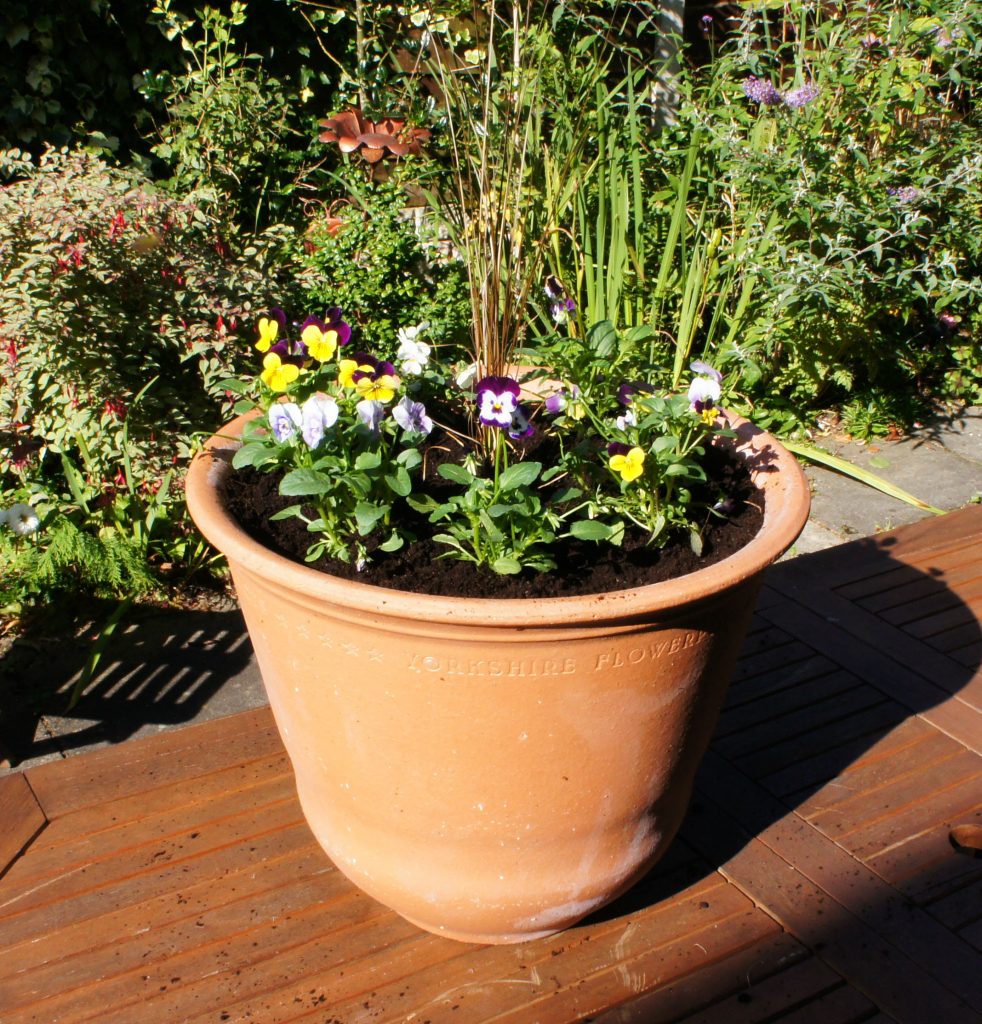
Finally add another thick layer of compost. Then decide whether to cover this compost with gravel or grit to provide a decorative cover for the winter or to add some plants for interest. I chose to add violas for instant colour and a carex grass to guarantee some interest all winter.
Now all you have to do is decide where to position your lasagna bulb pot for maximum enjoyment. I will be keeping mine up near the house to protect it from any harsh frosts and so that I can see it every day!
If you are keen to prepare your garden in autumn/fall then take a look at my other posts:
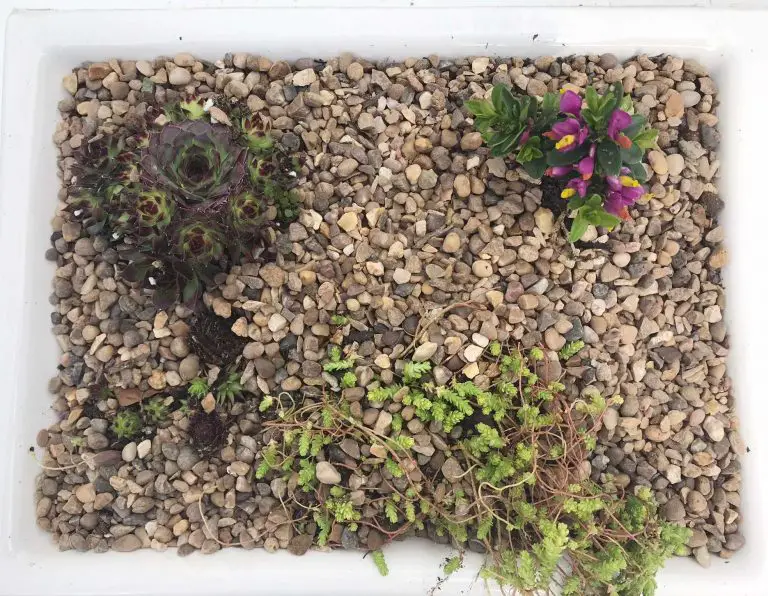
Upcycle an old Sink with Fabulous Planting
How to make your own leaf mould
Secrets of successful sweet peas – plant in autumn/fall
Top gardening tasks for September
Upcycle an old Chair into a Unique Succulent Planter
Remember to pin this article on Pinterest for later and you can follow me on there for more great ideas collated just for you!
