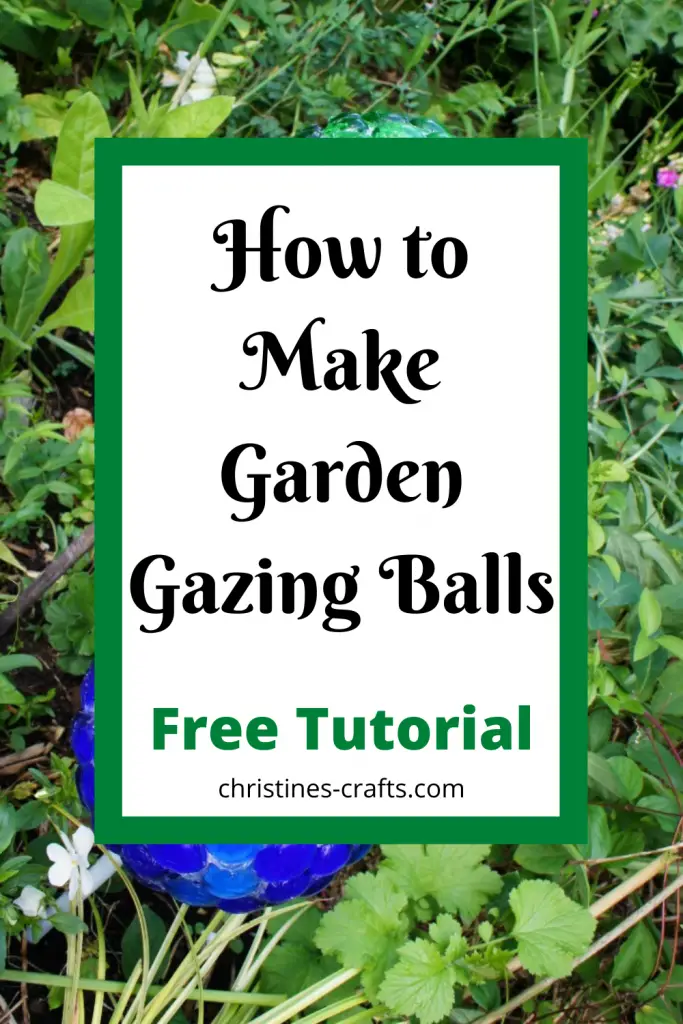
How to Make a Gazing Ball – DIY for your garden
As an Amazon Associate I earn from qualifying purchases
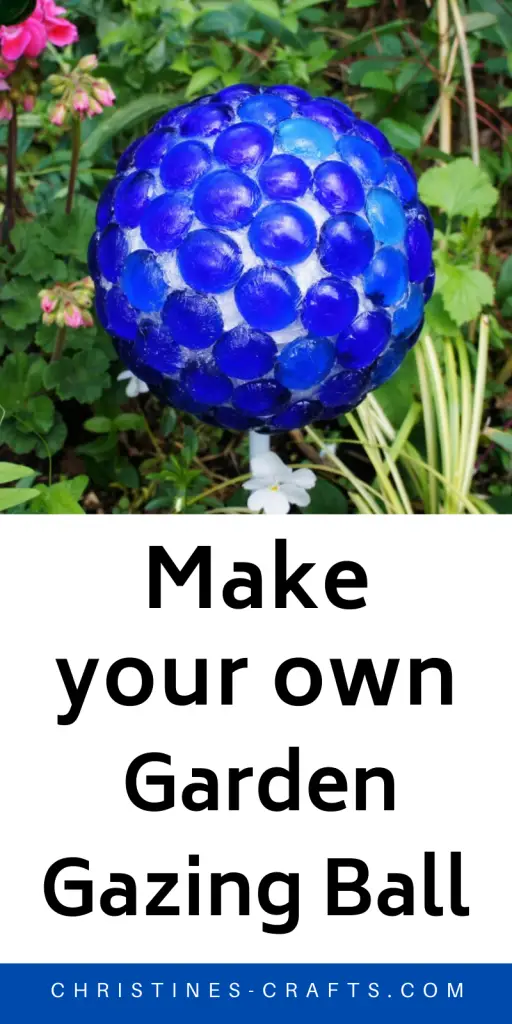
I am sure you have seen a gazing ball or glass sphere in gardens and probably thought how effective they are. Generally people now place them strategically in their garden to look pretty but originally they had a use. They were considered good luck and they were supposed to ward off evil. If you want to know more about the history of gazing balls then take a look at this Wikipedia page.
I have seen some fabulous examples of gazing balls or gazing globes if you prefer. They are often made from blown glass and can have pretty iridescent effects in them. There are also stainless steel versions which are very striking. Unfortunately they are rather expensive and this blog is all about crafting and gardening on a budget so we are going to make our own.
If you already have a hot melt glue gun then these are very cheap to make. The ball will cost you about $3 and the glass pebbles $10. If you shop around I suspect you will get the pebbles cheaper as I got mine in the UK for £2.50!
This page contains affiliate links meaning I earn a small commission if you use those links at no cost to you. I only recommend brands I use and trust.
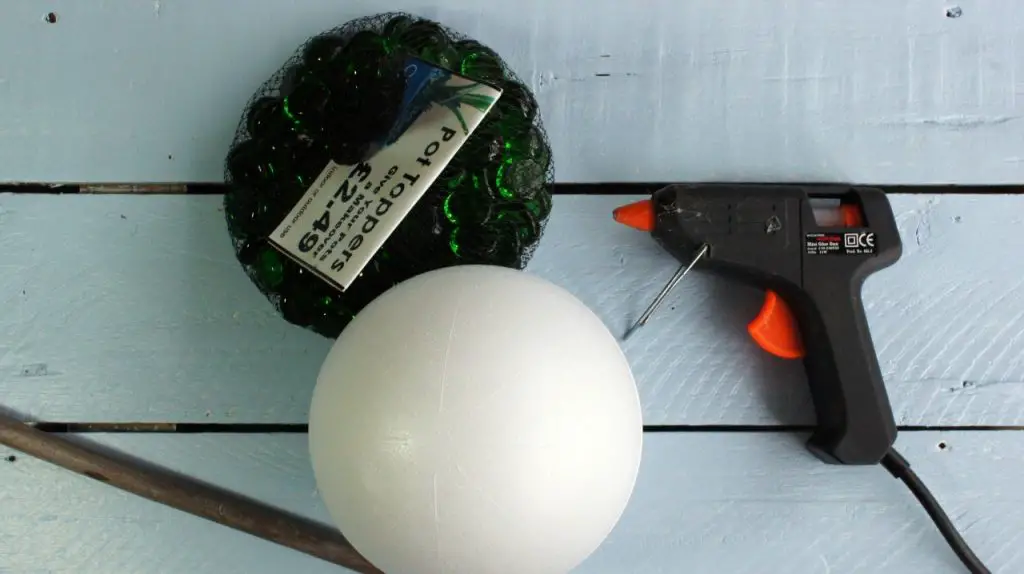
You will need:
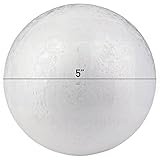
Polystyrene (styrofoam) ball (mine is 5″ (15cm) diameter)
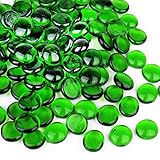
Glass beads / pebbles with one flat side
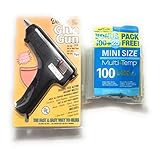
Hot melt glue gun and glue sticks
Garden cane (or similar)
Paint (optional)
Clear Silicone Sealant (optional)

If you like to watch how to make things then take a look at this video and see exactly how I made my gazing balls.
This video is also available on my YouTube channel.
Step 1 – Painting (optional step)
I have included this step even though I did not do it with this gazing ball. I did make a blue ball and painted that a pale blue. However if you want a dark ball then painting it first with a paint suitable for polystyrene will give a stronger effect. Just check that your paint is suitable as many spray paints in particular damage polystyrene.
Step 2: Glue beads to half of the gazing ball
Place your polystyrene sphere into a pot or bowl to hold it steady. I used a ramekin dish for mine. Now simply glue your glass beads onto the sphere. Start with the top of your sphere and work your way down and around the sphere. If you work steadily around it then it will not try to slide around as it gets heavier on one side.
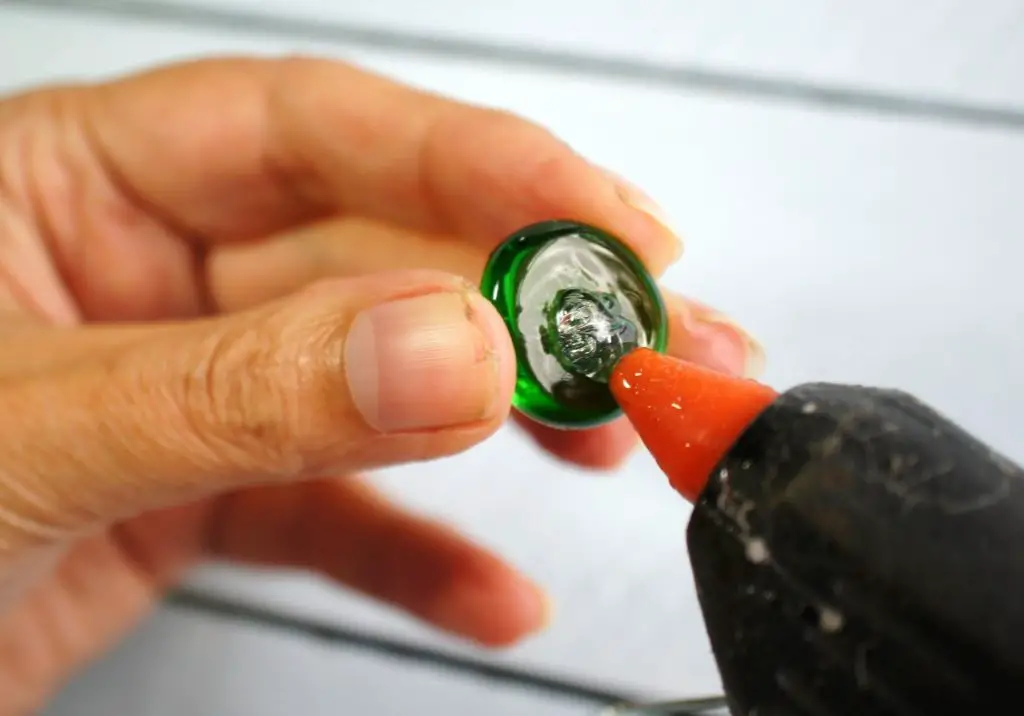
Remember to be very careful with your hot melt glue as it can burn your fingers if it gets onto them.
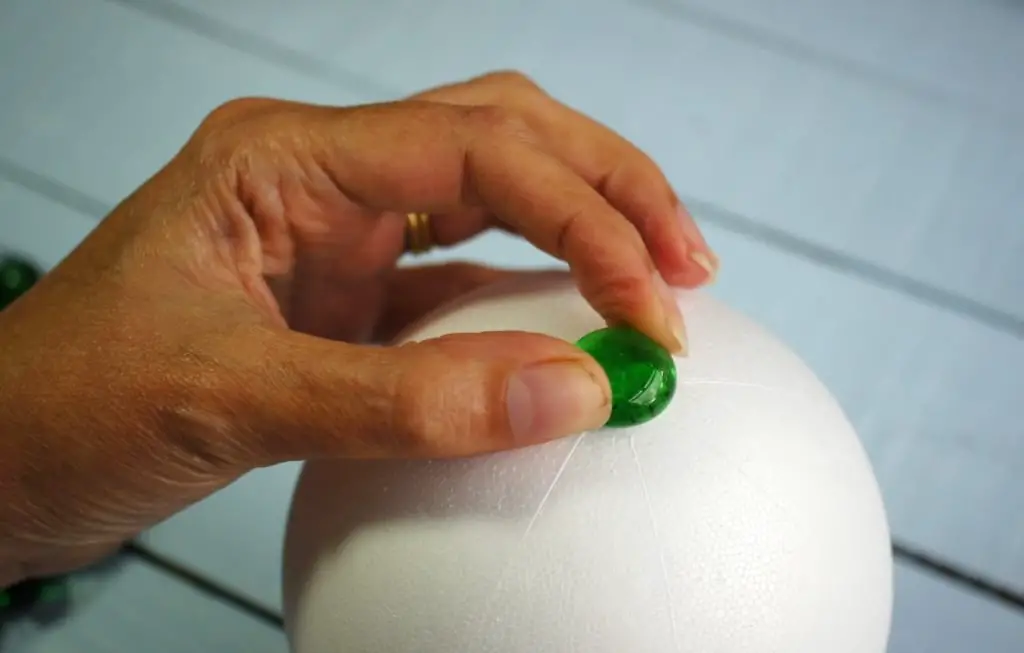
Apply your hot melt glue to each bead and glue it to the ball. Hold it for a moment so that it does not slide around the ball and then it will be fixed on very firmly. It does not take long.
Keep going. There will be gaps between your beads but do not worry. The overall effect will be stunning.
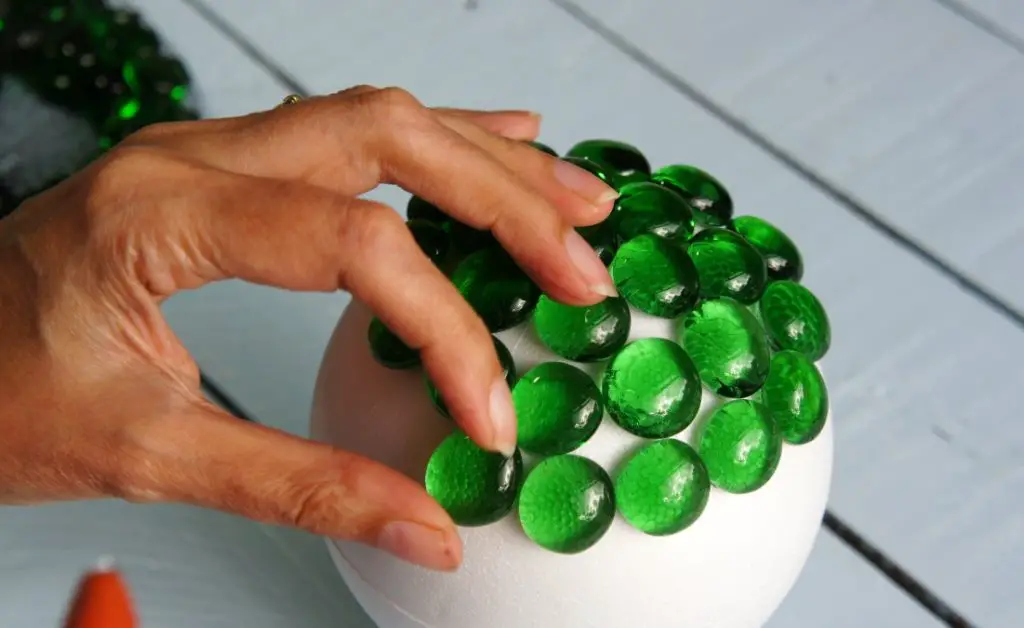
Once you get approximately half way around your ball simply turn it over.

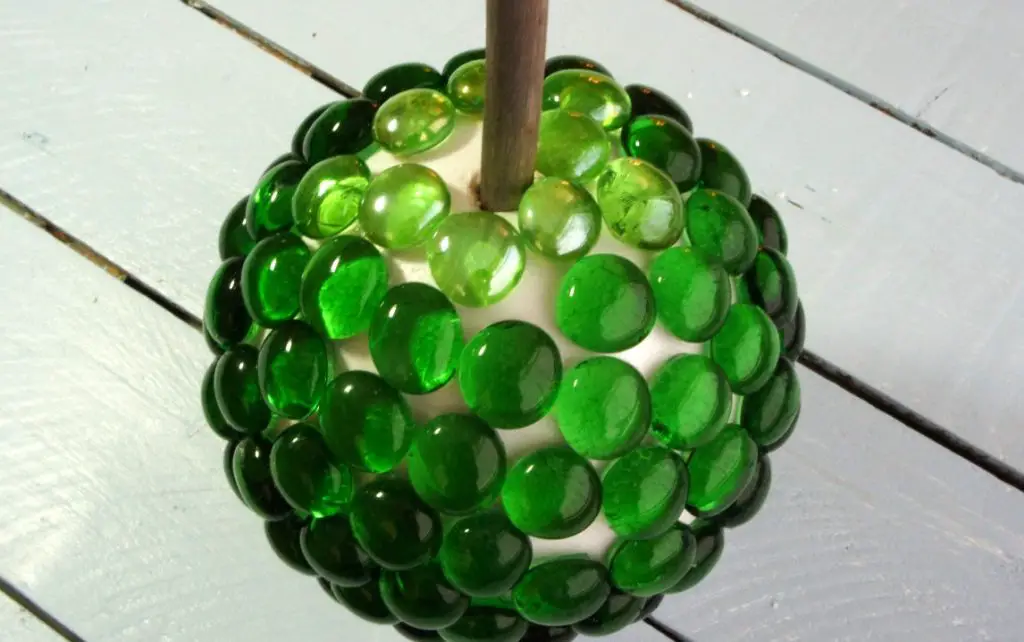
Step 3: Add a stick to your gazing ball (optional step)
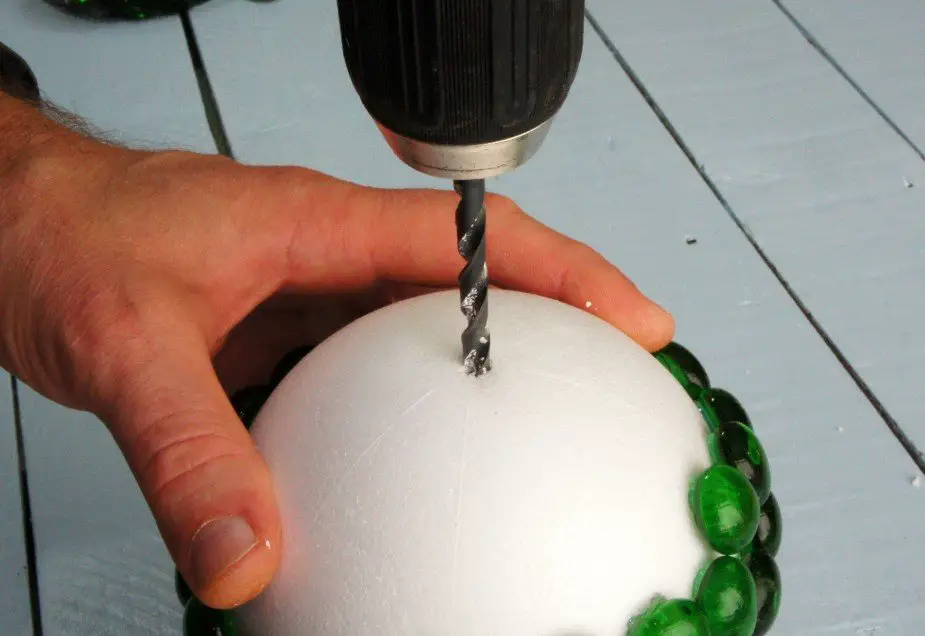
If you want to mount your gazing ball onto a stick then now is the time to add it in so that you know it fits. You must not cover the whole ball in beads and then decide to add a stick!
I found that forcing my stick into the polystyrene ball was difficult and I risked damaging the ball so I drilled a hole first. If you decide to drill a hole make the hole slightly smaller than the stick so that it will be a snug fit.
Insert the stick into the ball.
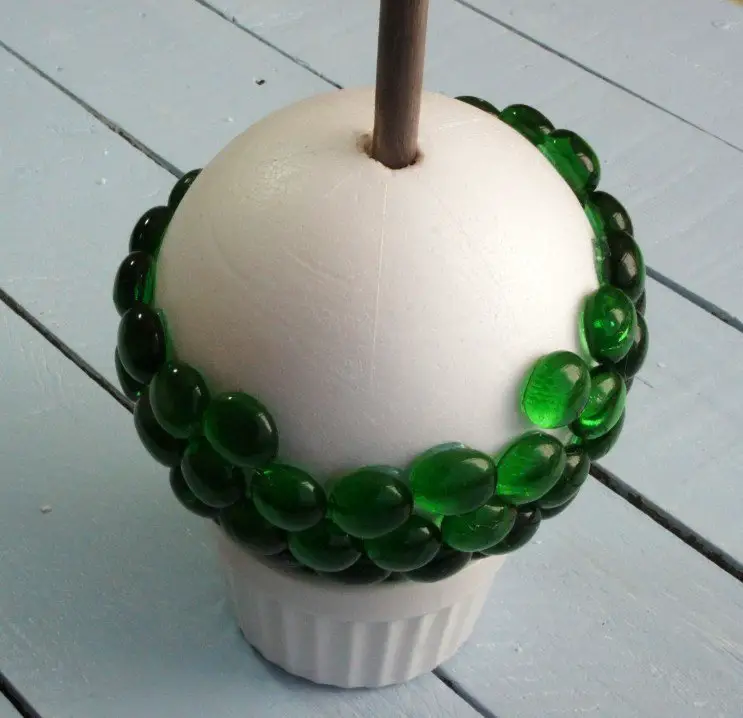
Step 4: Glue remaining beads onto your gazing ball
Continue adding your beads to the ball. Having the stick in place will stop you getting carried away and covering the hole!
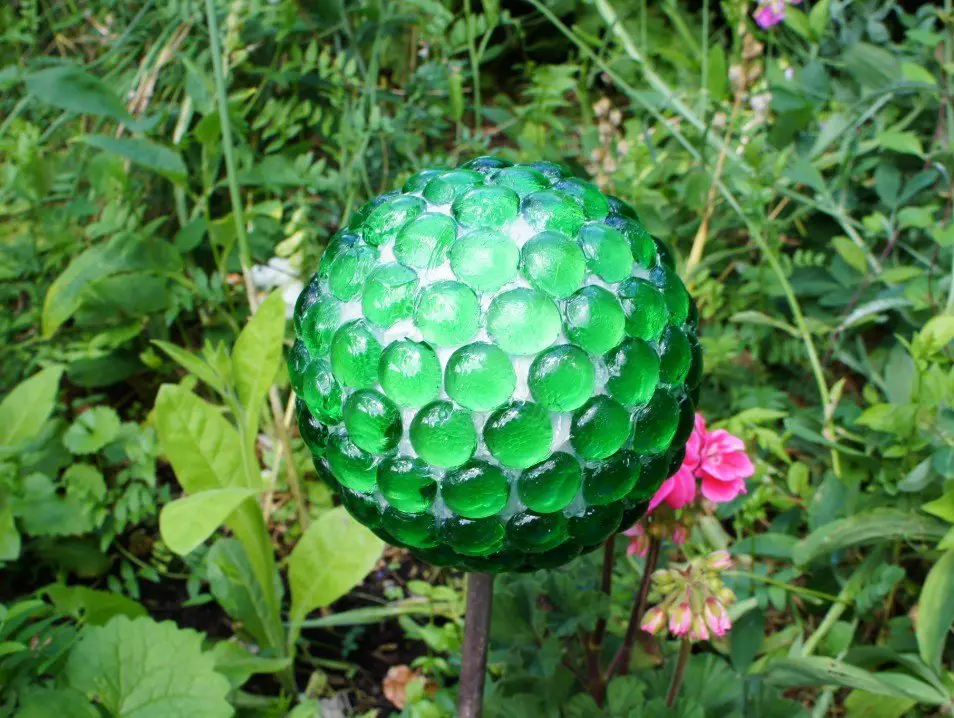
Once your ball is covered you can consider it finished and place it wherever you want it. However, if you want to make it more weather resistant continue to step 5.
Step 5: Add clear silicone sealant to your gazing ball
In order to make your ball more weather resistant you can cover it in clear silicone sealant. Even then I will be bringing mine in for the winter!
Firstly remove the stick from the ball and place it in your ‘stand’ (my ramekin dish) with the top of the ball facing upwards. Now carefully apply your sealant to the whole top half of the ball. Warning: You need to be in a well ventilated area and it is beneficial to wear protective gloves to protect your hands.
Leave it to dry overnight. The next day turn the ball over and put your stick back in (if appropriate). Add sealant to the rest of the ball and leave it to dry.
Summary
You are now finished. Decide on your chosen location and enjoy your brand new gazing ball.
I have made 3 balls. Two of them are mounted on sticks to give some height and one of them is simply on the ground. I think that they look super effective as a group.
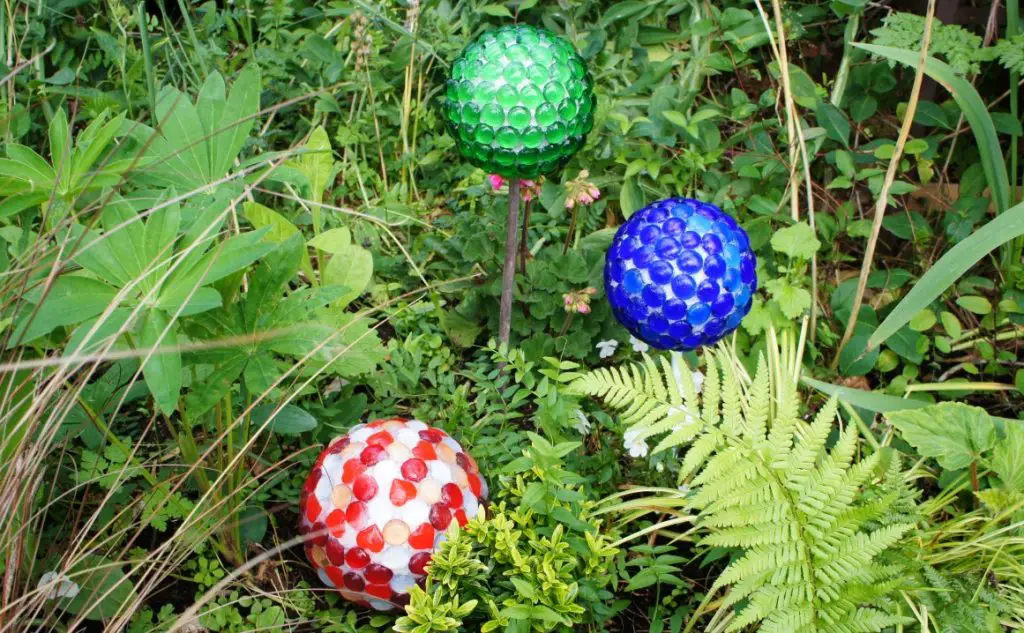
You could also consider covering other spheres / balls with glass spheres. What about an old bowling ball? Look around and see what you can find.
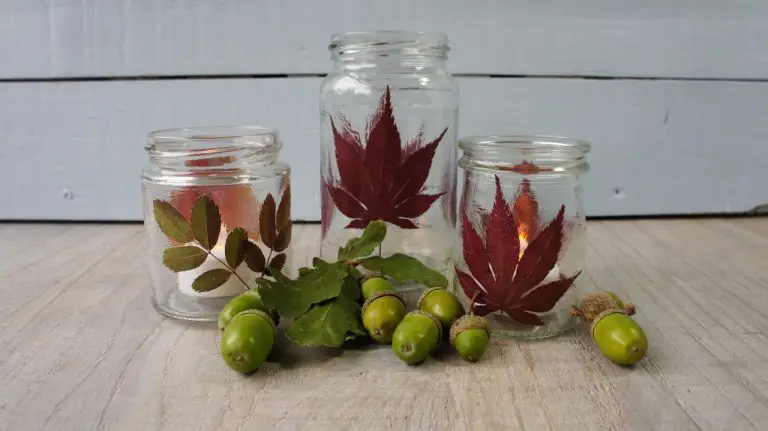
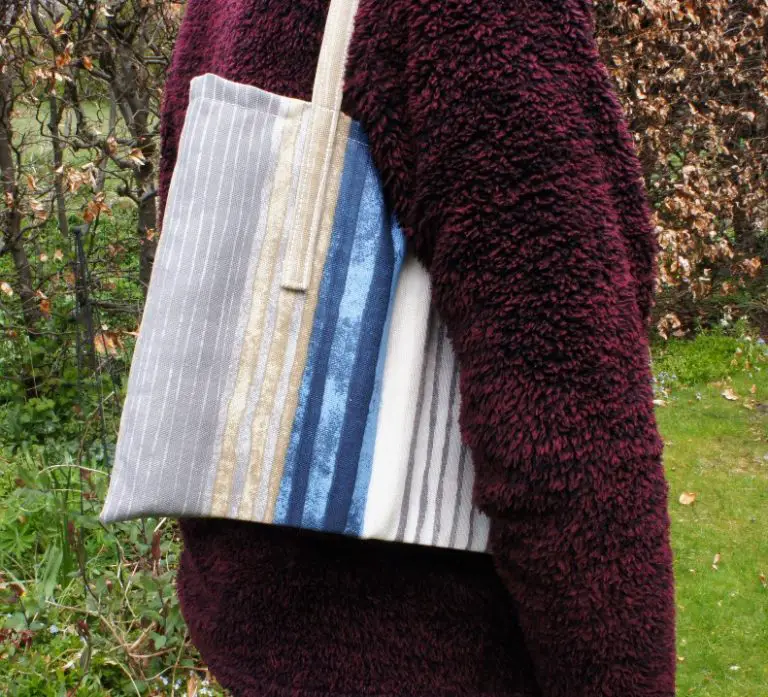
In this tutorial I have combined my love of crafting with my love of gardening. If you want some more ideas on crafts for the garden then take a look at:
I hope that you have enjoyed making your gazing ball but if you haven’t made yours yet remember to pin this tutorial on Pinterest for later.