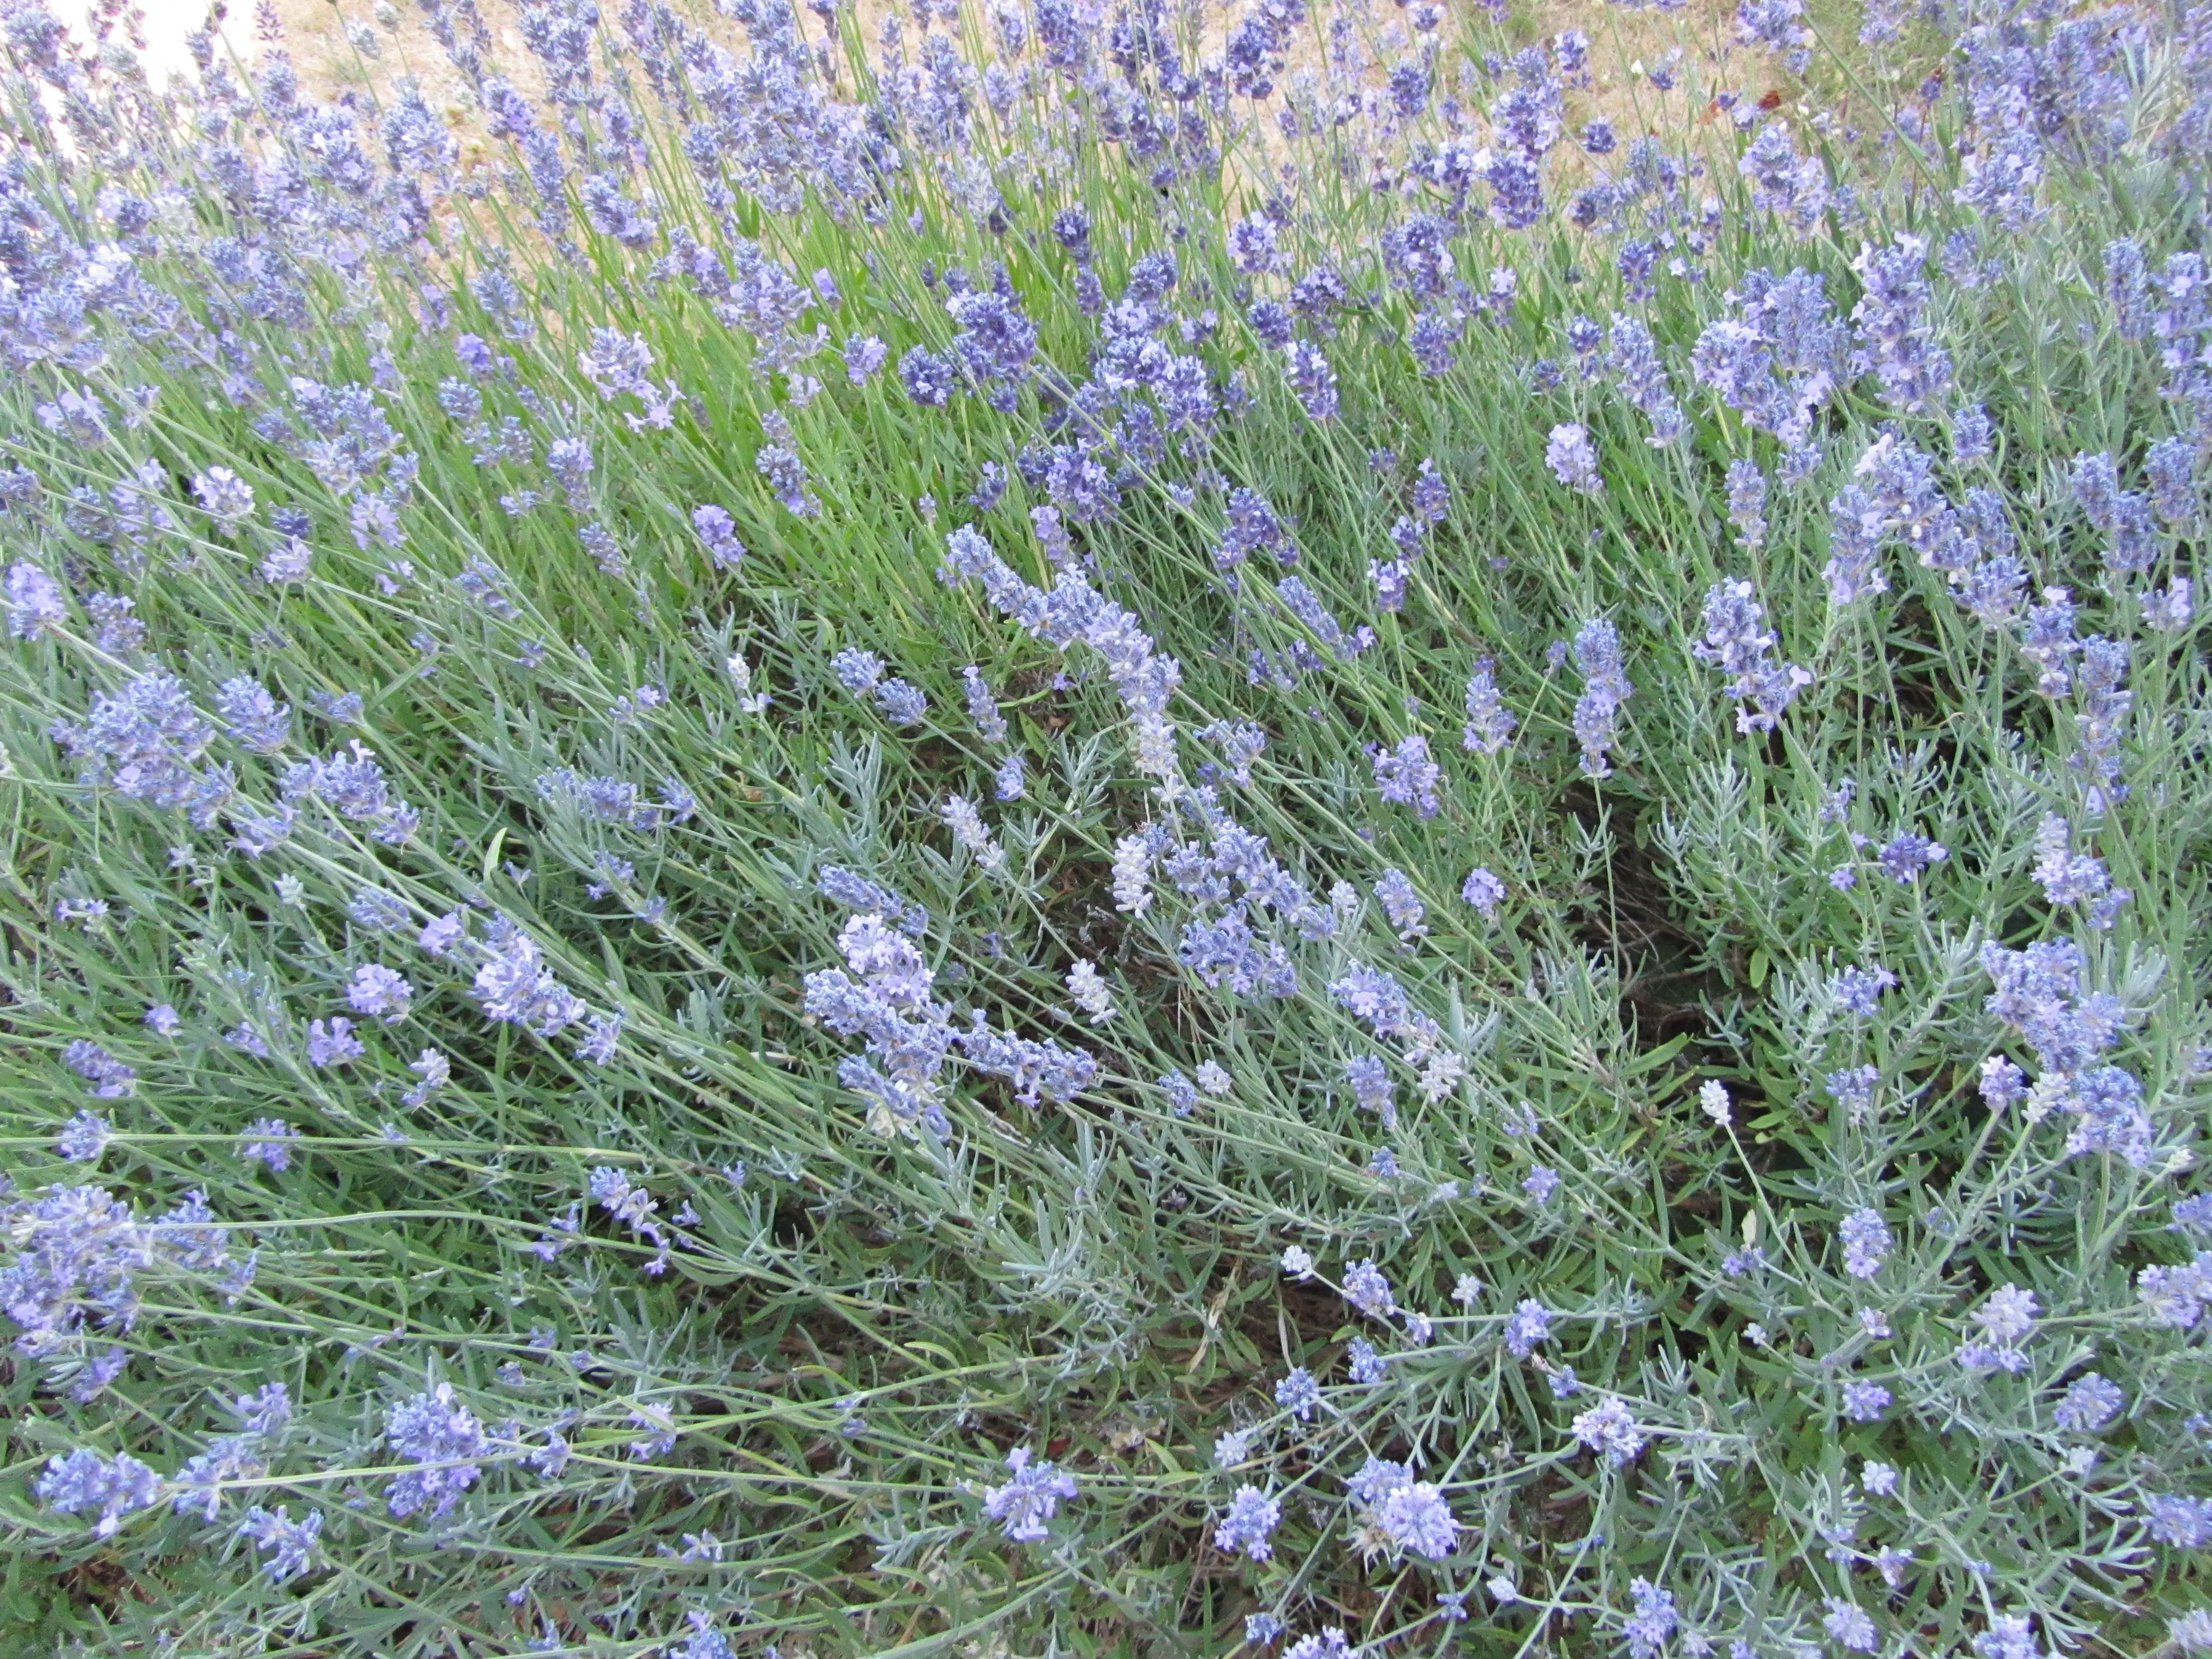
How to grow a Lavender Hedge for £1
As an Amazon Associate I earn from qualifying purchases

This page contains affiliate links meaning I earn a commission if you use those links at no cost to you. I only recommend brands I use and trust.
You Will Need:
This may look like a lot of expense but most gardeners have all these items and will just need to buy some seed (I paid £1). I used Munstead as I wanted a low hedge but you can select your favourite variety.
Step 1: Sow seeds
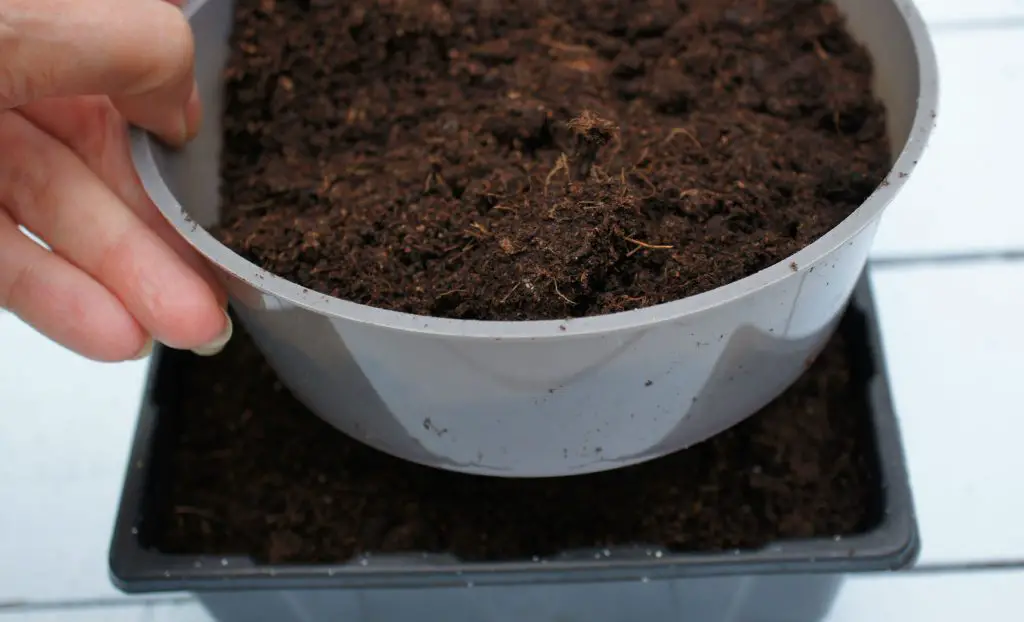
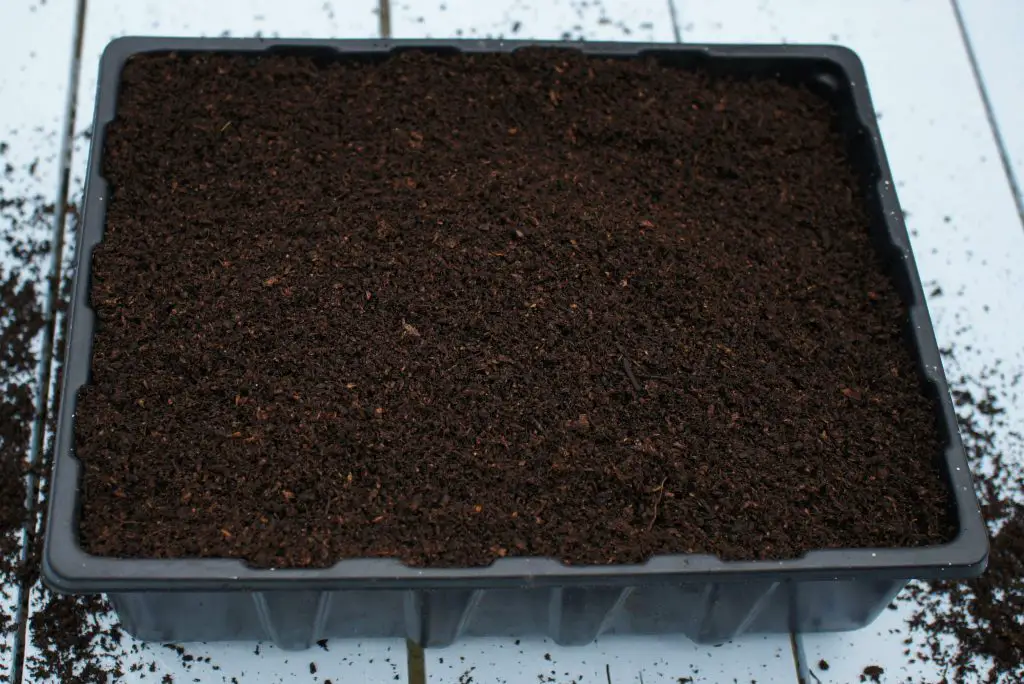
Between February and June (unless your seeds say a different time frame) sow your seeds in your propagator. Almost fill your tray with compost and then thinly sow your seeds.
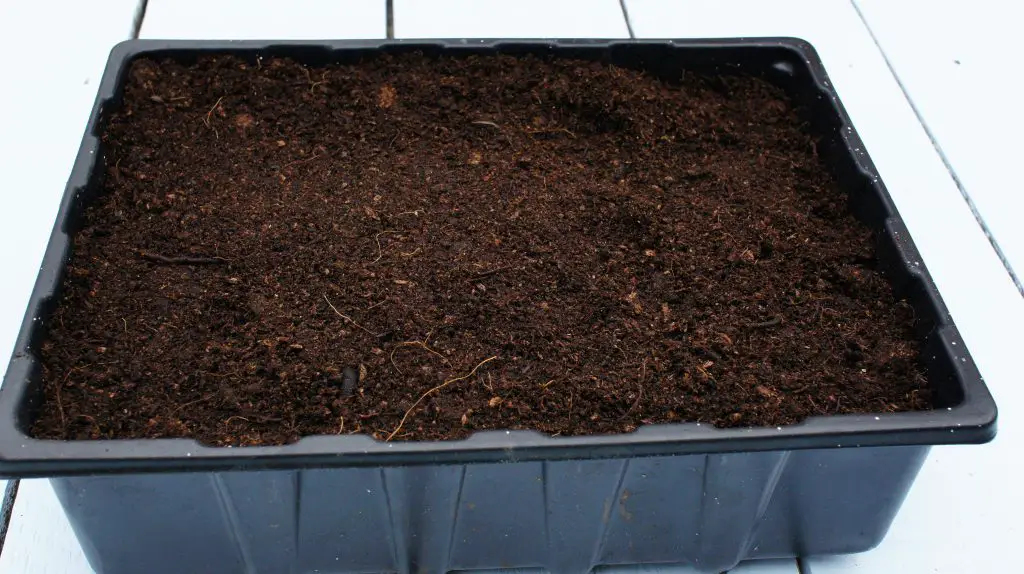
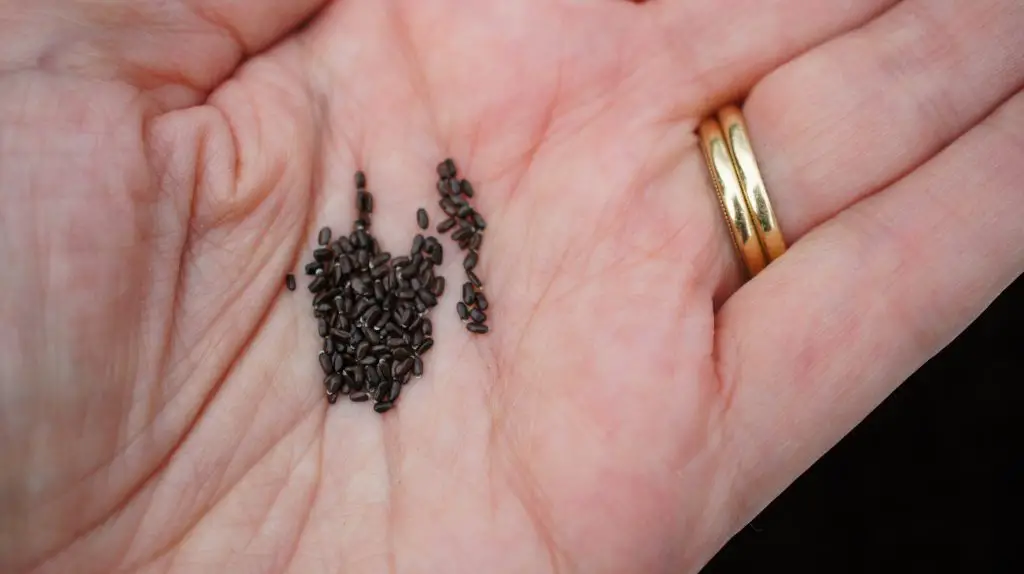
Cover the seeds with approximately 0.5cm (1/4″) compost. Firm the compost and water gently using a fine rose on your watering can.
Place the lid on your propagator and place it on a windowsill.
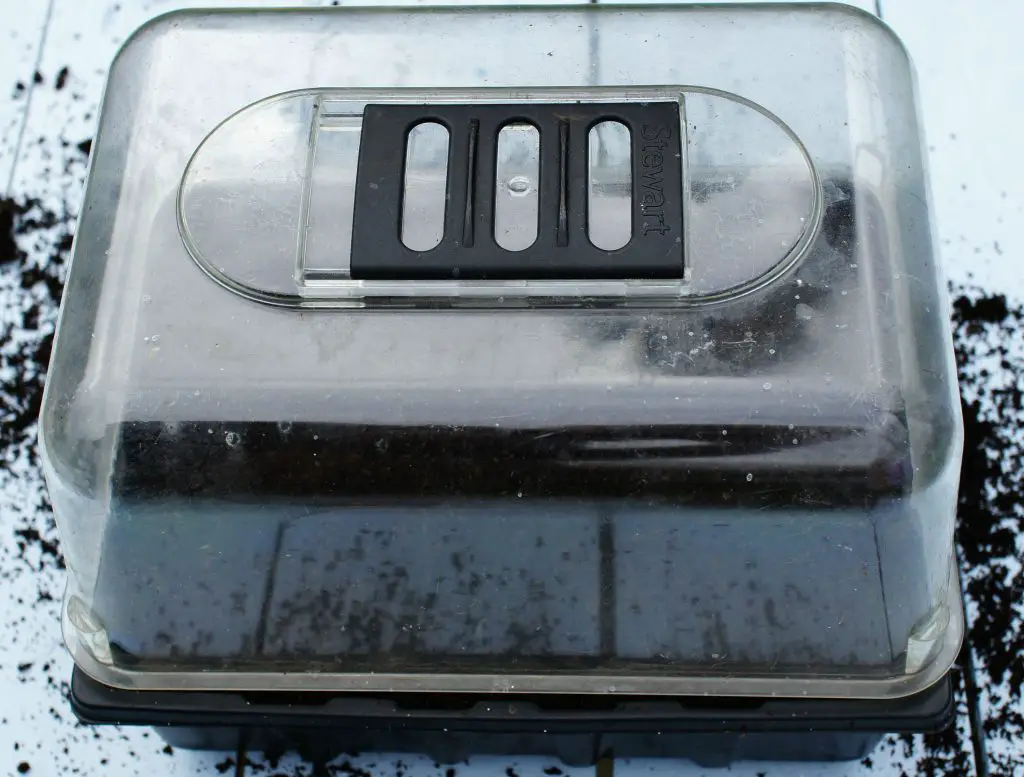
Apparently they should be kept at 10-15° (50-60°F) but I just place mine on a sunny windowsill in my utility room and they germinate really well. I also do not have bottom heat from a heat mat or electric propagator so I cannot comment on the use of those.
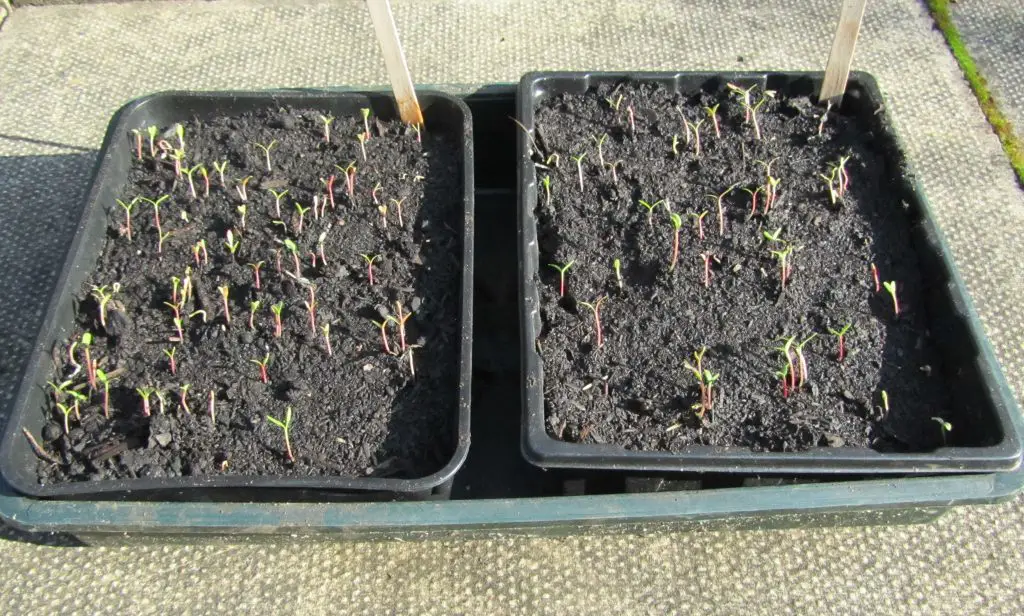
Keep an eye on your propagator and you should start to see seedlings within 21 – 35 days. Once they appear, remove the cover, keep them protected from the elements and keep them watered.
If you need any further guidance on sowing seeds take a look at Successful Seed Sowing.
Step 2: Transplant and grow on
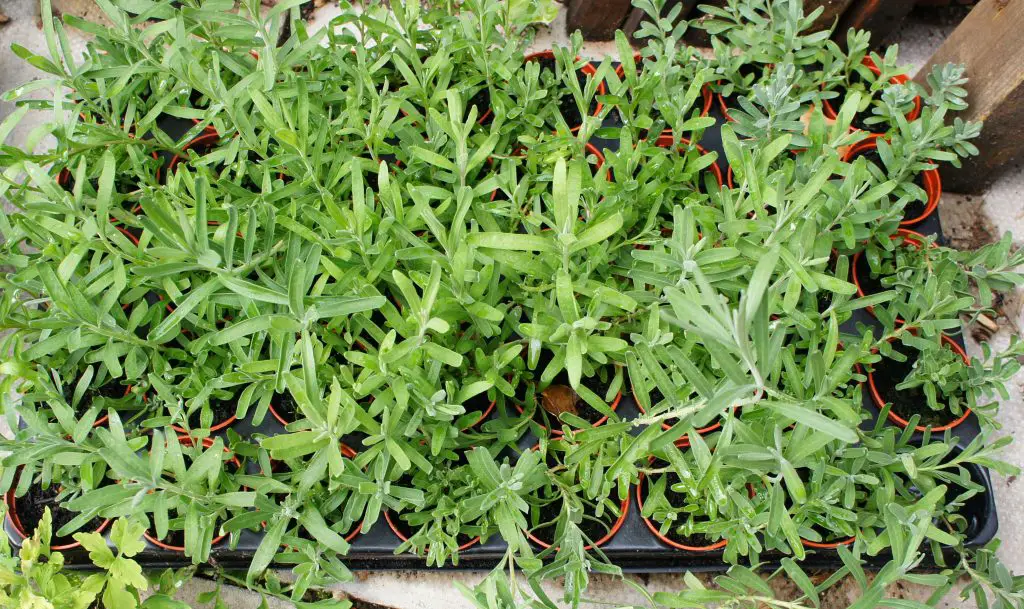
Once they are large enough to transplant, transplant them into seed trays or small pots. Grow them on whilst still protecting them from the weather on a windowsill or in a cool greenhouse.
If you want further guidance on transplanting seedlings take a look at How to Transplant Seedlings.
Once they are large enough to go outside harden them off (place them outside in the day and bring them under cover at night) for at least a couple of weeks. You can keep them in their small pots for quite a while if the weather is appropriate (no frosts). Remember to water them but they do not like to be too wet. They are drought tolerant plants.
Step 3: Plant the hedge
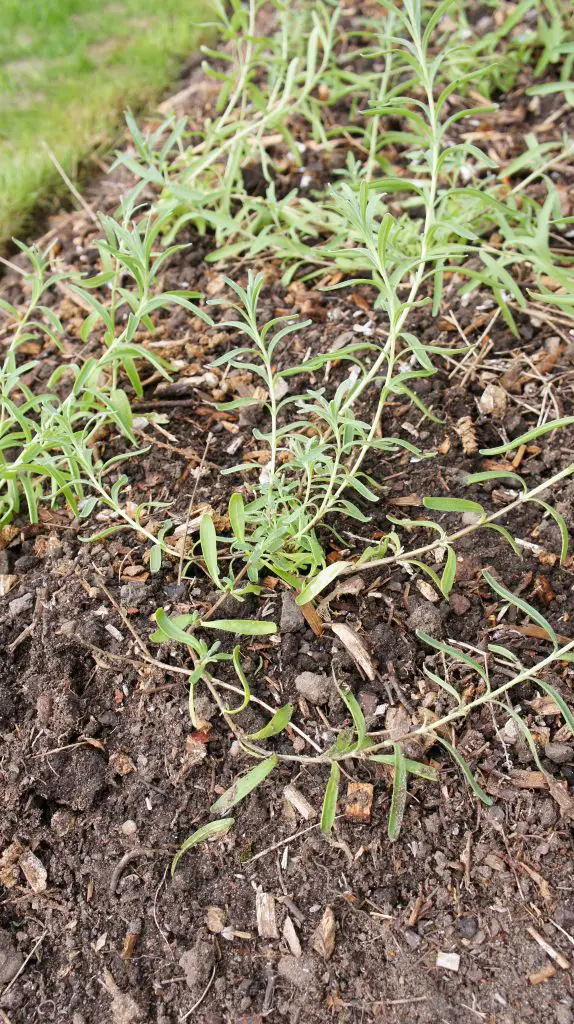
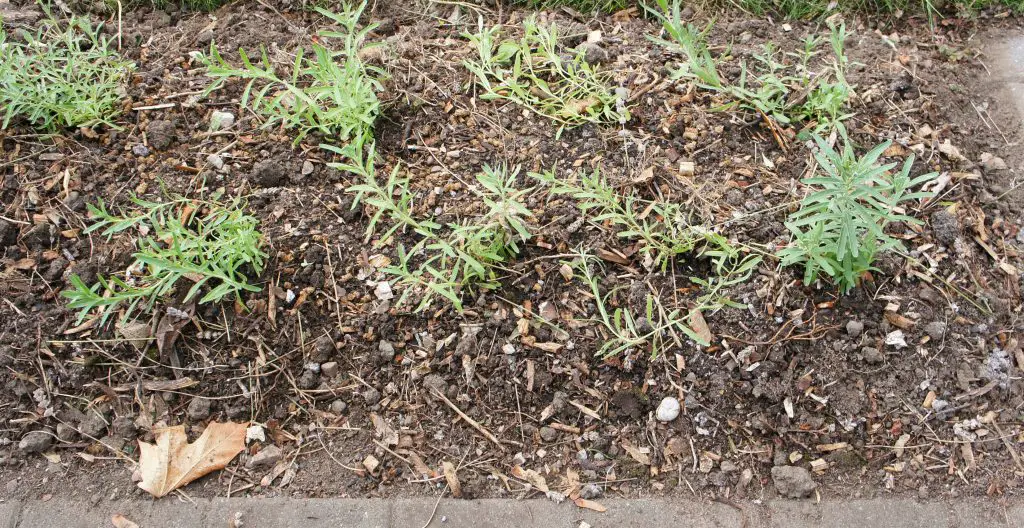
The best time to plant your hedge is early autumn. The plants will be established enough to thrive and the soil will be warm. The size of your hedge is your decision but mine is in two halves with a path between them. Each half is approximately 2m (6.5ft) long and the bed is approximately 50cm (1.6ft) wide.
I planted my small plants approximately 30cm (1ft) apart in 2 parallel rows but with the plants offset from each other. This is closer than the recommended 45cm (1.5ft) but I wanted a compact hedge.
I watered them in well but then I do not think I watered them again. We tend to get plenty of rain here!
Step 4: Maintain the hedge
Keep your lavender hedge weed free and make sure it does not dry out completely whilst the plants are so young. I kept a few plants in a cool greenhouse over the winter in case any of the plants in my hedge did not survive but I did not need any of them. I still feel that it was a wise bit of insurance and I planted them up into a pot for the patio.
Your lavender hedge will flower the following year. You can harvest some or all of your lavender for drying. The scent will be glorious and you will attract so many bees!
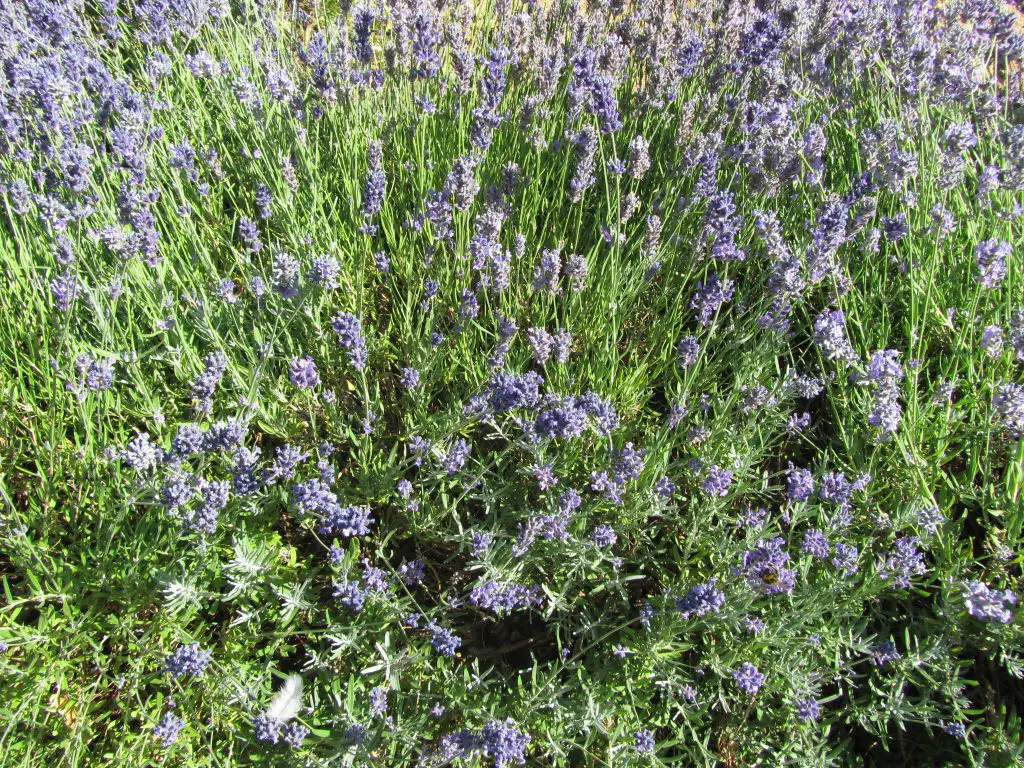
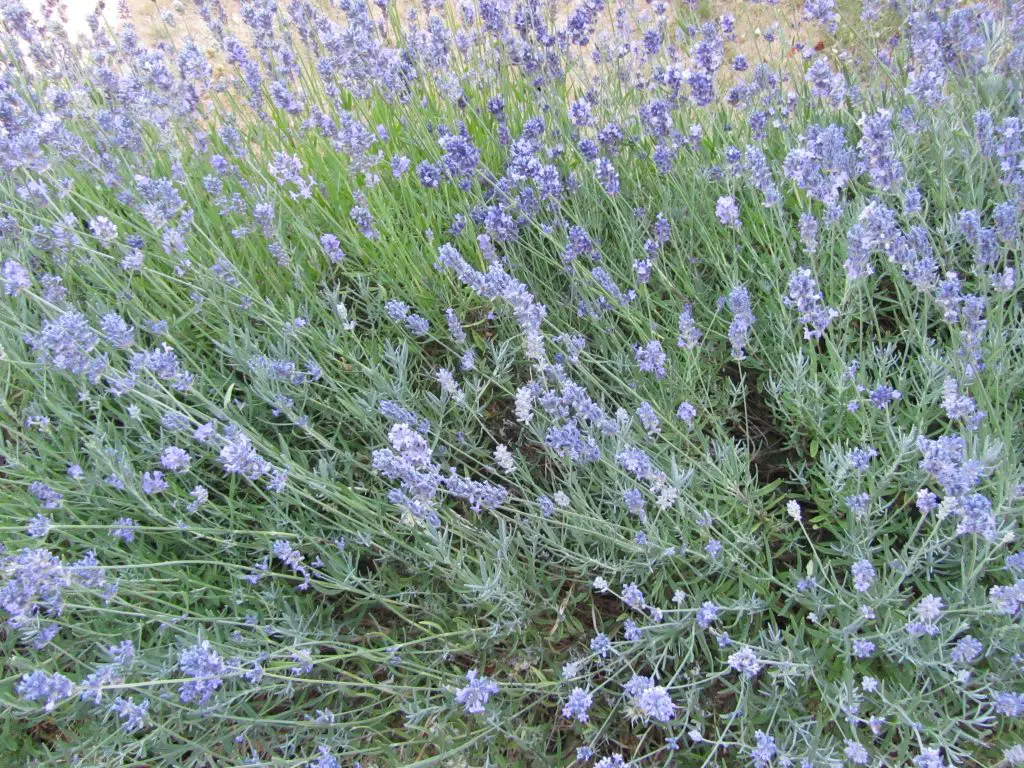
So good luck with your lavender hedge and I hope that it gives you many years of pleasure. Lavender plants tend to go a bit ‘woody’ so it is best to cut them back after flowering and possibly in the spring.
If you want even more information about growing lavender then I recommend this article ‘How to Grow Lavender: Guide to Planting and Care‘.
If you are a keen gardener (or a complete amateur) take a look at some of my other articles:
The Secrets of Sweet Pea Success
Free Fuschia Plants from Cuttings
How to plant up pots and hanging baskets for summer
How to make free biodegradable plant pots
Please feel free to use the comments section below to comment or ask further questions.
Remember to pin this article for later on Pinterest. You can also follow me for more great ideas and inspiration curated from the internet.

