Eco-Friendly Gifting: Create Your Own Unique Paper DIY Gift Bags
As an Amazon Associate I earn from qualifying purchases
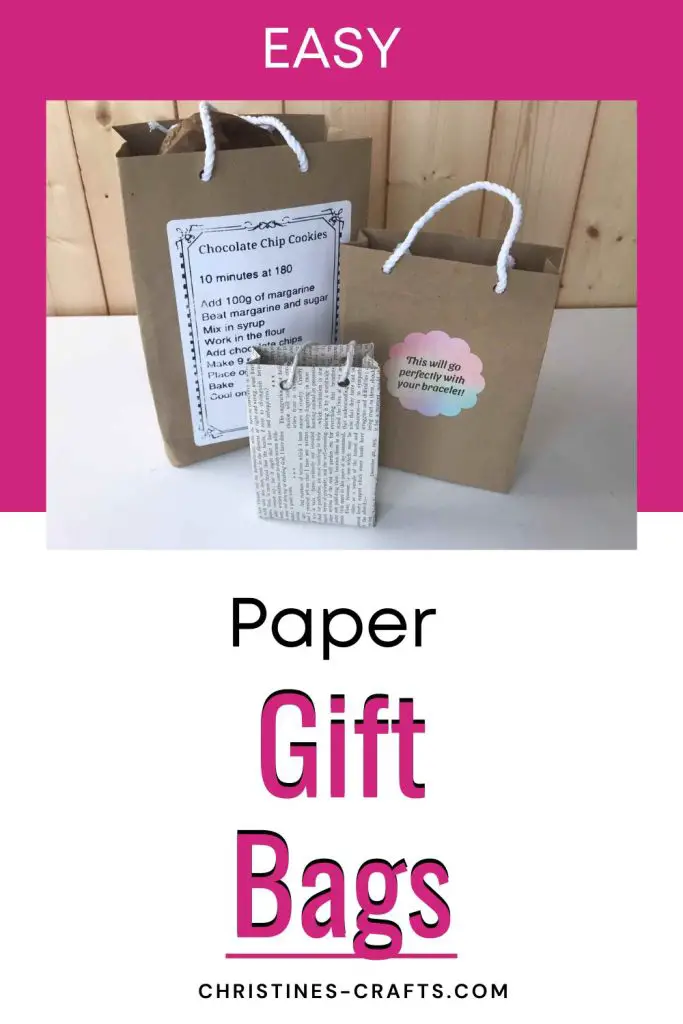
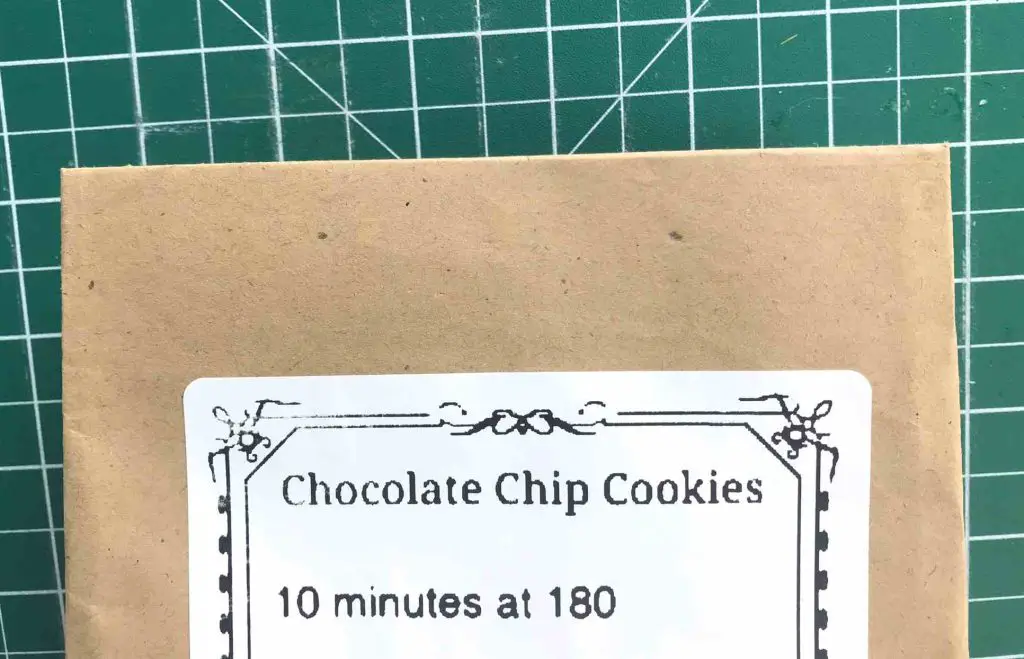
Gifts look so much better in gift bags so why not make your own DIY gift bags? You can make them exactly the right size for your gift out of whatever paper you choose. You can decorate them however you like and really make them useful too. I have used some to give baking kit gifts with the instructions on a label on the bag. Great discount code further on in this tutorial to get your own Munbyn label printer too.
I am using my brand new Munbyn bluetooth label printer to make the best labels for mine. I am so excited to share this with you as it is a fabulous piece of equipment and so easy to use. As I print my labels for this project I will tell you all about it.. Plus I have a fabulous opportunity for you to get your hands on one at a discounted price.
Disclosure: This article is sponsored by Munbyn, as always opinions and crafts are my own.
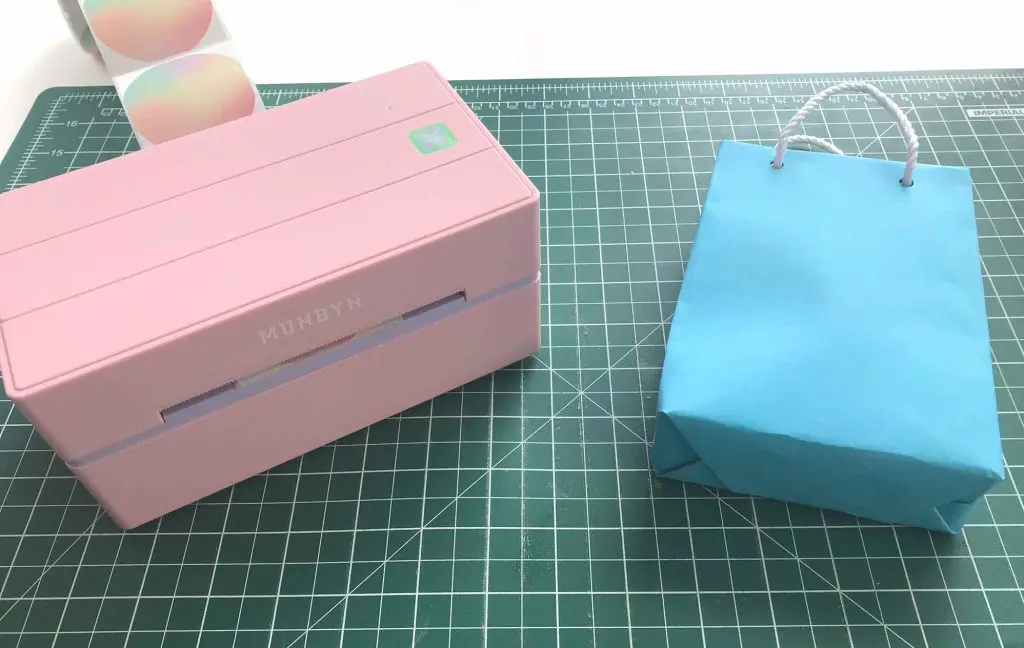
You will need:
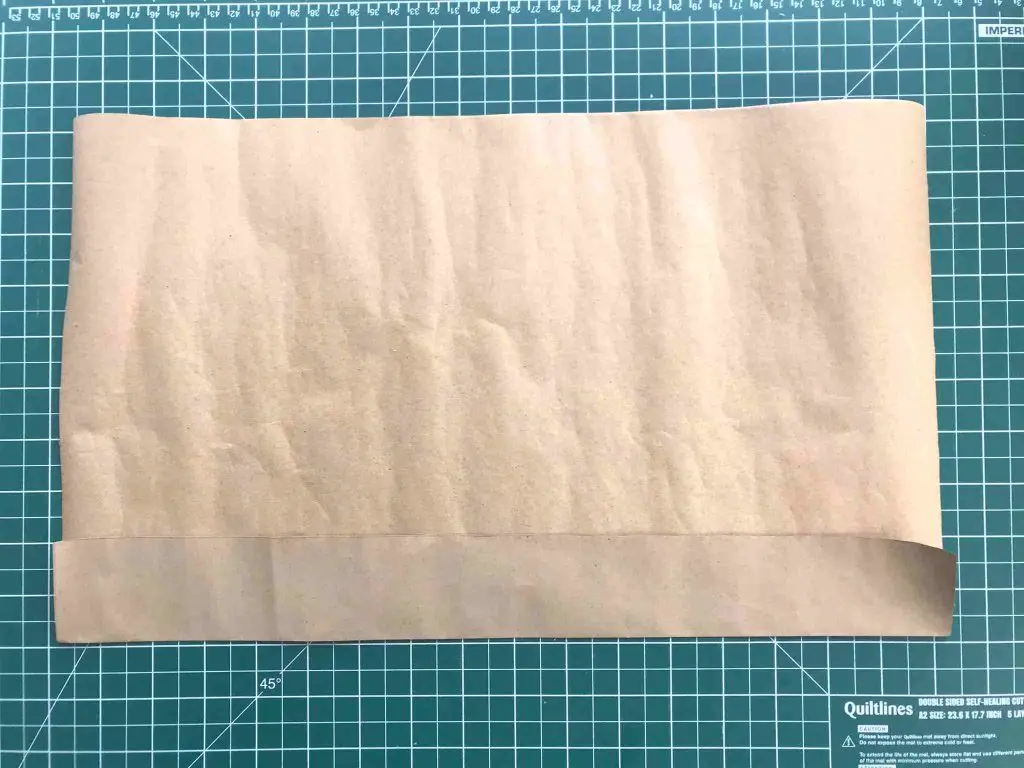
- Paper large enough for your bag
- A box to use as a former
- Glue (I recommend a glue stick)
- Ribbon or cord for handles
- Hole Punch
- Munbyn bluetooth label printer (Optional) – Available direct (discount code below) or from Amazon (5% off discount code for Amazon: 05blogoff)
Video of the Munbyn Bluetooth Label Printer
This video is also available on my YouTube channel.
Prepare your paper pieces
Measure around your box and then add 1″ to that measurement. That is how wide to cut out your paper. Decide how tall you want your bag to be (it doesn’t have to be as tall as your box). Take this measurement and add on 1″ to fold over at the top of your bag and at least half of the width of the bottom of your box (probably about 2″).
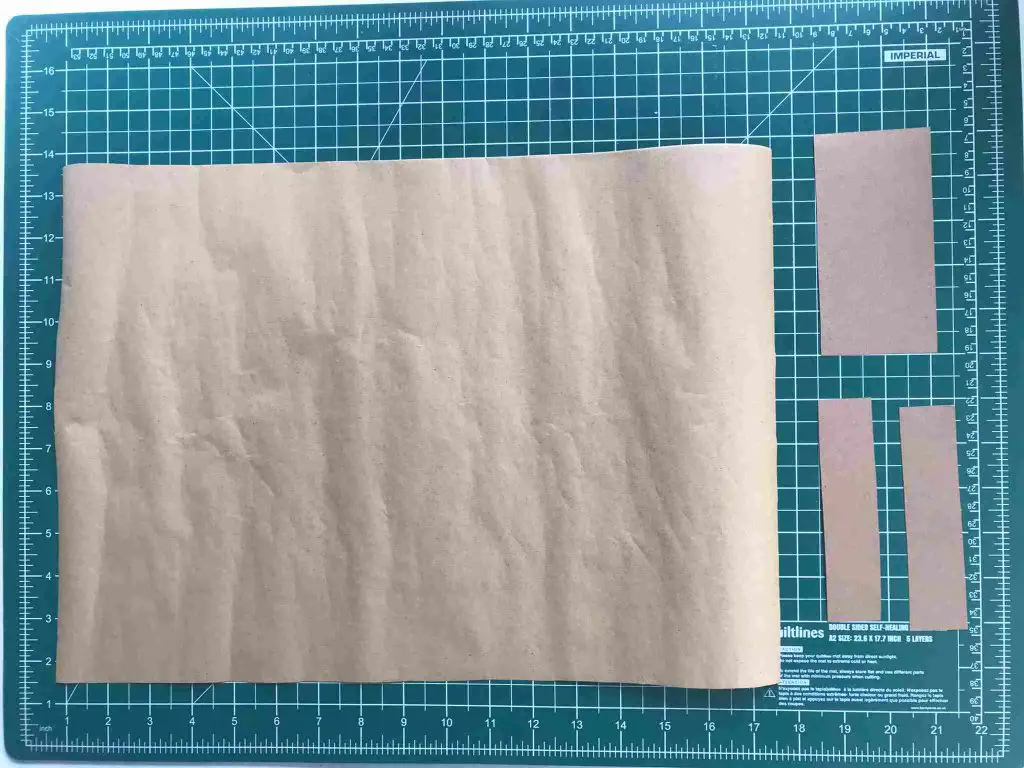
Now cut out a rectangle of paper that is that size For an example my box is 8″ tall and measures 15″ around it so I cut out a rectangle that is 12″ tall and 16″ wide.
Then using the same paper or a thin card cut out 2 rectangles that are the same size as the bottom of your box. Make sure that they are this size or slightly smaller (not larger). Cut one of these rectangles in half lengthwise.
Build your Gift Bag
Firstly fold the top (one of the long sides) of your paper over 1″ and crease it in place. This gives the top of your bag a nice edge and gives it some strength but we will add more later.
Place the box on the paper so that the top of the box lines up with the folded edge that you just made (if your bag is shorter than your box then just make sure you leave plenty beyond the box for forming the base).
Wrap the paper around the box and glue it in place using your glue stick. Make sure that you do not glue the paper to the box at all!
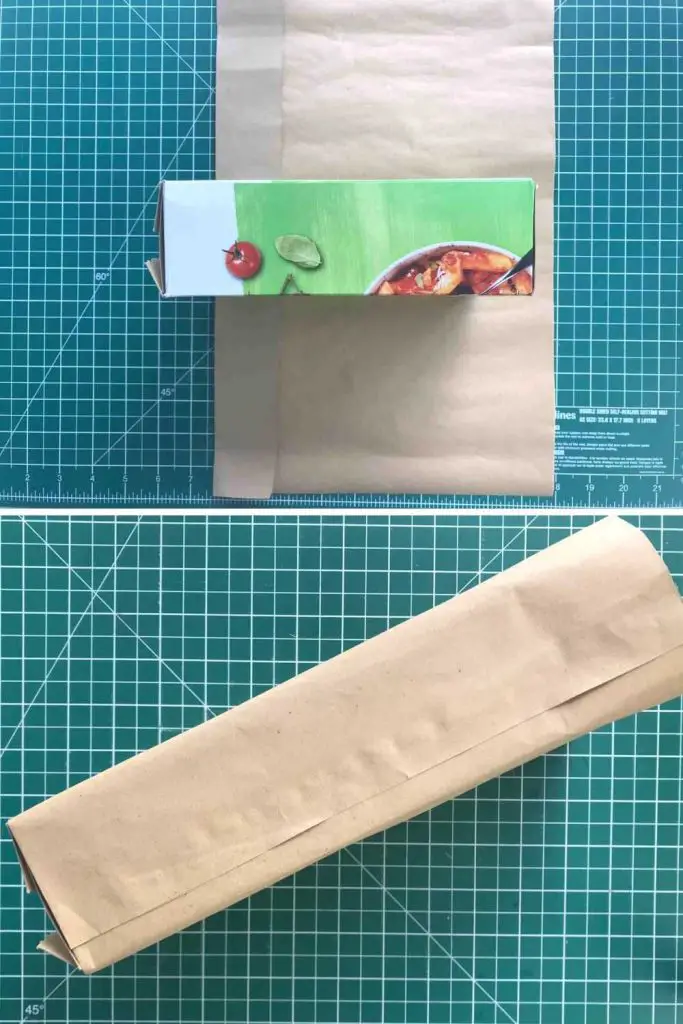
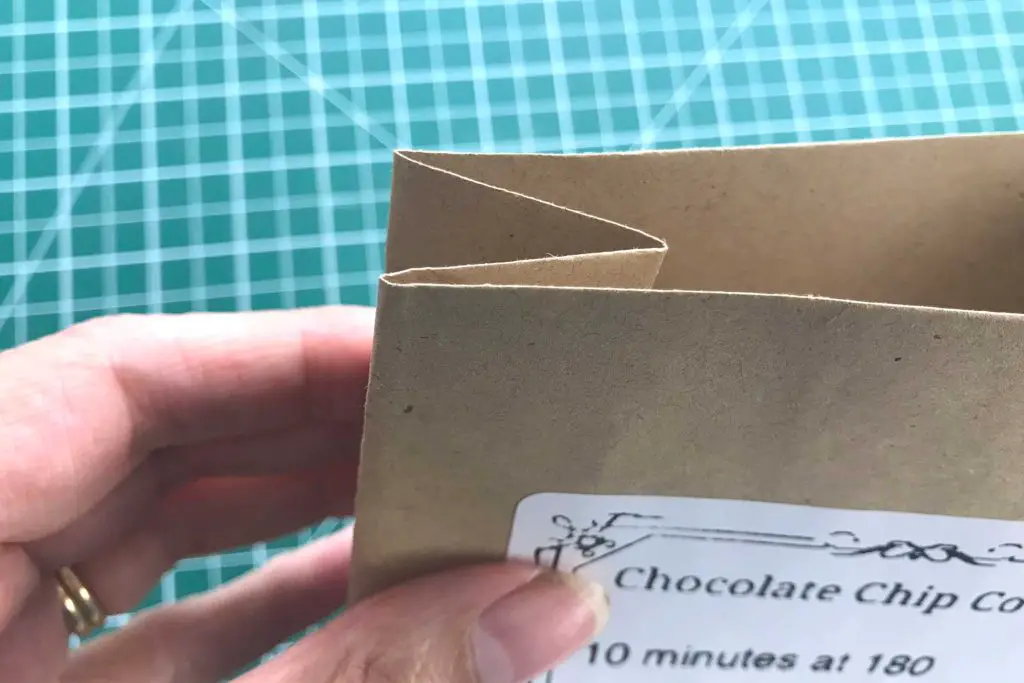
Turn the box onto its end so that the folded end of the paper is against the desk. You will now form the base of your bag. I find that the easiest way to do this is to press the short sides down onto the box and then fold the remaining long sides over the top.
Then glue them in place, again making sure that you do not glue the box.
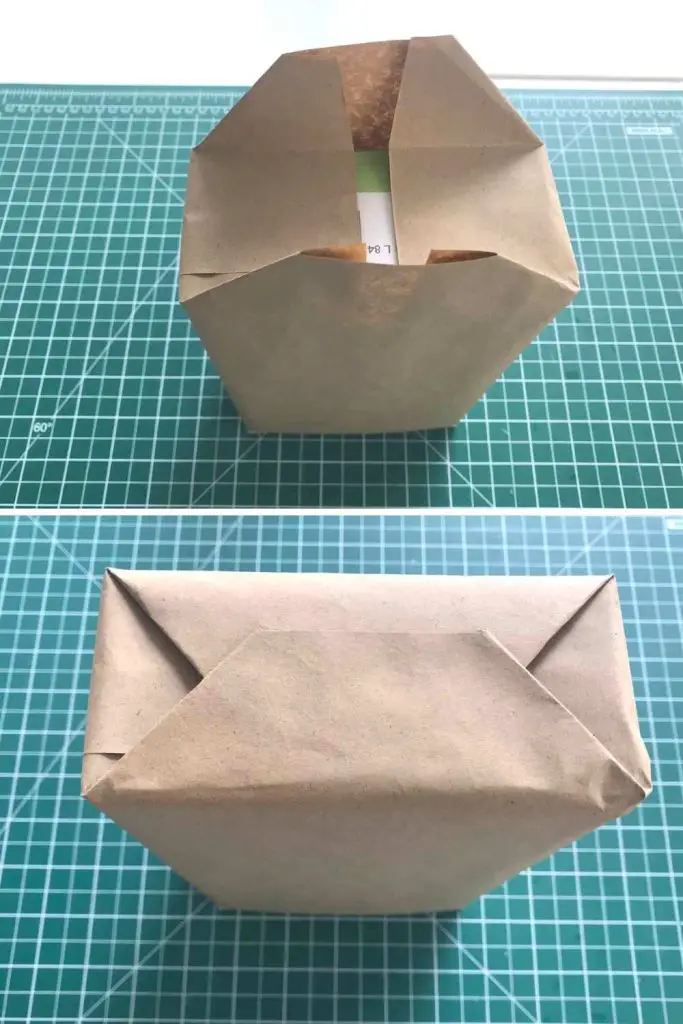
Once the glue is dry and you are happy your bag is secure gently nip the corners to mark them clearly. This will really help you in the later steps.
It is a great idea to add any decoration or embellishments while the bag is on the box.
Creating Labels using the Munbyn Label Maker
As you may know I am not very good with technology so an easy to use label maker is an amazing tool for me. I was quite wary just how easy it could possibly be but trust me it is easy!
I was really attracted to the fact that it is a thermal printer. Thermal labels work by changing color when heated. They have two layers: a top layer with heat-sensitive chemicals and a bottom layer with adhesive. When heat is applied, like from a printer, the chemicals react and create visible marks or colors. This makes the label information show up. No ink is needed, which is why they’re used so often in receipts and food labels. These labels resist moisture, oils, and temperature changes too!
Munbyn labels are waterproof and oilproof. You can create a highly custom look for your projects or business labels and stickers with their different colors and shapes.
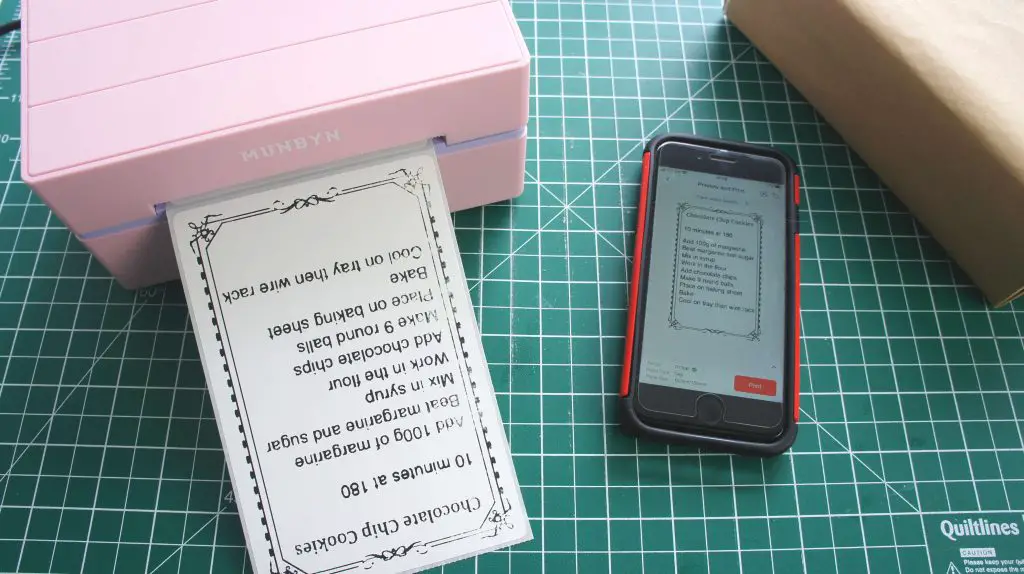
As you can see it is a super compact device, just large enough to print labels so it is not taking up loads of space when I am crafting. I actually couldn’t believe how small it was. It also supports both USB and Bluetooth connection, enabling you to print directly via phone, and also easy to print via PC. This is where it becomes so easy.
All I did was download the app onto my phone and enable Bluetooth. Then I could start designing and printing labels immediately. No cables needed! I was like a kid in a sweet shop. The app is packed with over 1000 templates for designing labels.
Plus there are all different sizes. I have got some Munbyn label printer 4×6 labels; 4×6 shipping labels that are perfect for these gift bags and shipping labels and I have got some rainbow sticker labels which are so much fun. It actually prints labels of different sizes, such as 2″x 2″, 2.25″x 1.25″, 4″x 6″, 3″x 3″
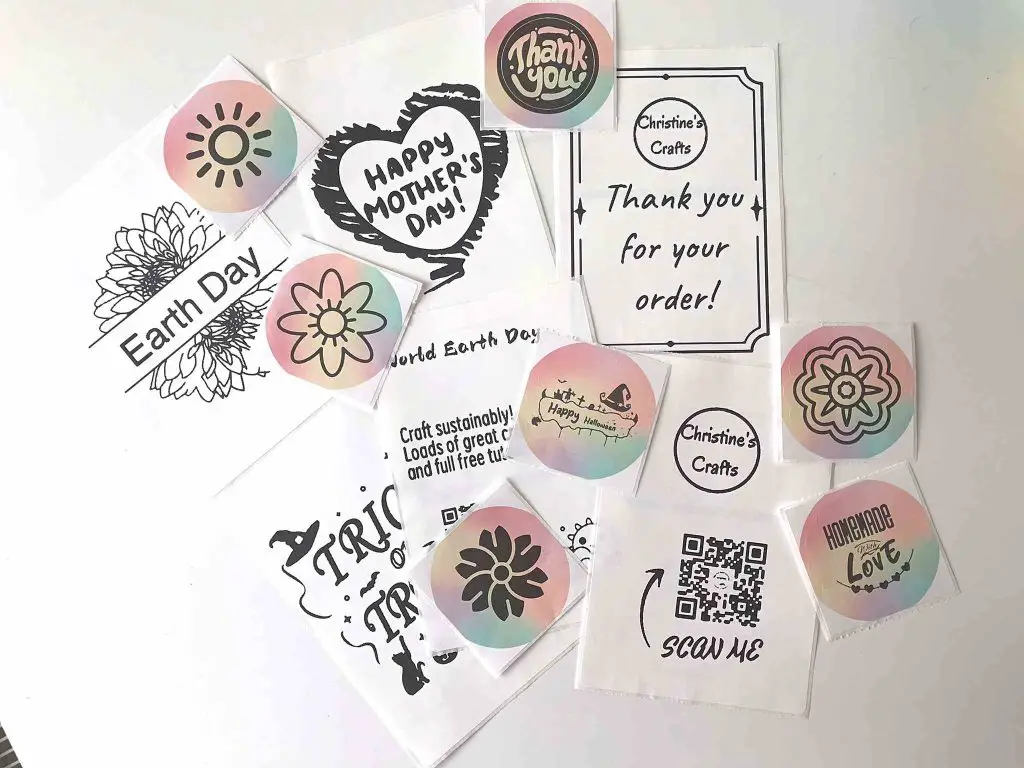
I thought it might be hard to line up the stickers but no! I adjusted the guides and simply loaded the roll of stickers into the printer and it identified the labels and lined them up.
Then the app was so intuitive I could design anything I wanted so easily. There are loads of pre-made templates that you can use as they are – like my Halloween sticker and loads that you can add your own creativity to.
Then it prints them off so quickly. I looked it up and apparently it prints at 150mm/s, 1 label per second. If you need to print off stickers for your business then that will be super handy. As a crafter it allows me to carry on with my project immediately. Another benefit of thermal printing is that it does not need to dry. You can use it immediately!
If I ever sell physical items I will use my Munbyn RealWriter 130B bluetooth label printer for all my labels. Imagine personalised labels for everything and shipping labels printed in seconds. All without printer ink costs!
In case you can’t tell, I am super excited about my new printer and am looking forward to using it in many of my crafts. Look for evidence in future projects!
Oh, and that offer I mentioned! If you click on any of the links in this article (except Amazon)and use the discount code “BLOG12OFF” you will get a 12% discount on orders, with no minimum purchase required.
Complete the Gift Bag
Once you are happy with your decoration of your bag, carefully slide the box out from the bag. To form the concertina sides of the bag simply squeeze the top corners together and press the corner creases to about half way down the bag. Do this on both sides.
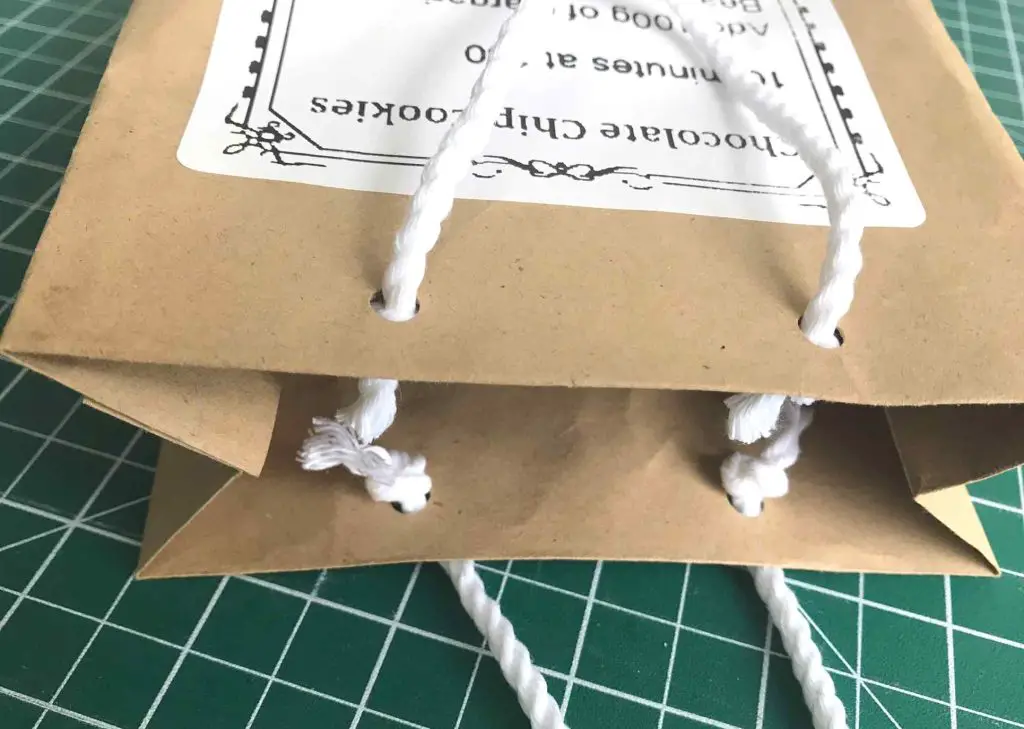
Strengthen the bag by gluing the paper (or card) pieces that you prepared earlier into the bag. Take the large rectangle and glue it into the base of the bag. In turn, take each smaller rectangle and glue it up into the folded section at the top of the bag on each side.
Now decide where you would like your handles to go. There are no rules here but I recommend making sure they are identical. I always mark where my holes are going using a ruler and pencil so that they are the same distance from each side and from the top of the bag.
Punch the holes – if you are using paper rather than any card you can probably punch through all the layers at the same time ensuring that both sides of the bag are identical.
Decide how long you want your handles to be and cut them slightly longer. Feed either end of one handle cord into the gift bag from the outside and knot so that it doesn’t pull through. If your ribbon or cord is quite small and even with a knot it pulls through the holes then consider adding a bead or tying the two ends of the handle together. Repeat for the other handle.
Congratulations on completing your DIY gift bag.
And next …
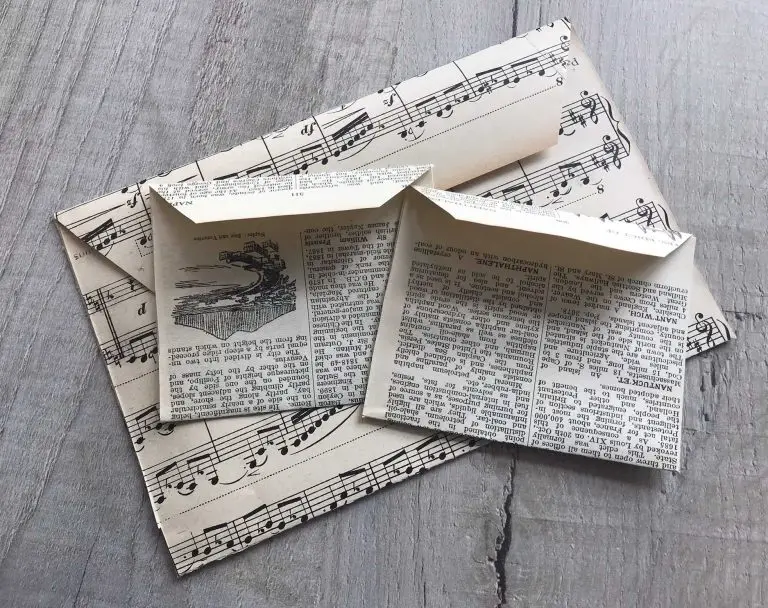
Now you will be wanting fancy labels and bows for your bags and parcels. On this site I have a tutorial for making gift tags out of old book pages which add a lovely charm to gifts. You could thread them over your handle before you attach it to the bag.
You can use a sticker to hold the gift bag closed if you want to add to the suspense of opening the gift!
I also have a tutorial for making bows out of old magazine pages (or book pages). Add even more panache to your gifts without spending a fortune.
I have to say that I have loved using my new Munbyn bluetooth label printer and can’t wait to use it for more crafts and gifts. I am particularly excited about the custom labels and how creative I can get with those. They are the perfect solution to customize gift packages for all the holidays. Remember the discount code “BLOG12OFF” offers a 12% discount on orders, with no minimum purchase required.
It is a great idea to pin this DIY gift bags tutorial on Pinterest so that you can find it later when you want to make your gift bags.