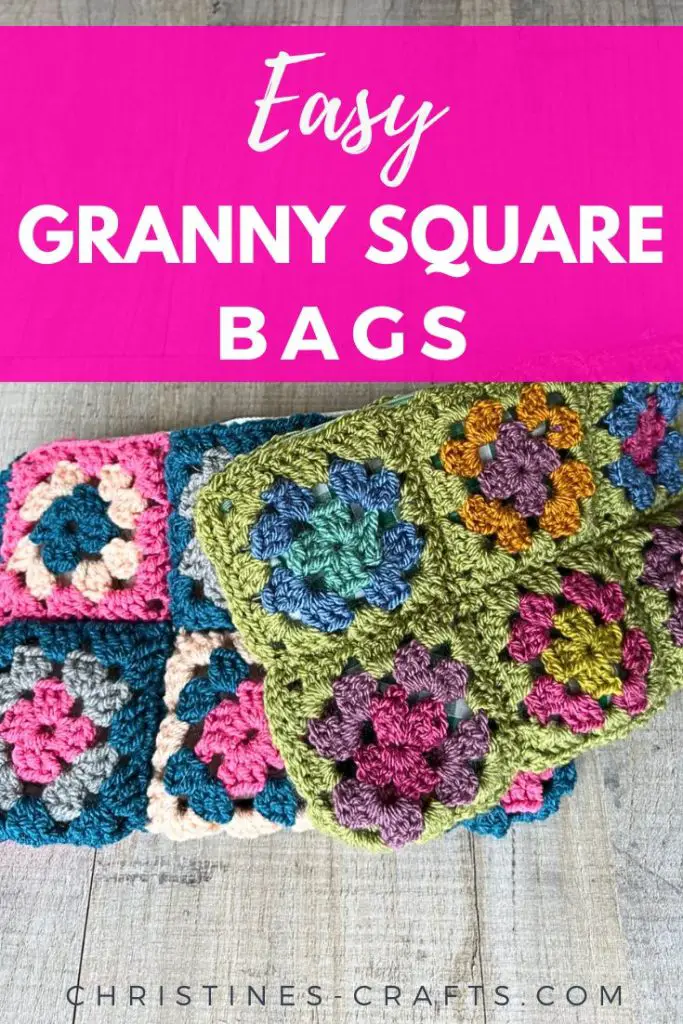
Easy Granny Square Bag to Make
As an Amazon Associate I earn from qualifying purchases
You can’t have missed the trend for crocheted granny squares. If the thought of tackling a garment is a bit much for you then how about a granny square bag. You can join in this fashion trend without hours and hours of crocheting.
Got a mountain of leftover yarn calling your name, or even a few scraps? Well, this project is perfect for you! We’re going to crochet an adorable granny square bag that’s not only stylish but also a fantastic way to use up those precious yarn scraps. Plus, I’ve got video tutorials to guide you every step of the way! And the best part? You can easily adapt this pattern to make a bag of any size! Let’s get hooking!
This page contains affiliate links meaning I earn a little commission if you use those links at no cost to you. I only recommend brands I use and trust.
You will need:
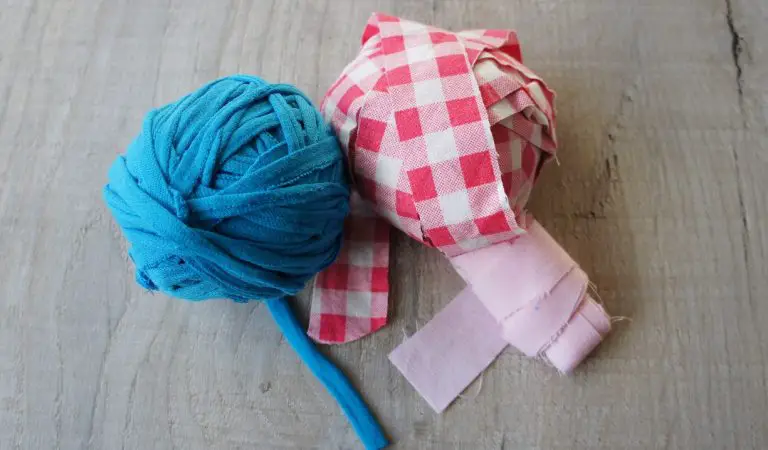
- A variety of double knitting (DK) (light worsted) yarn scraps (or your favourite DK yarn)
- A 4mm crochet hook (remember, you can use any yarn weight and corresponding hook size you like!)
- Scissors
- Tapestry needle for weaving in ends
- Fabric for lining (a simple cotton works great!)
- A zipper (long enough for the bag opening)
- Sewing thread and needle (or a sewing machine)
- Optional: Buttons or poppers for an alternative closure
- Optional: Fabric for a handle


Video Tutorial for Granny Square Bag
This video is also available on my YouTube channel.
Making Your Granny Squares:
For this small bag, we’ll be making 12 granny squares. Using your 4mm hook and DK yarn (or your chosen yarn and hook), follow the instructions in the video below to crochet each square. If you prefer step by step instructions then check those out here.
Obviously if you already have a granny square pattern that you want to use then use that. Feel free to get creative with your colour combinations – this is where those yarn scraps really shine!
If you would like to make a larger bag then you could either crochet more granny squares or make larger ones by adding more rows. Also, if you are using thicker yarn you will get a larger bag. This bag measured approximately 9″ by 6″
This video is also available on my YouTube channel.
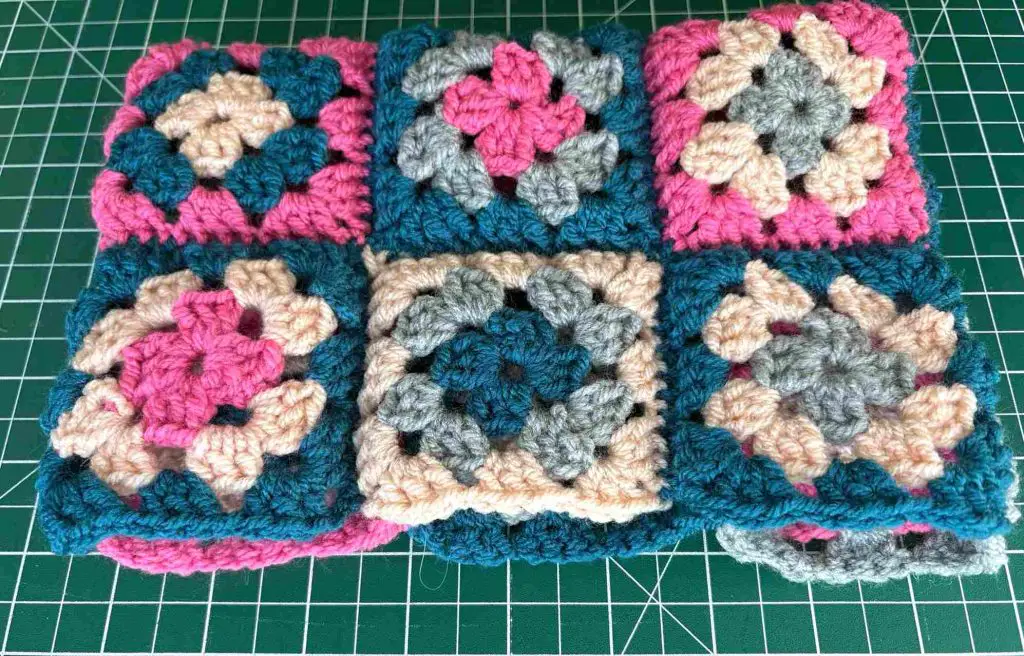
Joining Your Squares:
Once you have your 12 squares, it’s time to join them. We’ll be arranging them in a 3 by 4 rectangle. Using your preferred method carefully join all the squares together to form one large rectangle.
You can do this in one large piece or make 2 panels that are 3 by 2 squares.
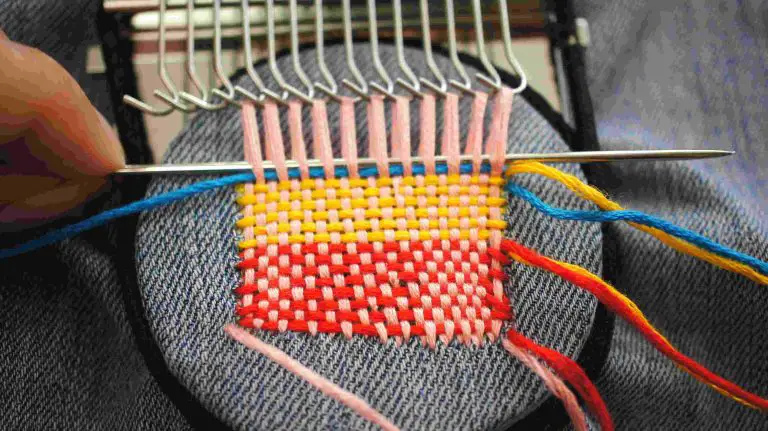
I like to crochet my squares together but you can sew them together if you prefer. The 2 techniques I use are shown below.
This video is also available on my YouTube channel.
Assembling the Bag:
The assembly of the bag and the insertion of the lining and zip are shown in the video instructions at the top of this tutorial.
Fold the 3×4 rectangle so that the two shorter edges meet. Then, using your yarn and tapestry needle (or your crochet hook), stitch the side seams together to create the main body of the bag. If you made 2 panels that were 3×2 then simply sew or crochet those 2 panels together along both short sides and one long side.
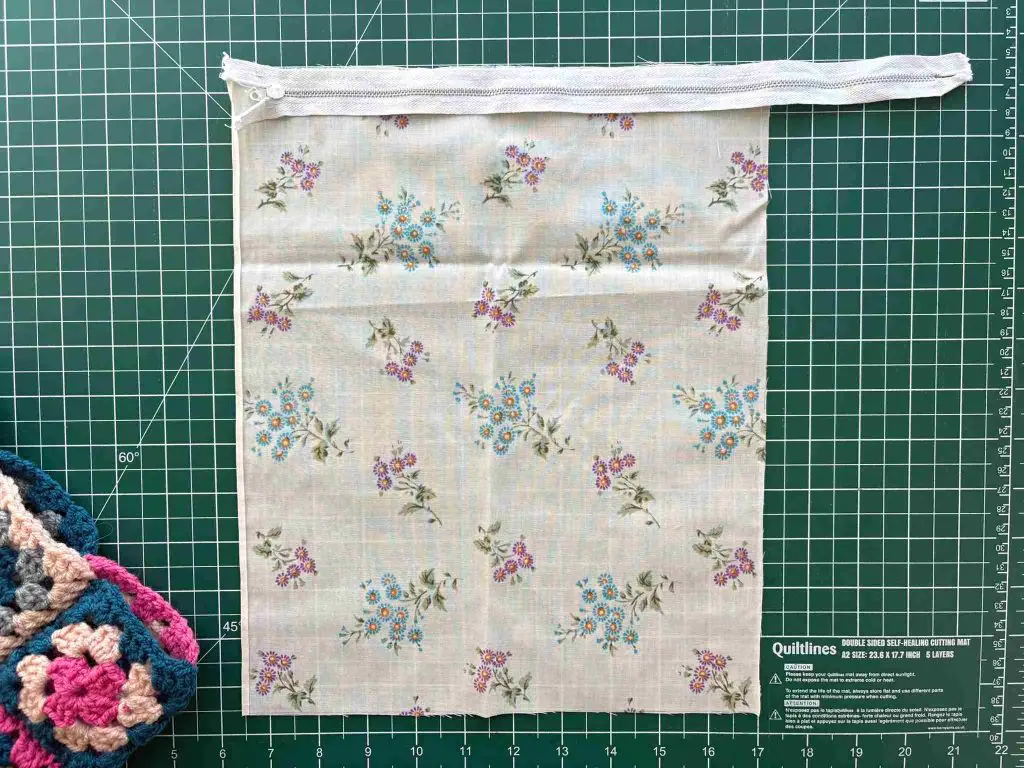
Creating the Lining with a Zipper:
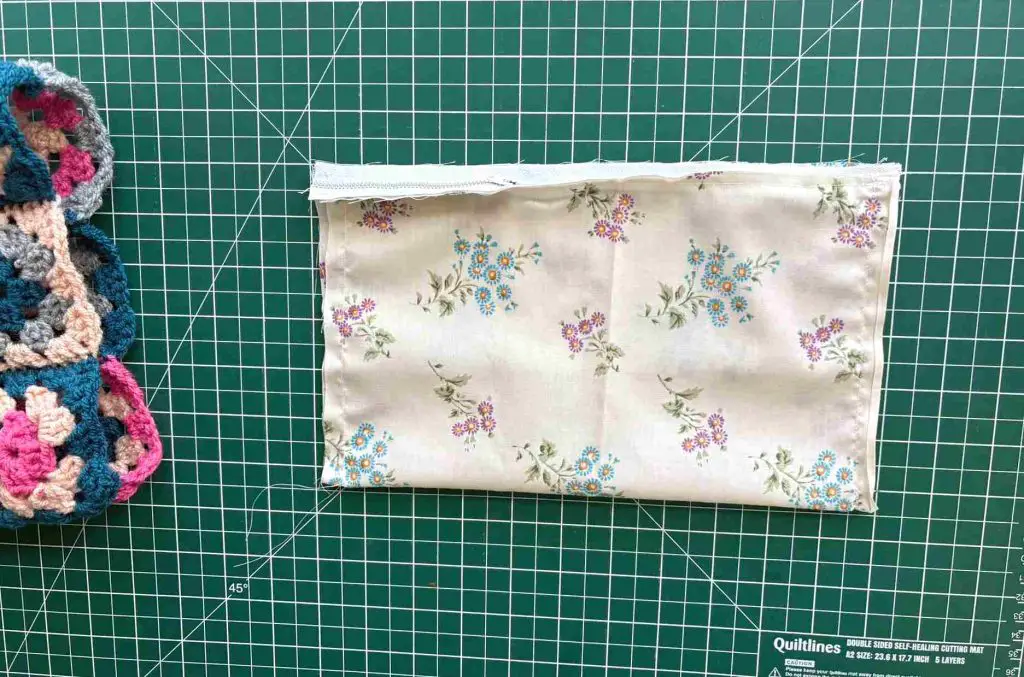
Measure the inside of your crocheted bag. Cut a piece of your cotton fabric slightly larger than the dimensions of the bag. Note that it needs to be twice as tall as the bag to form the lining.
Attach the zipper to the ends of the lining piece that will end up at the opening of the bag. Place the zipper face down onto the wrong side of the lining. Pin and sew it in place.
NOTE: the zipper is sewn so that when you open it the inside of the bag is the right side of the fabric lining.
Then fold the lining up to the zipper and sew along the other edge of the zipper. If your zipper is too long you can now trim it to size.
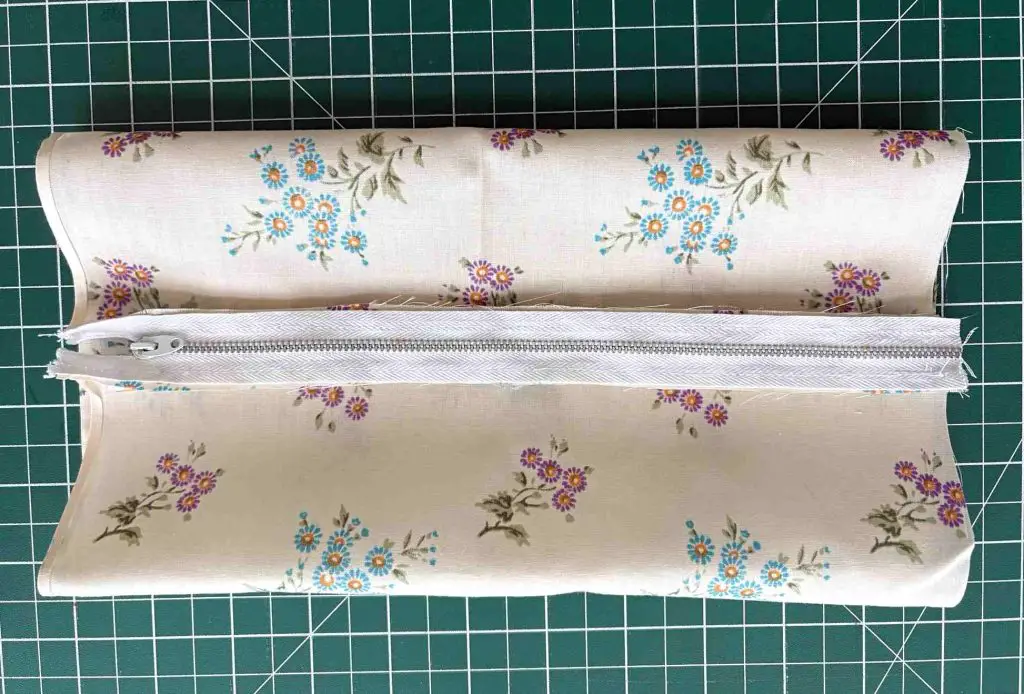
With the zipper partially open, sew the side edges of your lining pieces together to create a fabric bag. Note that all your seams are visible to you and you are working on the wrong side of the fabric. All of these will be hidden inside the bag between the lining and the bag.
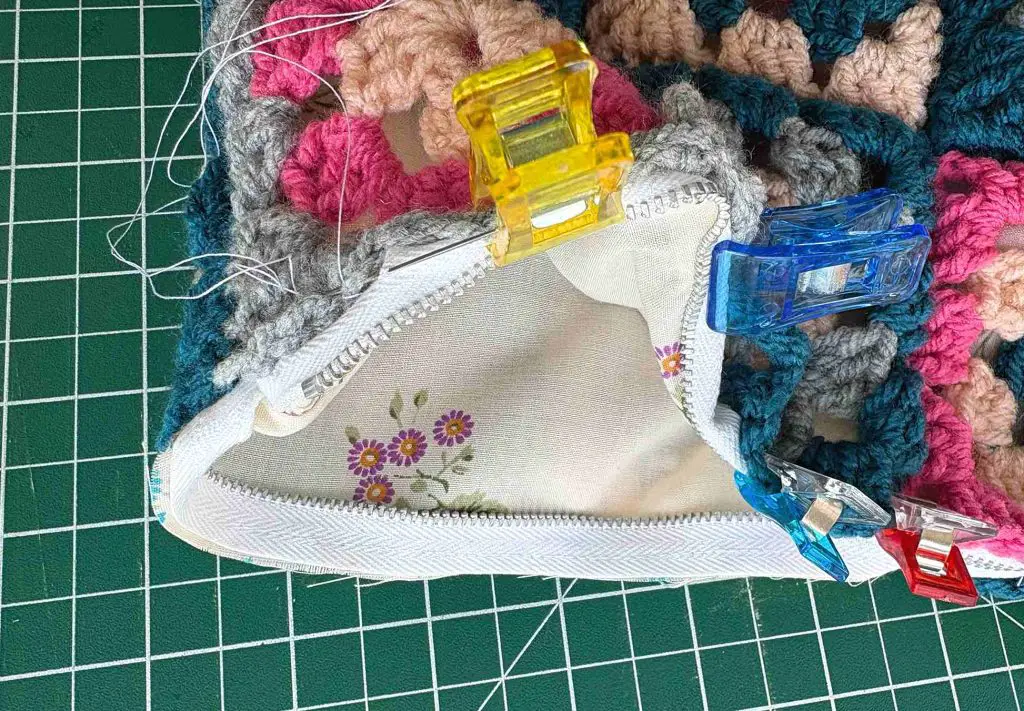
Sewing the Lining into the Bag:
Now for the final step! Insert your fabric lining into the crocheted bag. Fold the top edges of the lining inwards and carefully stitch the zipper to the inside top edge of your crocheted bag, ensuring a neat finish. I use a small slip stitch (ladder stitch) so that you can’t see the stitches.
Alternative Closure: Buttons or Poppers:
If you prefer not to use a zipper, you can easily add a button or popper closure. Instead of sewing a zipper to the lining piece fold your piece in half and sew the side seams. Then press a hem over the top of the lining to the wrong side.
Attach your button and loop or popper to this and then sew it into the crocheted bag like you would have done the zipper. Alternatively you can sew a button and loop onto the outside of the crocheted bag to form your closure. Get creative!
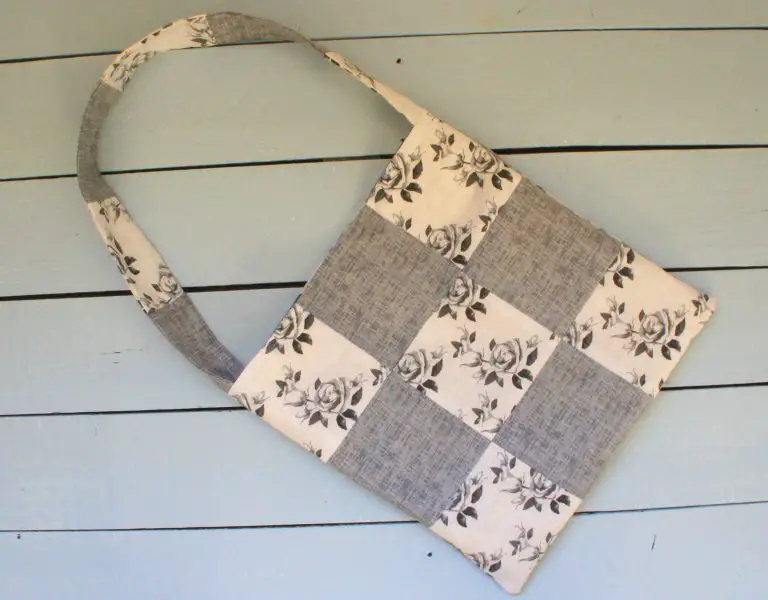
What about a handle or strap?
If you would like a handle or strap on your bag there are various ways of achieving this. You could make a shoulder strap and sew it onto the outside of the lining for maximum strength. This would then also be sewn in when you sew the lining into the crochet bag.
Alternatively you could buy small handles and sew them onto the outside of the crocheted bag.
Adapt for Any Size!
The beauty of this project is its adaptability! Want a larger bag? Just make more granny squares! Adjust the number of squares and the size of your lining accordingly. You can also experiment with different yarn weights and hook sizes to create bags with different textures and sizes.
Try different granny square patterns for completely different effects. How about this simple flower granny square?

And finally…
Enjoy crocheting your own granny square bags and embrace the creativity of choosing your own granny square patterns, yarns, colour combinations and hook sizes. Then get creative with the sizes of your bags. You could have one for every application.
If you are interested in more crochet ideas then check out my crochet section of this website.