Crafting Adorable Lavender Bag Hats: A Step-by-Step Guide
As an Amazon Associate I earn from qualifying purchases
Do you love lavender in your home? Lavender bags and lavender sachets are so sweet and so practical. They help keep your clothes smelling fresh and lavender also repels moths. These lavender bag hats are great for small handmade gifts and fundraisers too.
You could even grow your own lavender and make these a fabulously sustainable craft idea. If you want some advice on growing your own lavender then check out my ‘growing lavender from seed ‘ article here.
These lavender bag hats are a quick and easy way to make some lavender sachets that are a bit different.
This page contains affiliate links meaning I earn a little commission if you use those links at no cost to you. I only recommend brands I use and trust.
You will need
Video Tutorial for Lavender Bag Hats
This video is also available on my YouTube channel.
Cut out your fabric
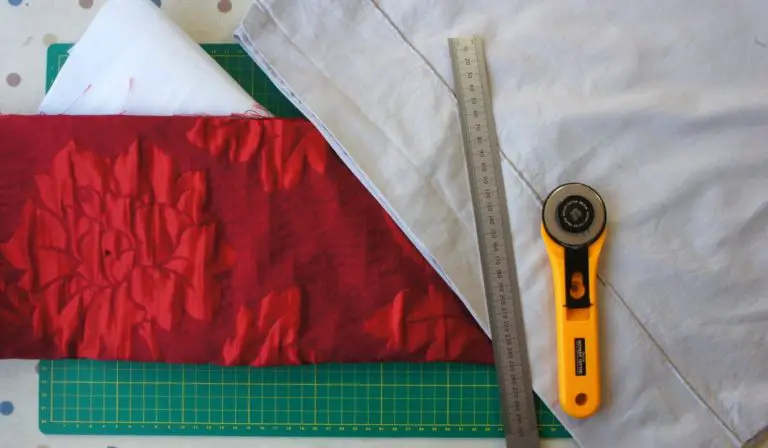
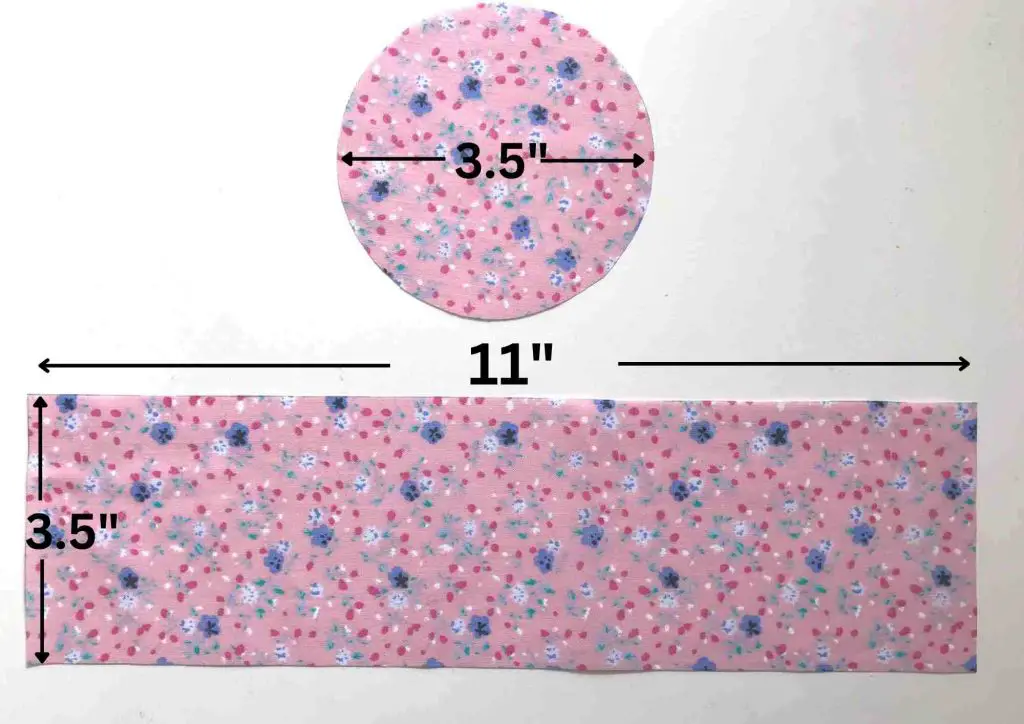
I made hats that are 3″ across. If you want yours bigger or smaller then simply adjust accordingly. You will need a circle of fabric that is approximately 3.5″ across. I used a lid off a jar to draw round for mine. You will also need a rectangle of fabric that is 3.5″ by 11″.
These are shown below.
Sew your Lavender Bag Hat
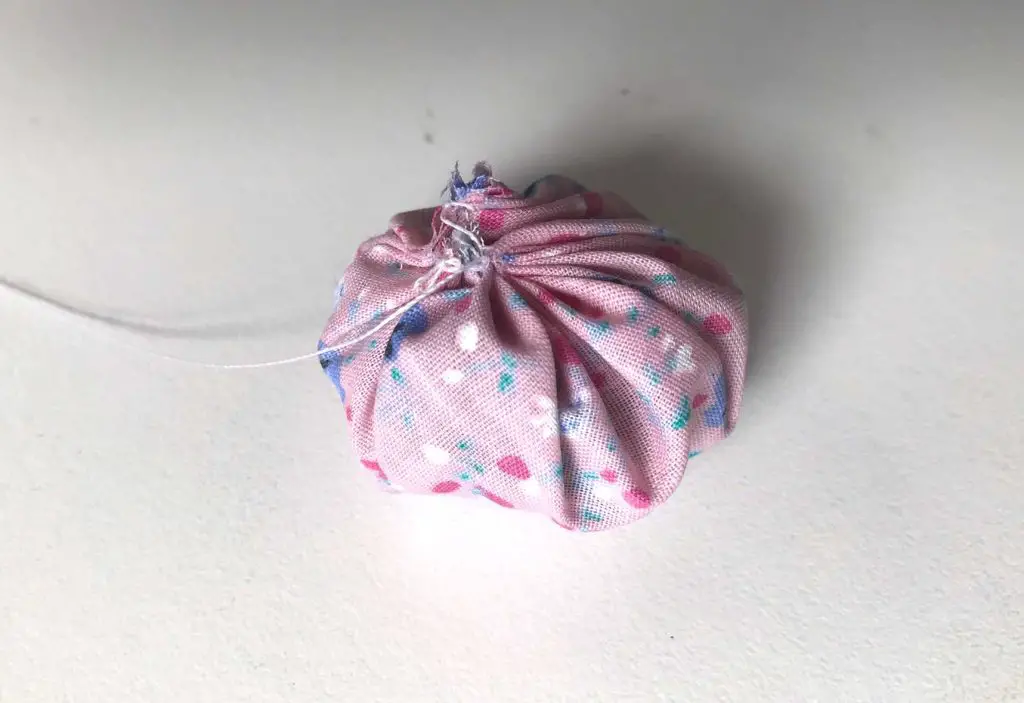
Take the circle of fabric and sew a small gather hem around the edge of the circle. That is a running stitch all the way round the circle close to the edge of the fabric. Draw it up slightly and fill the pouch that you make with lavender.
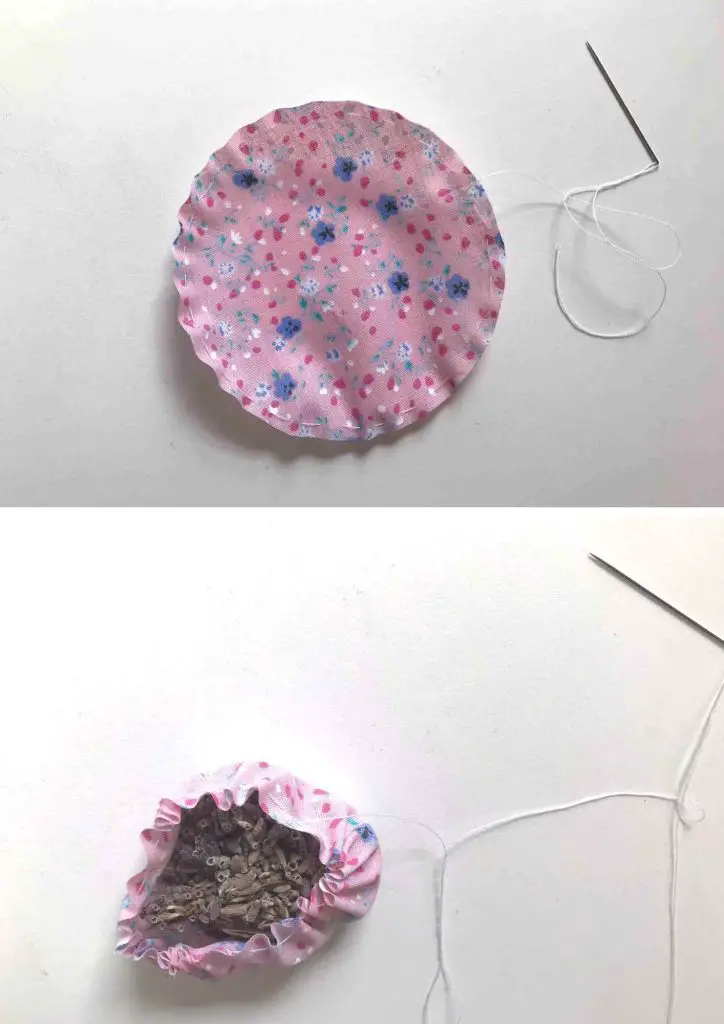
Draw the thread off fully so that it closes the hole. If you think that you need more lavender simply open it back up and add some more. Once you are happy and your thread is nice and tight fasten off your thread. Make sure that it is secure, then pass the needle through the ball of lavender and cut off the thread. This will stop the knots you fastened off with coming loose.
Now turn your attention to the rectangle that you cut for the brim. Fold it in half so that the short sides meet and pin them together. The right sides should be facing each other. Sew along that seam either by hand or on the machine.
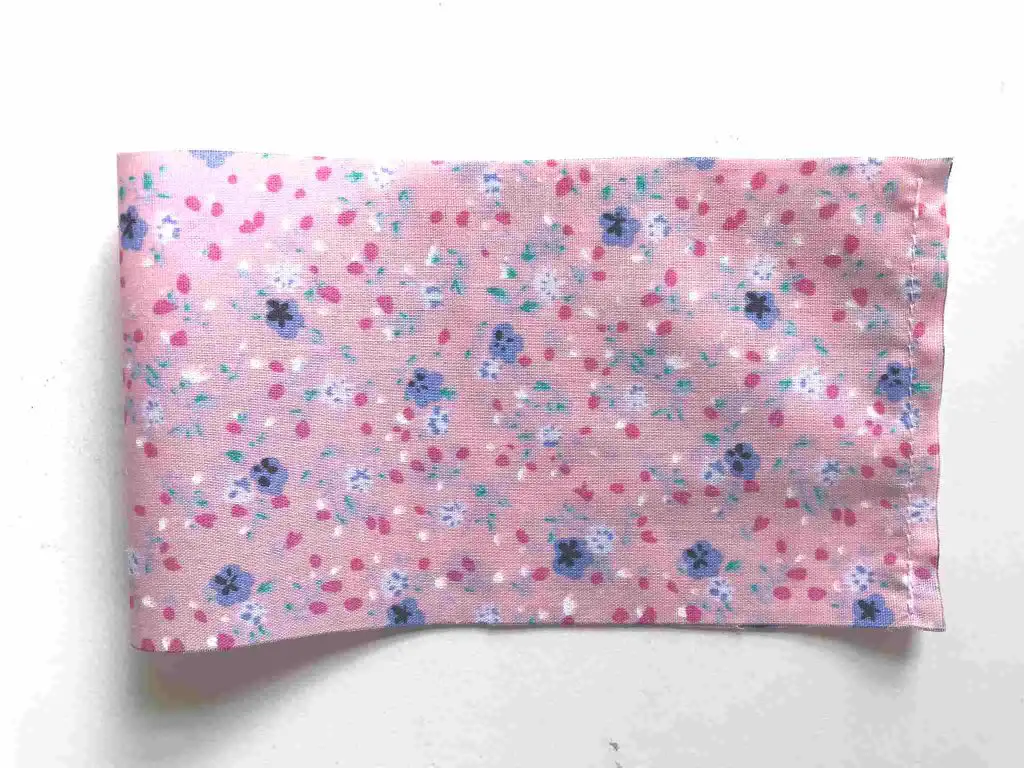
Press the seam open. Now, to be honest I skip this step and simply run my fingernail along the seam so that it stays open. It works well enough on a short seam like this.
Fold the tube in half so that you have the right side of your fabric on the inside and the outside of your tube. Pin or clip the raw edges together. Then sew a running stitch along those raw edges.
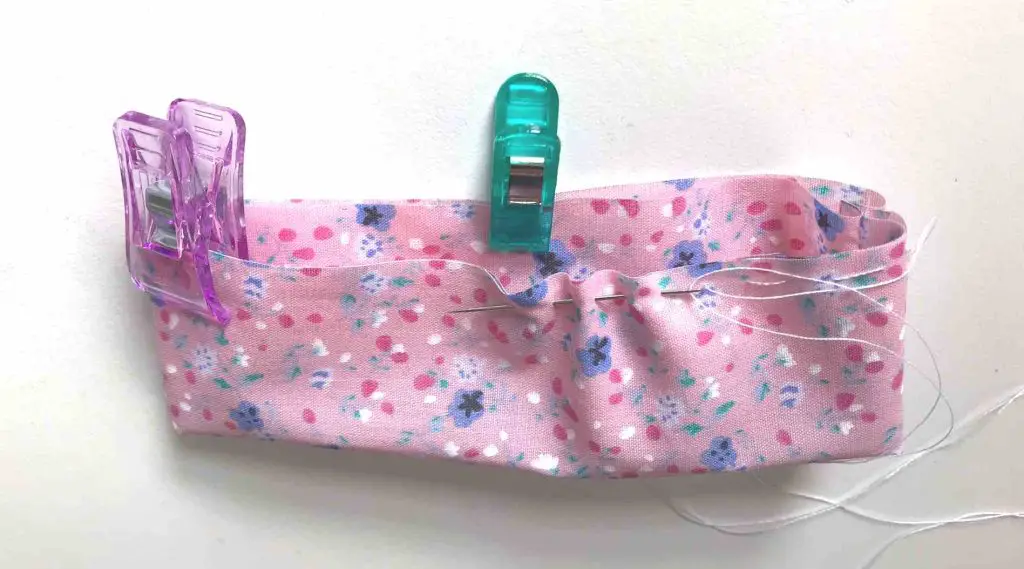
Draw up your gathering thread so that the edges all meet and are tight. Fasten off the thread but do not cut it off.
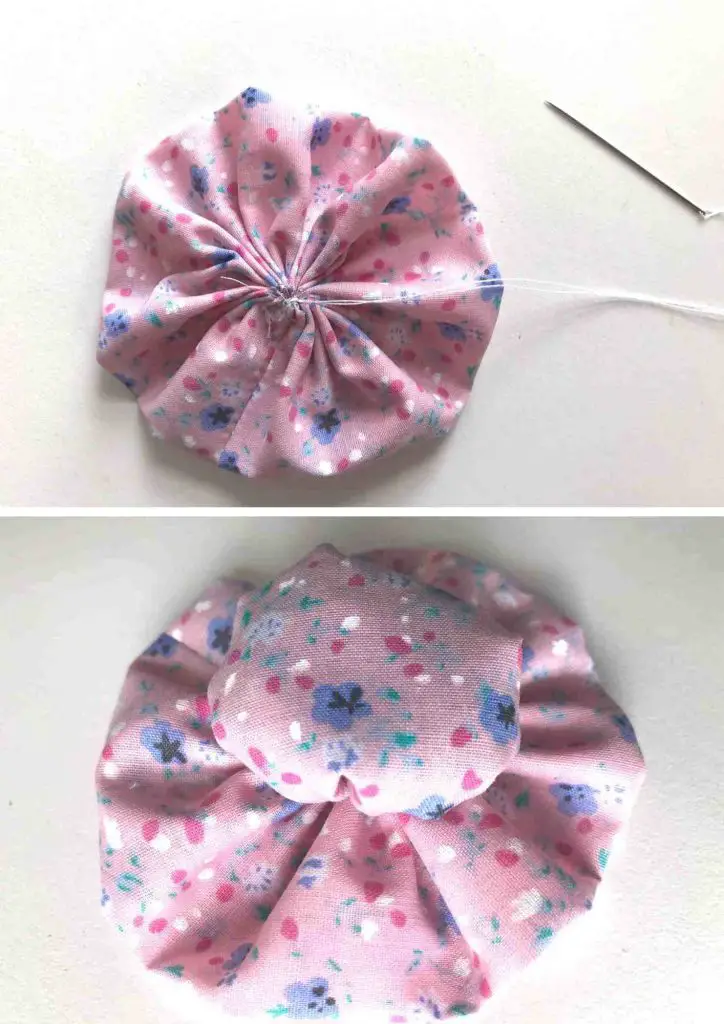
Use the thread to sew the ball of lavender that you made to the centre of the brim that you have just made. Make sure the two are securely connected. It is up to you how far out from the centre that you sew to secure them. Once you are happy secure your thread and pass the needle through the ball of lavender before cutting it off.
Decorate your Lavender Bag Hat
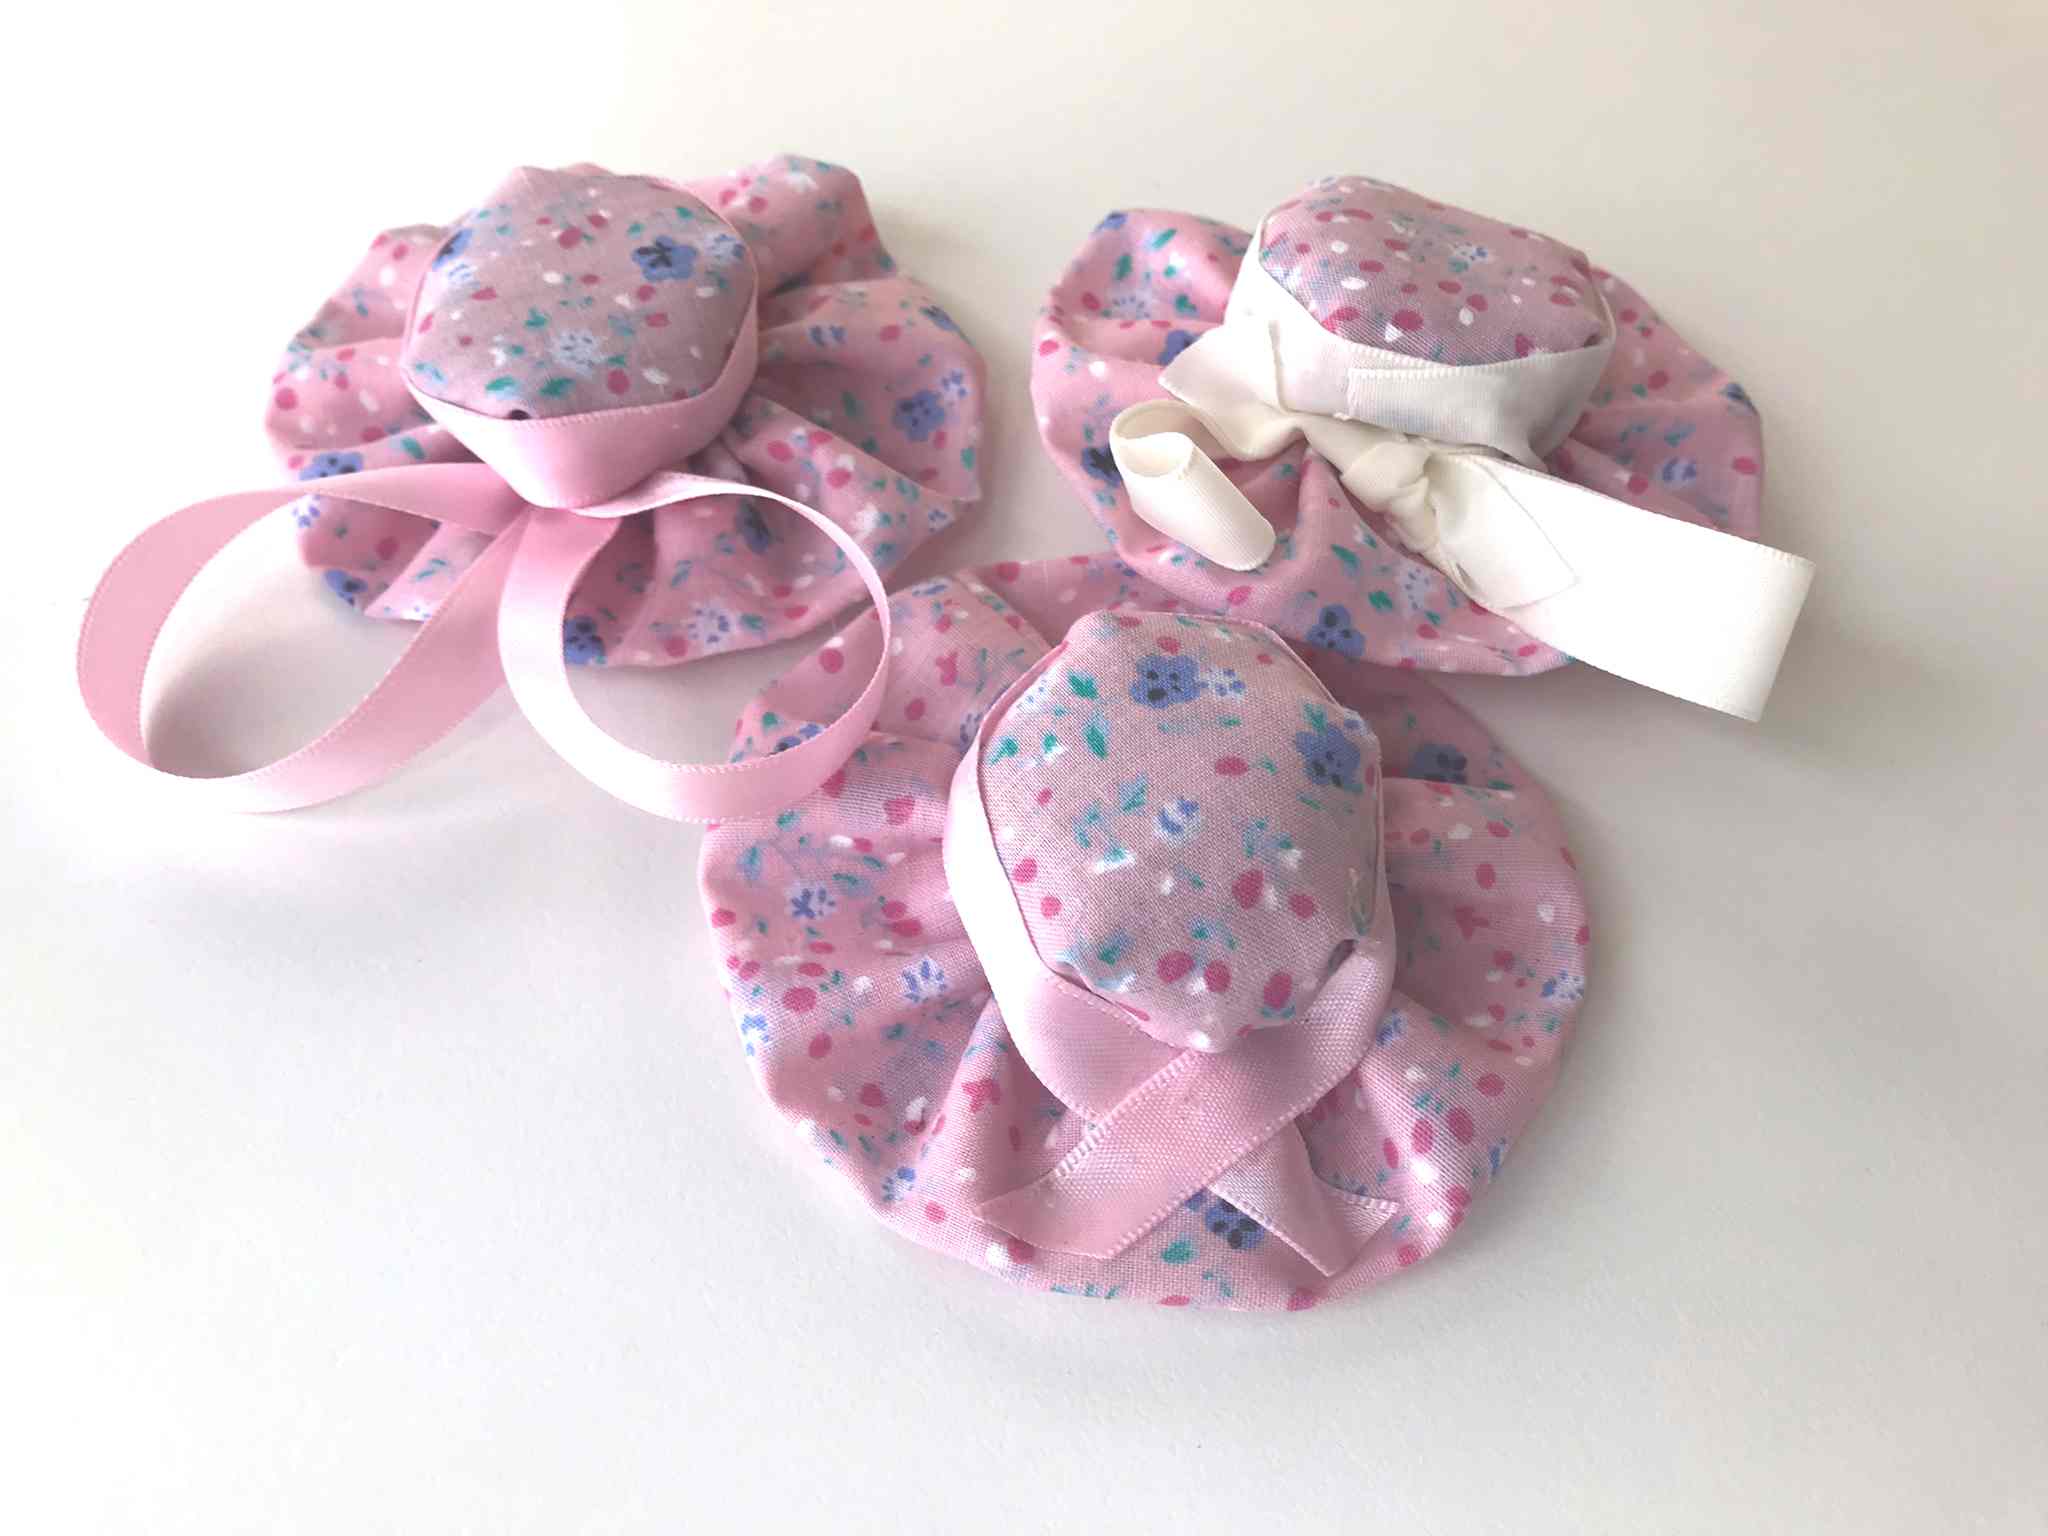
You now have your lavender bag hat but I do think they benefit from some embellishment. It is super easy to sew or glue some ribbon or lace trim around the hat. I also like to make 2 large loops of ribbon and attach them to the brim. Then the hats can be hung in a wardrobe or cupboard.
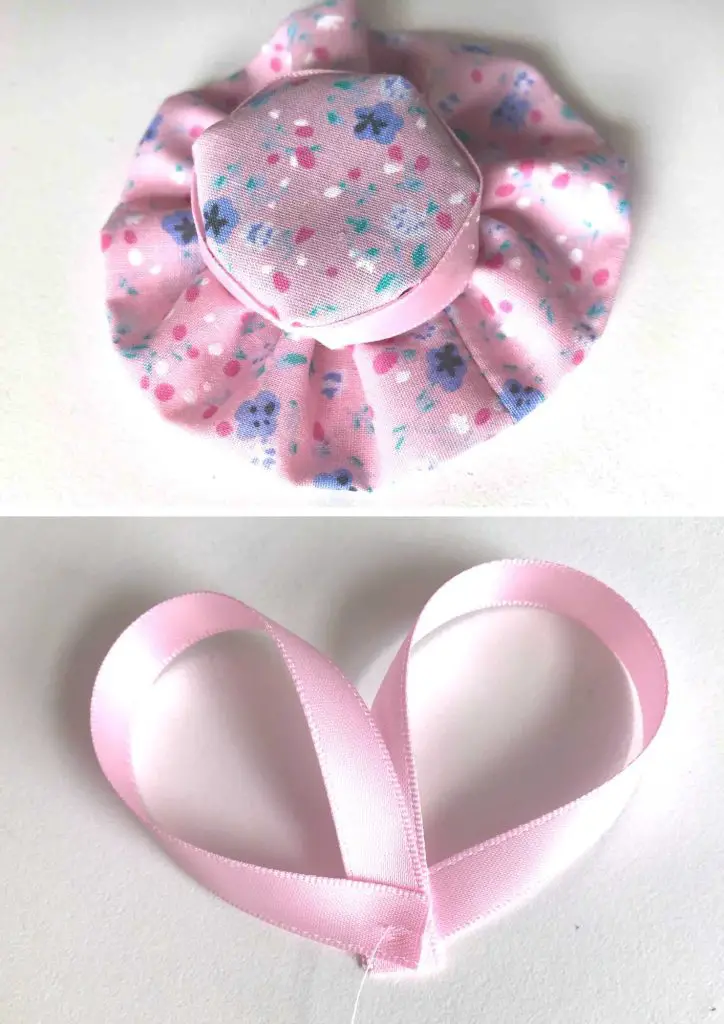
Some other great ideas include beads and buttons to add glamour. Or how about a little netting like a fascinator?
If you don’t like the base of your hat where you can see the drawing up you could add a circle of fabric or felt like I have done here. It does just finish them off but is definitely an optional extra.
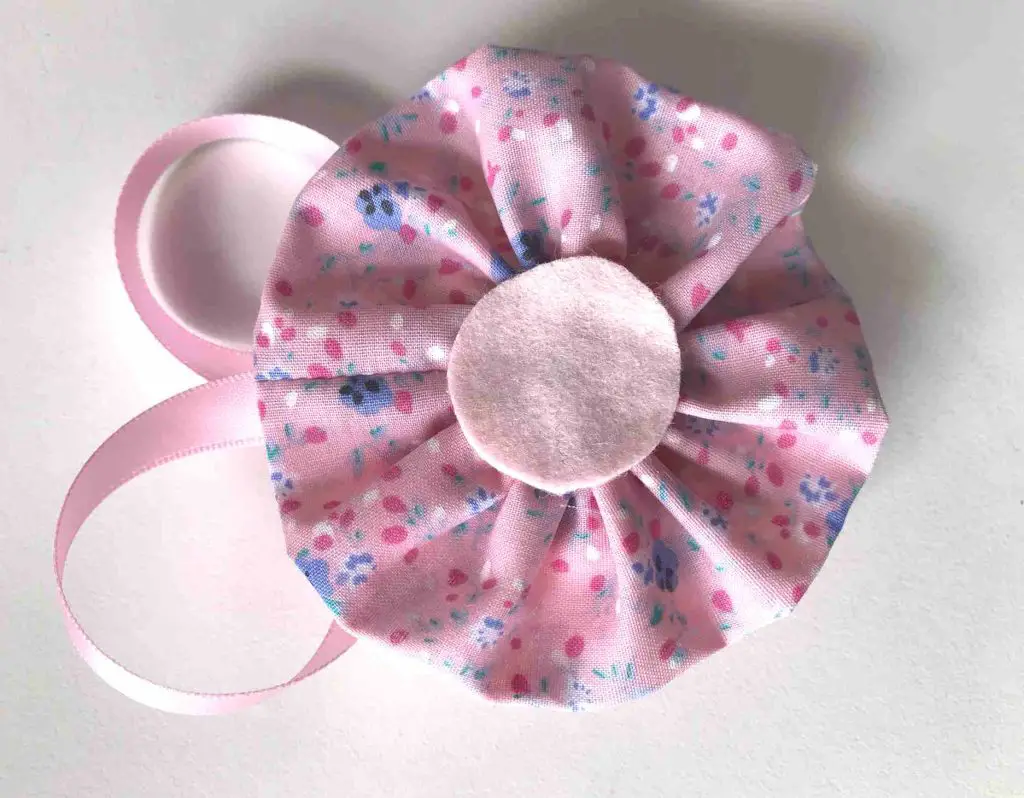
And next?
So, now you can make loads of these lavender bag hats for your charity fundraiser or handmade gifts for friends. If you would like to make some different lavender bags then how about lavender bags shaped like teabags?
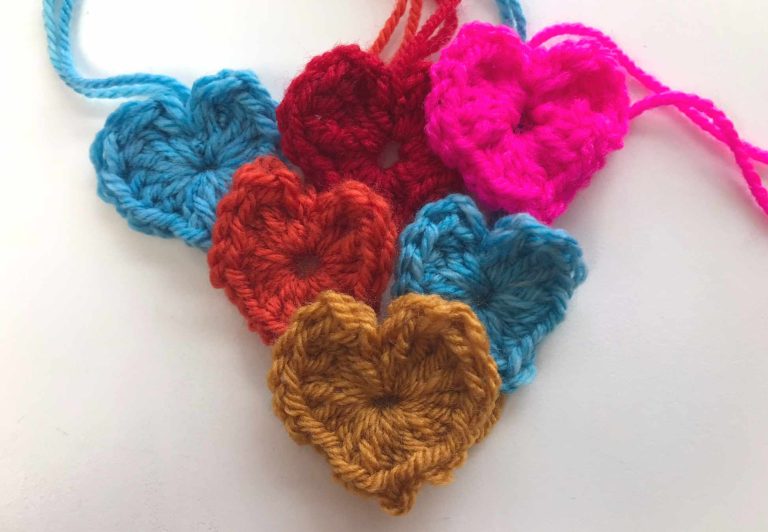
Or perhaps heart shaped lavender sachets are more your thing? Great for Valentine’s day or any time of the year as a gift.
Or maybe you love ribbons and would like to make a woven ribbon lavender sachet.
Whatever lavender bags you like enjoy making your own and sharing them with the world.
Remember to pin this tutorial on Pinterest so that you can find it again later!

