Turn an old shoebox and takeaway containers into stylish storage
As an Amazon Associate I earn from qualifying purchases
Did you know that you can turn an old shoe box into an incredible storage solution for your Lego collection (or anything else you want) using just takeaway containers? Shoebox storage ideas are not a new thing. Haven’t we all used an old shoebox to store something?
But why settle for just an old shoebox when you can make it match your decor and add dividers and storage containers. All for virtually no cost!
I am using this one to sort some Lego by colour but I am also planning to use them for craft items such as buttons, card toppers, etc. If you have any great ideas for using these then please share your idea with us in the comments section below.
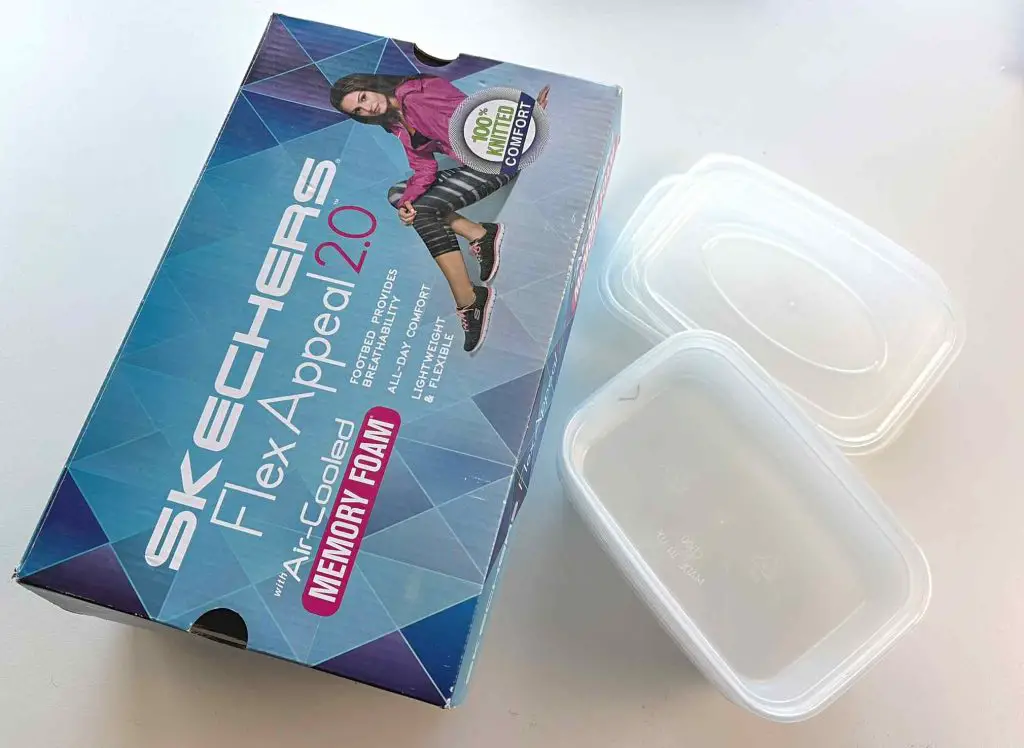
What you will need:
- Old shoebox
- Takeaway containers
- Cardboard for dividers and to cover the back
- Fabric of your choice
- Thin paper to attach dividers
- Glue
- General equipment such as scissors, measure, pencil.
Video Tutorial
This project is much easier to follow on the video but I have included step by step instructions in case you want those too. This video is also available on my YouTube channel.
Prepare your Shoebox
If you shoebox has an attached lid like mine then simply cut it off. If not, you are ready to go.
Measure the height, width and length of your shoebox. Note these measurements down.
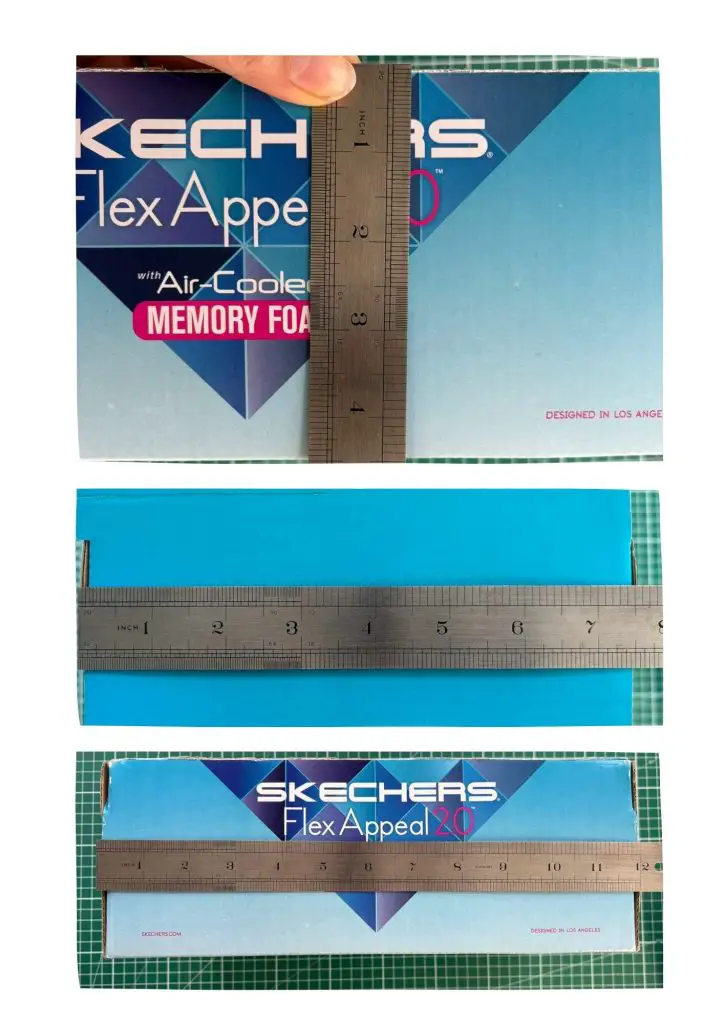
Try your takeaway containers in your shoebox and decide how many will fit. This will determine the number of dividers you need. For example, I used 5 takeaway containers and made 4 dividers.
Once you know this, measure the internal length of your shoebox and divide it by the number of takeaway containers you are using. For example, mine is 11.5″ long so when I divided it by 5 I got 2.3″ which I will round to 2.25″ because who measure 0.3″!
Then mark the shoebox on the inside where your dividers will go. Measure your ‘2.25’ from one end, then another and another until you reach the other end. One section will be slightly larger if you rounded your answer like me.
Draw a line across the box at each of these positions. I measure it twice and then join up the marks to make sure I am reasonably accurate.
This picture shows the markings in the shoebox and the dividers which we will make in the next section.
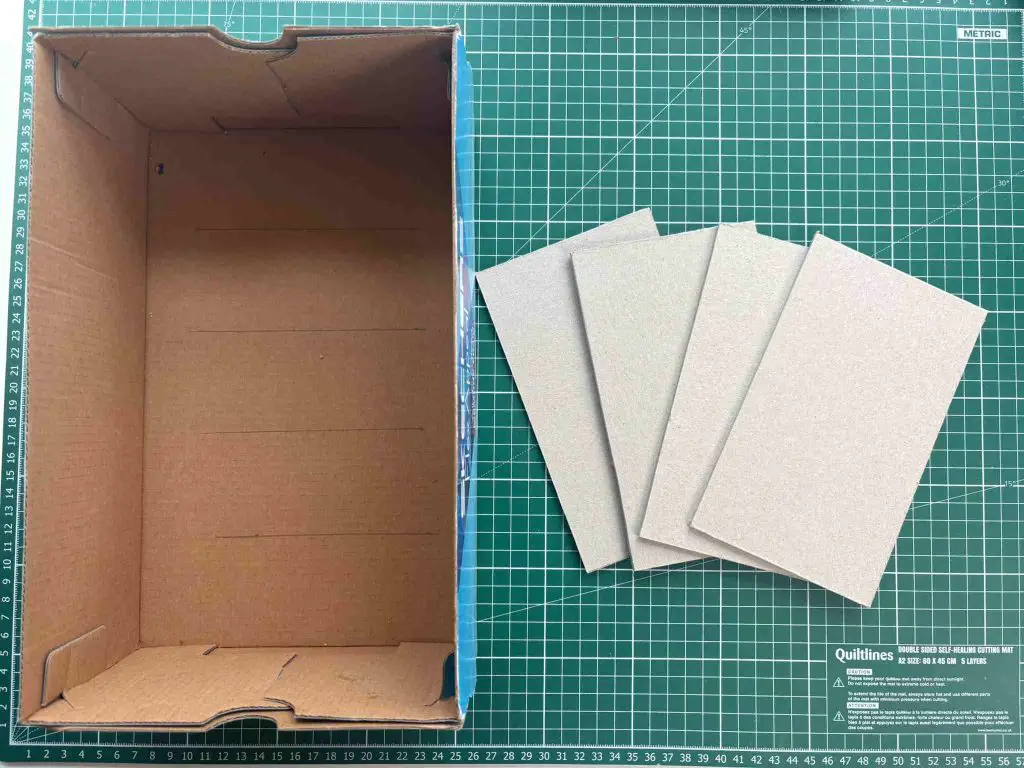
Make your Dividers
Now you need to make dividers out of a thick cardboard that fit inside your shoebox. Check the inside depth of your shoebox and the internal width of your shoebox. Then you need to cut out the required number of rectangular dividers to fit. I recommend making them exactly the internal width you measure but the height of the divider slightly less. How much less is up to you but I used 1/12″ less. I think 1/8″ would work well too.
If when you cut out your dividers they are a bit rough around the edges simply smooth them off with a piece of sandpaper or an emery board.
Check they fit inside your shoebox and adjust the size if you need to now before we add any fabric.
Cut out the same number of fabric strips as you have dividers. We are going to cover the front of each one. Obviously this is optional but it does make the final storage solution look so much prettier. Cut your strips the length of your dividers and 1″ wide.
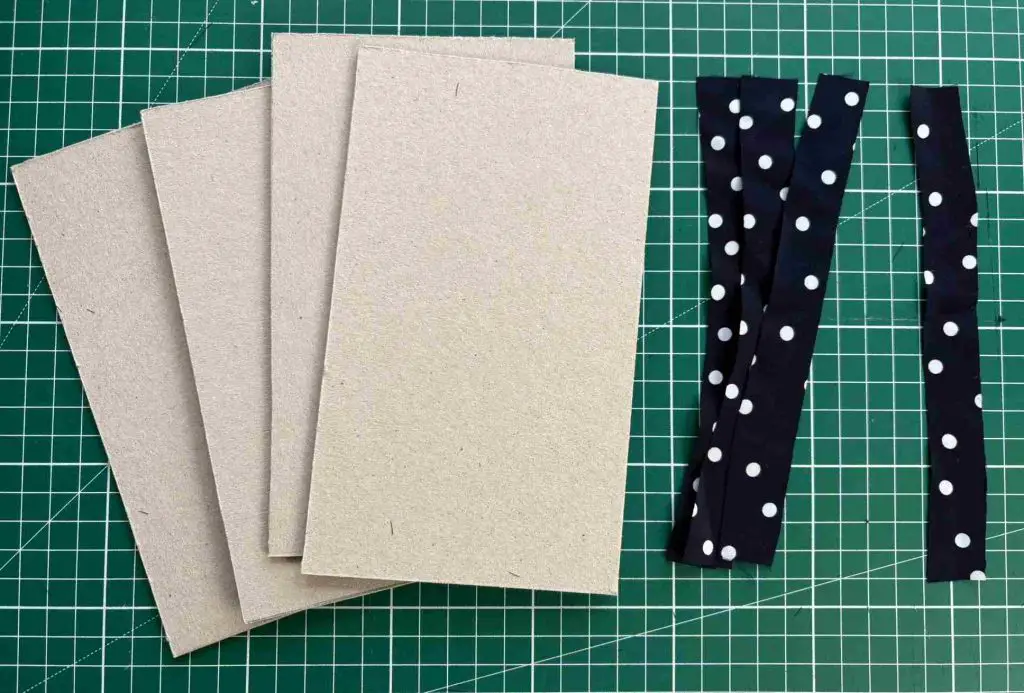
Then simply glue one onto one long edge of each divider.
To complete the dividers cut out the following strips of paper for each divider (all strips are 0.75″ wide):
- 2 strips just less than the length of the divider
- 4 strips just less than the height of the divider.
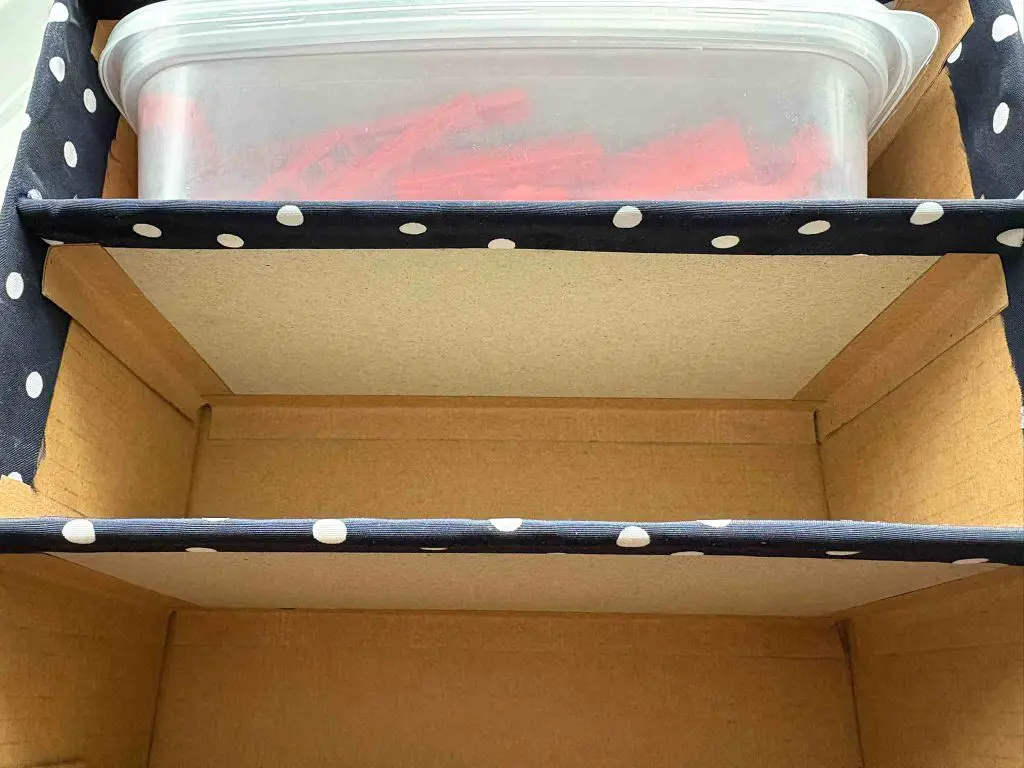
Fold them all in half lengthwise. My apologies for having no photos of this step – I simply forgot completely! I have taken a picture of the dividers in the box to try to show you but DO NOT stick them in yet!.
Glue all these strips along the edge of the divider so that you only glue one half to the divider and the other half can be glued to the inside of the shoebox. This will result in you having a firm area glued into the box for each divider.
Cover the Shoebox
Before we glue the dividers in we will cover the shoebox with our chosen fabric. Cut a piece of fabric that is calculated as follows:
(the height of the shoebox plus 1.5″) by (twice the width + twice the length +1″)
Then starting on one long side glue the fabric to the outside of the box so that an equal amount overlap the top and the bottom of the box. Plus overlap 0.5″ around the corner and glue in place.
Keep working around the box gluing it as you go. When you get back to where you started fold over enough fabric so that it reaches the corner of the box and secure in place.

Then, fold the spare fabric over the top of the box and glue it inside the box and repeat for the bottom of the box. You can snip off any excess fabric and ensure it all lies flat and looks fabulous!
OPTIONAL: Cover back of Shoebox Storage
If you want the back of your storage solution to look good then do this step. Otherwise skip on to adding the dividers.
I cut a piece of thin card. I actually used the back of an A4 notepad. Cut your card so that it is slightly smaller than the bottom of your shoebox. Perhaps cut it 0.25″ smaller in each dimension. Cut a piece of your fabric that is 1″ larger in each dimension.
Glue the card to the centre of the fabric and then overlap the edges and glue those down, cutting off any excess at the corners.
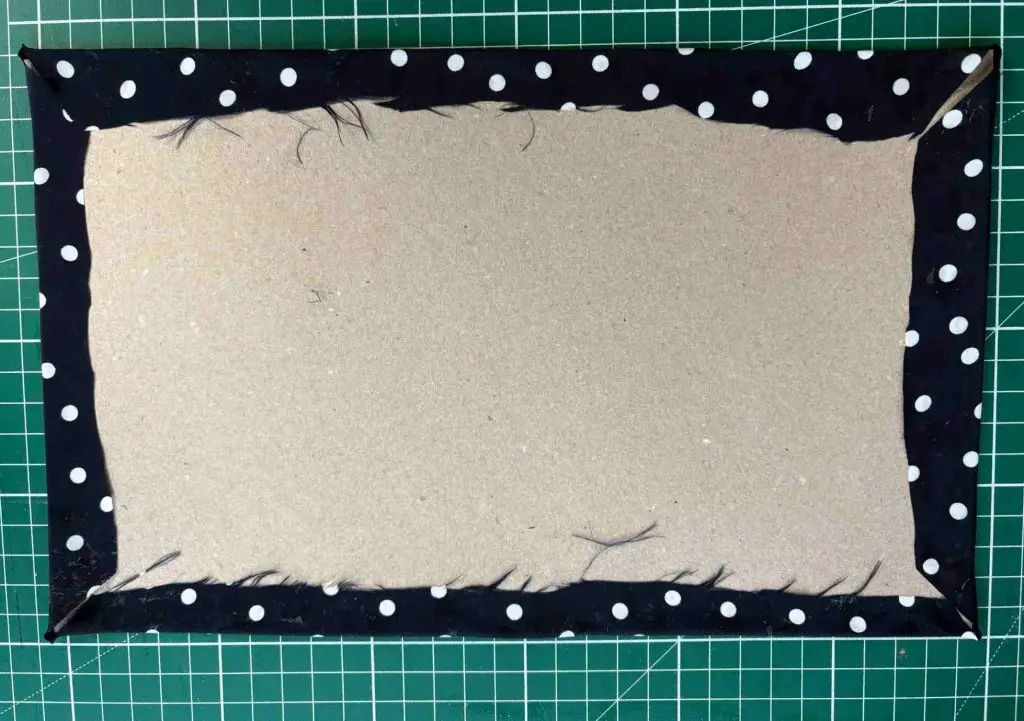
Then, glue the card to the bottom of the shoebox so that you have a lovely fabric back to your storage.
Insert the Dividers
Take each divider in turn and apply glue to the paper flaps that you attached earlier. By now they should be dry and easy to handle. Then, carefully place the divider onto one of the lines you marked inside your shoebox earlier. Make sure that you get the divider square to the box so that as you look at the box now the divider is vertical.
Repeat for all the dividers and then let the glue dry.
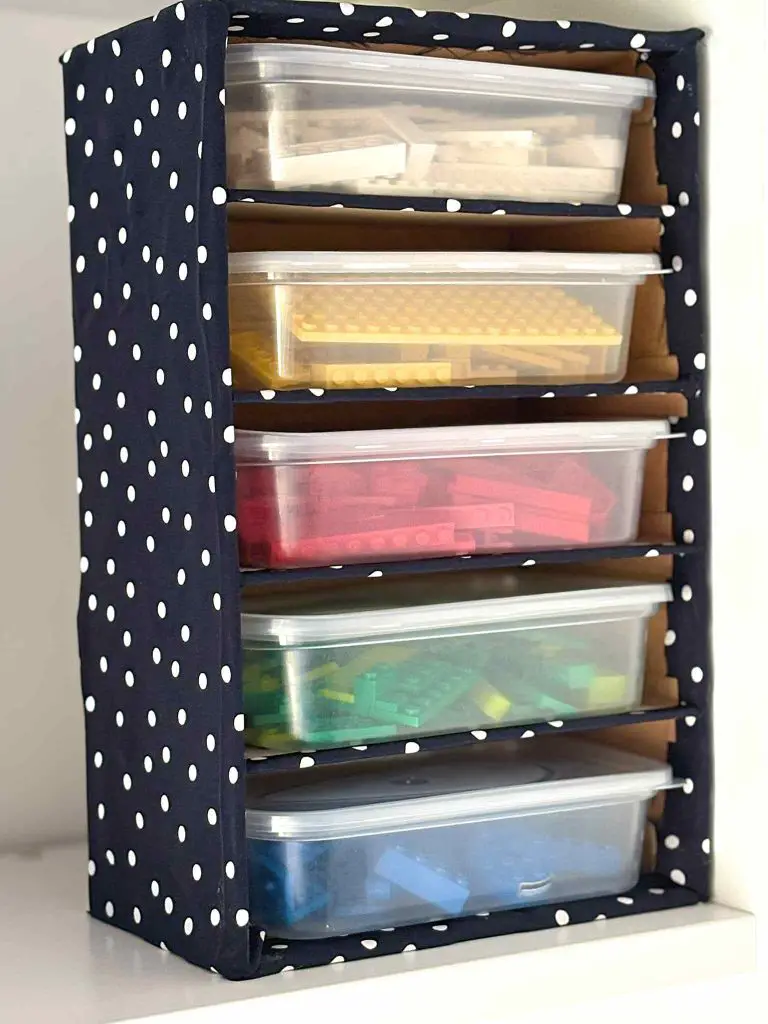
Now you can add your takeaway containers and whatever you have decide to store in your shoebox storage unit.
Do let me know in the comments below if you have any more great old shoebox storage ideas.
And next …
Now you have succeeded in making your own storage out of an old shoebox and takeaway containers and making it stylish what else would you like to try?
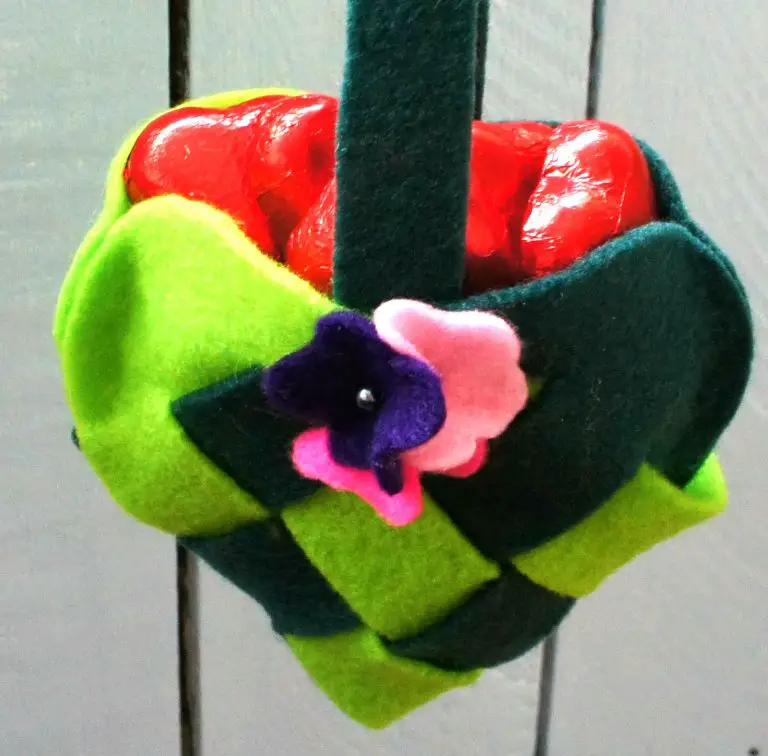
If you want to upcycle some more junk then how about cute baskets made out of old aerosol lids? These are super easy and make great lavender baskets.
Or perhaps take an old t-shirt and turn it into a shopping bag. There are sew and no-sew versions! So no more throwing those t-shirts out just because they don’t fit or you have gone off them.
I love upcycling old stuff so feel free to have a poke around the site or use the search function at the top to find a particular project. There is more than shoebox storage ideas!
Remember to pin this tutorial on Pinterest so that you can find it later!