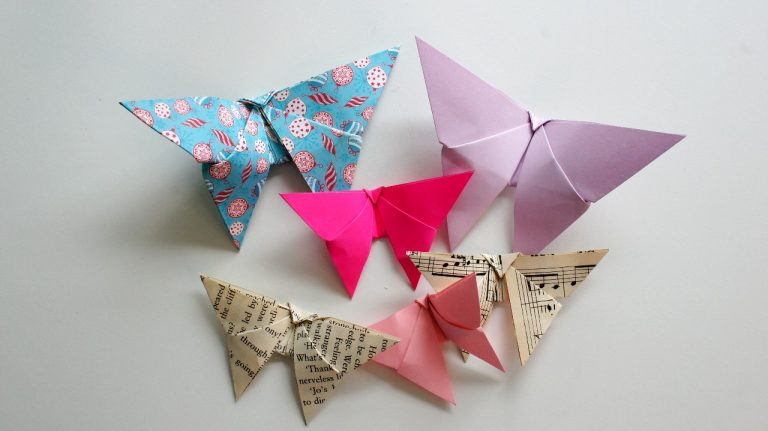
Create Beautiful Origami Paper Flowers That Last Forever
As an Amazon Associate I earn from qualifying purchases
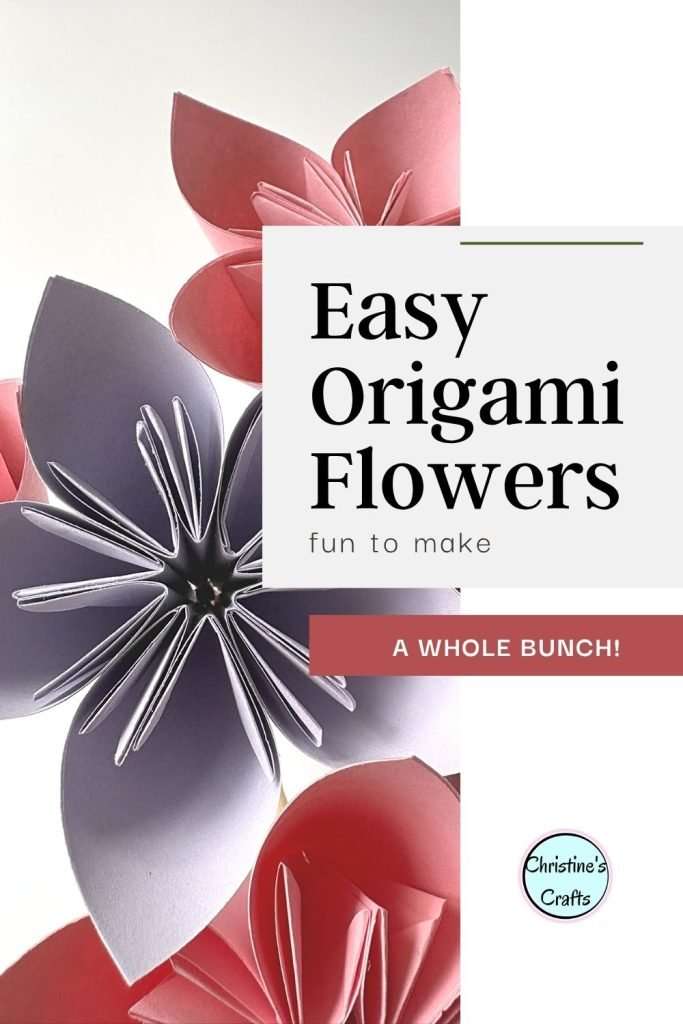
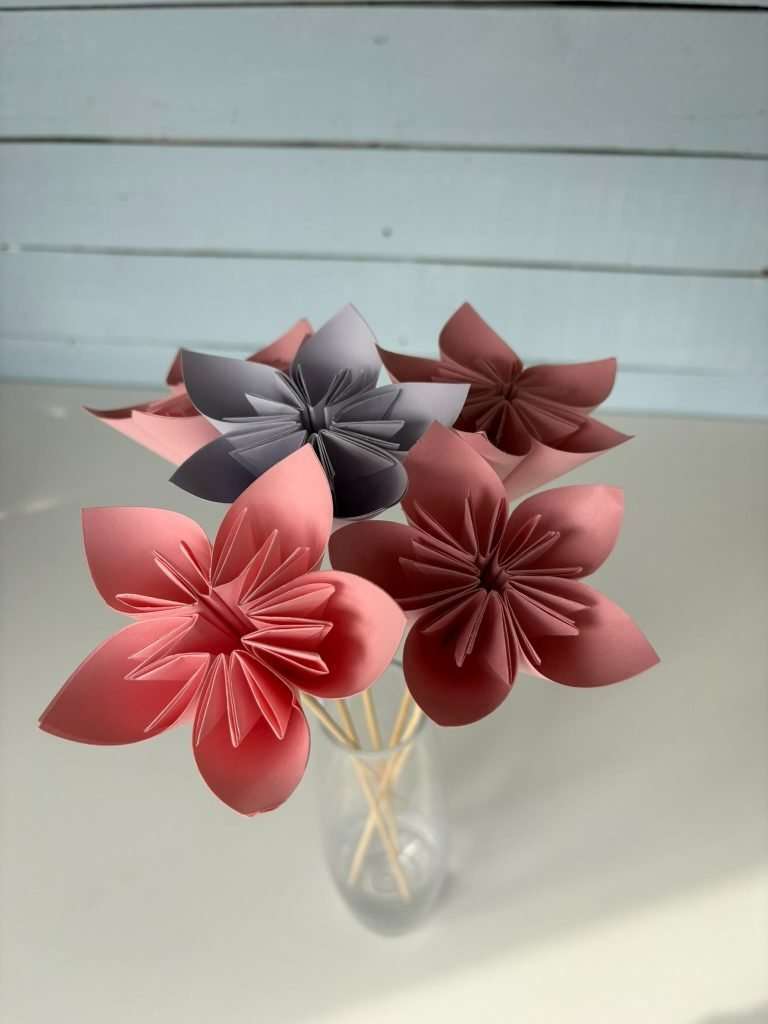
Origami paper flowers combine the ancient art of paper folding with the timeless beauty of nature’s blooms. Unlike fresh flowers that wilt and fade, these delicate paper creations can brighten your space indefinitely, making them perfect for home décor, special occasions, thoughtful gifts, and craft projects.
Whether you’re a complete beginner or have some origami experience, making paper flowers is an accessible and rewarding craft. These are suitable for every skill level. Best of all, you only need a few sheets of paper and a bit of patience to create stunning floral arrangements.
So, let’s get started!
This page contains affiliate links meaning I earn a little commission if you use those links at no cost to you. I only recommend brands I use and trust.
Video Showing Easy Origami Flowers
This video is also available on my YouTube channel.
General Origami Tips
- Ensure all folds are accurate
- Press all folds firmly
- Running your fingernail along a crease makes it a sharp crease
- Ensure your paper is the same way round as mine at every step
- If you want to learn some basic origami folds take a look at The Beginner’s Guide to Origami
You will need:
- Paper – try Origami paper or book pages
- Glue (I used an ordinary glue stick)
- Scissors
- Bbq skewers or straws for stems
- Florists tape or ribbon (optional)
Fold your Origami Flower
Form a Petal
Cut 5 squares of paper. My squares are 4″ by 4″ and the finished flowers are approximately 3.5″ across.
Do the following with each square:
Fold the square in half along the diagonal. Then take one of the lower points and fold it up to the top point.

Take the point you just folded up and open it out as shown to form a kite shape. Then fold the point of the kite shape down
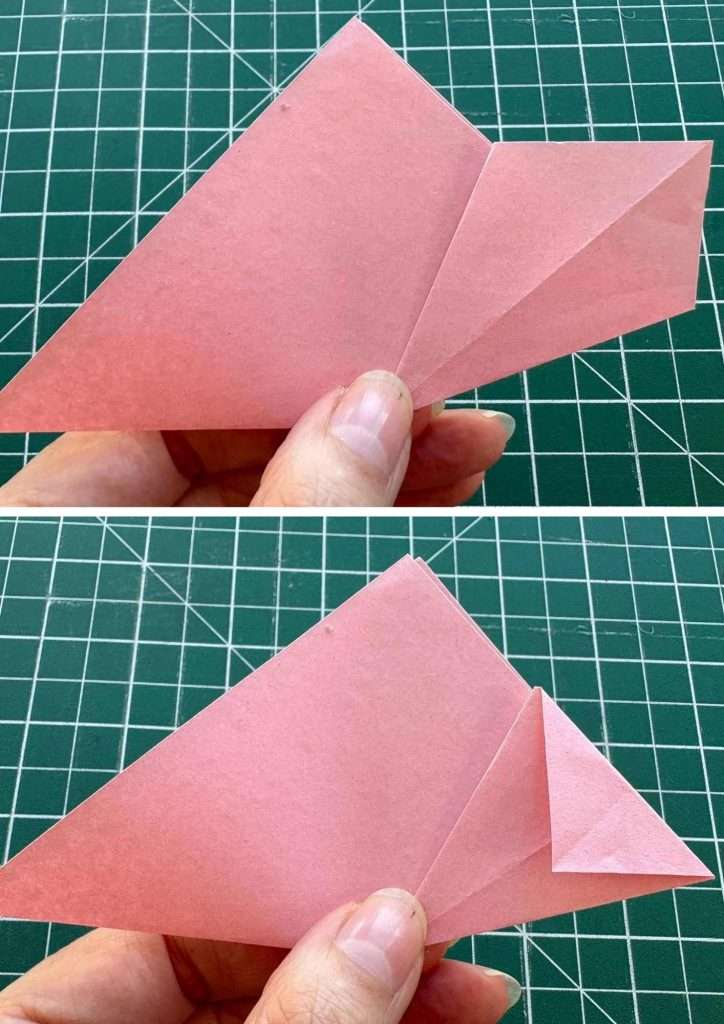
Fold the kite shape closed. Then repeat this process with the point on the other side.
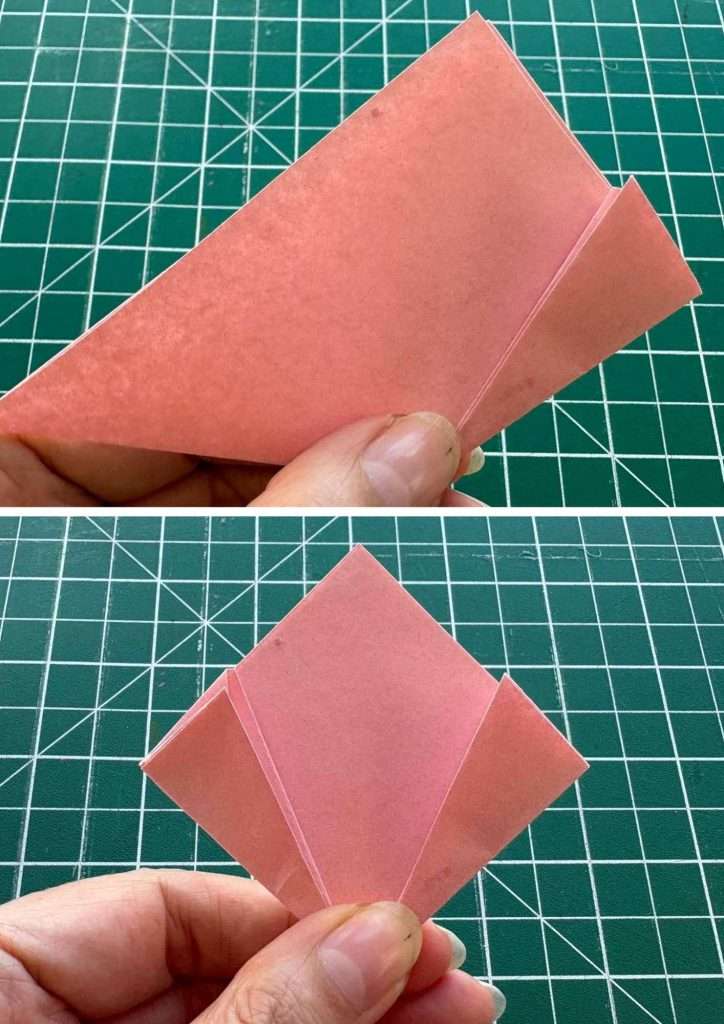
Glue the two folded flaps together. Make sure that you curve the petal around, do not fold it to reach.

Repeat with the other 4 squares so that you have 5 petals.
Form your Flower
Take one of your petals and apply glue down one side of it. Place another petal against it and squeeze them together carefully. I suggest placing your fingers inside the petals so that you do not crush them.
Repeat all the way around until you have glued all 5 petals together.
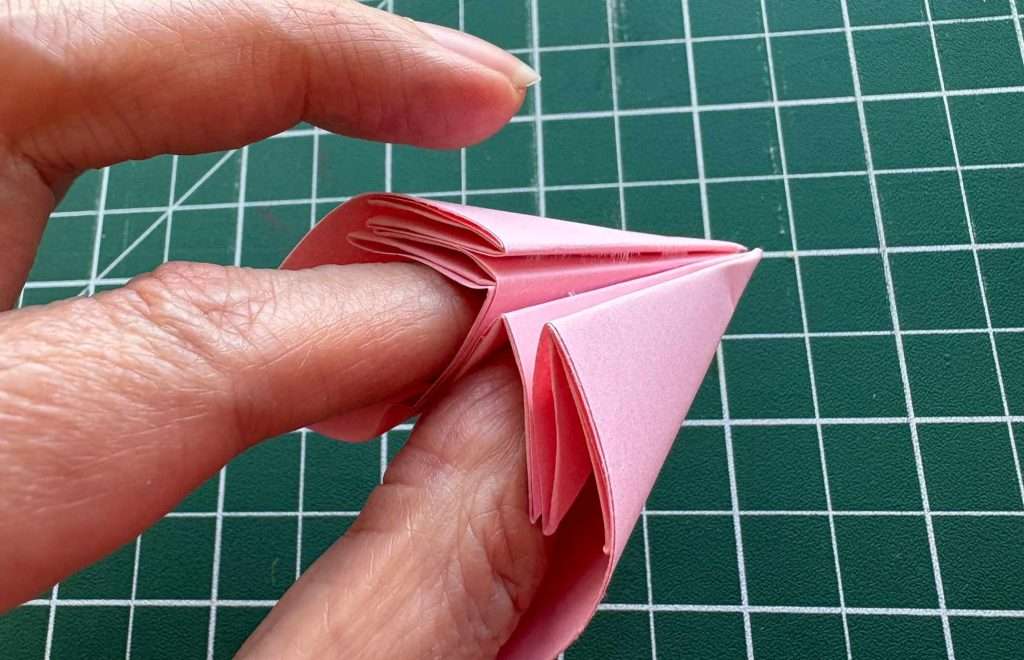
You now have a flower. Repeat for as many as you like!

Add a Stem
If you would like a stem on your flower there are 2 ways that I use. You can simply glue a barbecue skewer up into the base of the flower. Use your glue stick or perhaps a multi-purpose glue.
Alternatively, glue a straw to the base of your flower using hot melt glue.
Whichever method you use you can choose to cover the stem with florists tape or ribbon. An easy way is to add a strip of double sided tape along the length of the straw and then wrap your tape or ribbon.
And next …
So now you have a glorious bunch of Origami paper flowers how about expanding your Origami repertoire using these tutorials?
If you are looking for some more paper flowers then check these great tutorials out here.
Enjoy your paper crafts and let me know in the comments below how you get on with your flowers.
Pin this tutorial on your favourite Pinterest board so that you can find it later.