Planting up hanging baskets and pots for summer
As an Amazon Associate I earn from qualifying purchases
This page contains affiliate links meaning I earn a small commission if you use these links at no cost to you. I only recommend brands I use and trust.
You will need:
Plant pot or hanging basket
multi-purpose compost
water storing granules (optional)
plants
water
Tutorial
1) Setting up
Set up your work area with you pot or basket and a supply of compost. I am currently using a mix of multi-purpose compost and peat free multi purpose compost. I am trying to go peat free but I am having mixed results so for the moment I am compromising. Update: I am now peat free!
Make sure your pot is properly drained. In my baskets, I make sure the plastic liner is pierced in several places. Make sure your pots have drainage holes. In pots, I add old polystyrene packaging broken up into the bottom of the pot. This ensures that the drainage holes do not get blocked and the pot is a little bit lighter for moving.
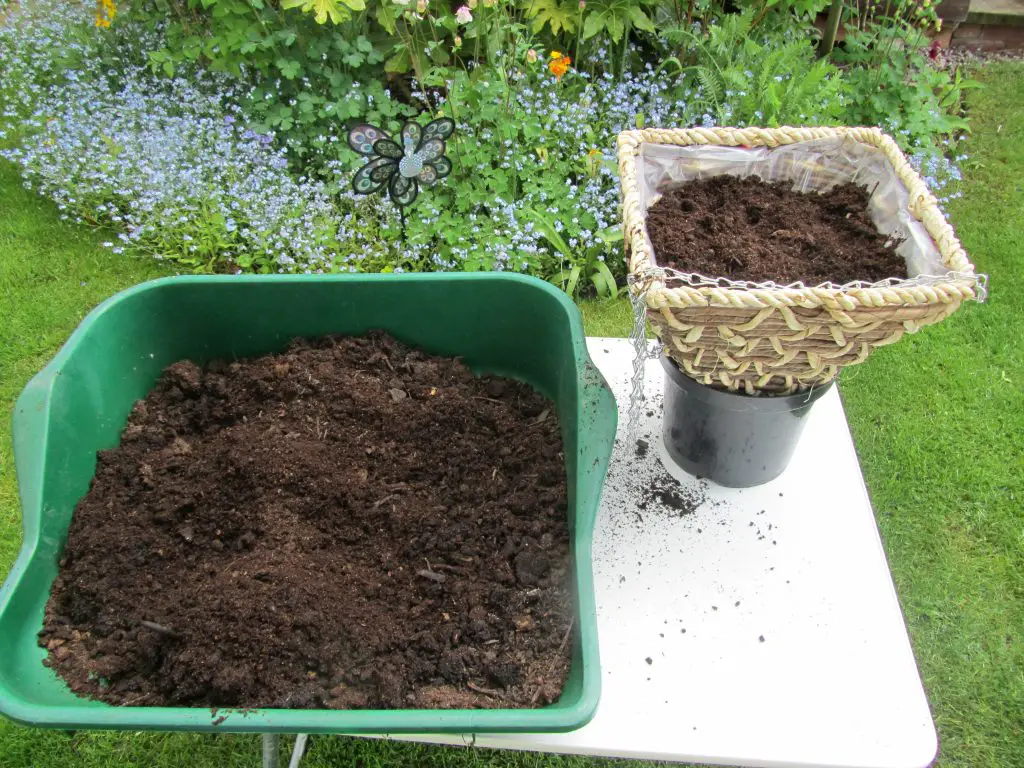
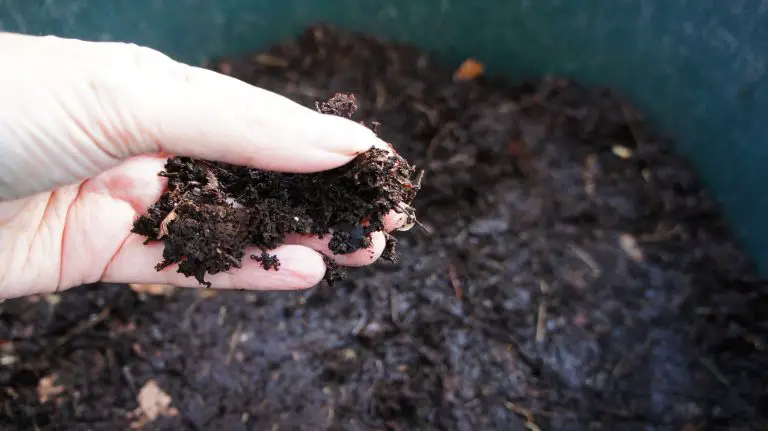
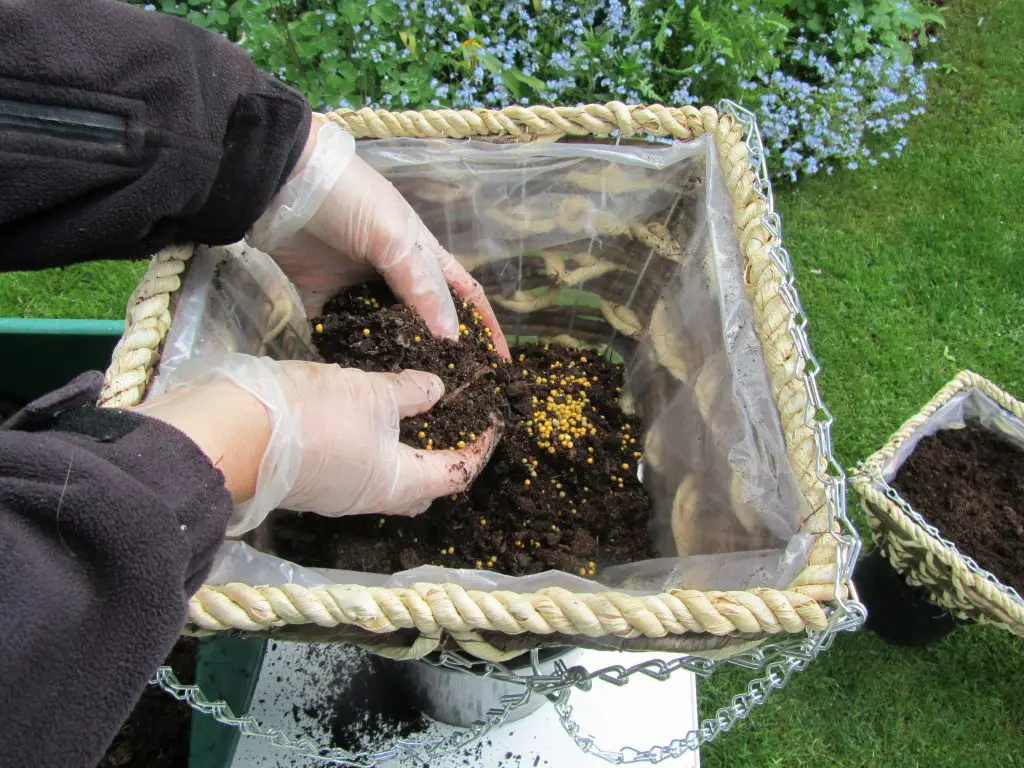
2) Compost
Put sufficient compost into the pot for the plants to go on top of. At this point I mix in some plant food. For the last couple of years I have used Miracle Gro plant food granules. This feeds the plants for a few weeks and minimises the amount of feeding I need to do during the summer. If you want to use water storing granules now is the time to add those. I have been using them for a few years but now I have an automated watering system I am trying without them.
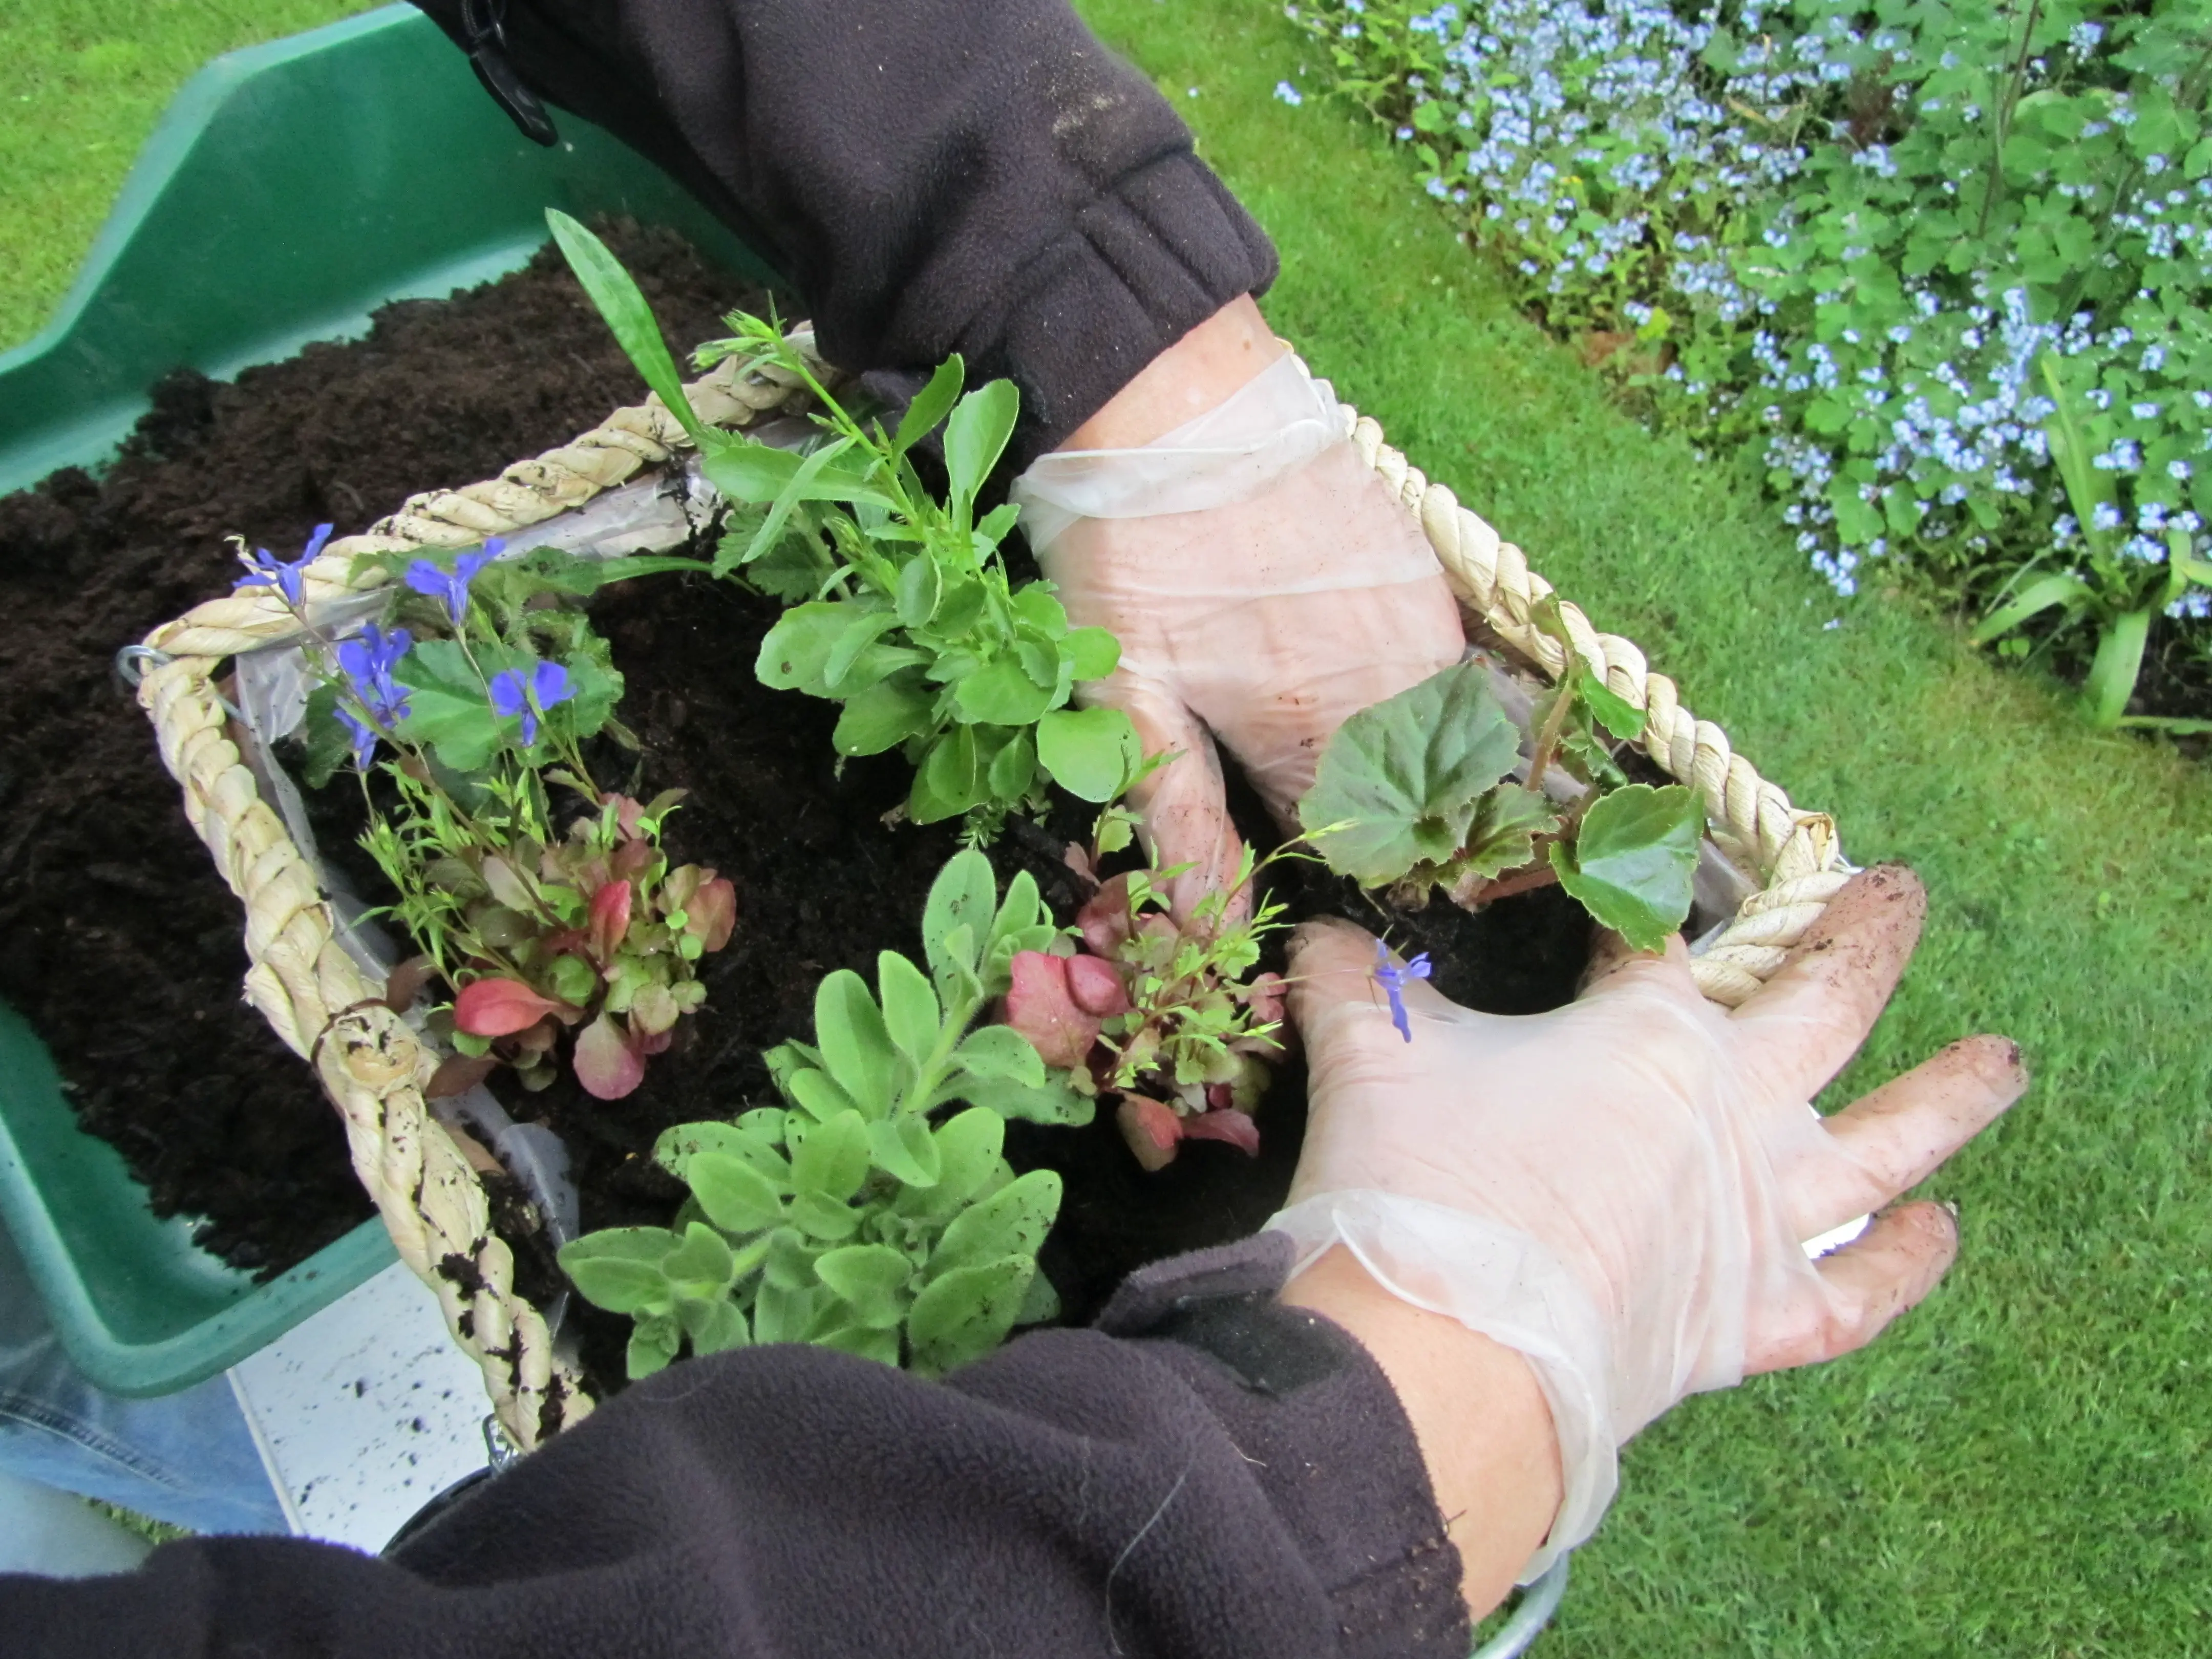
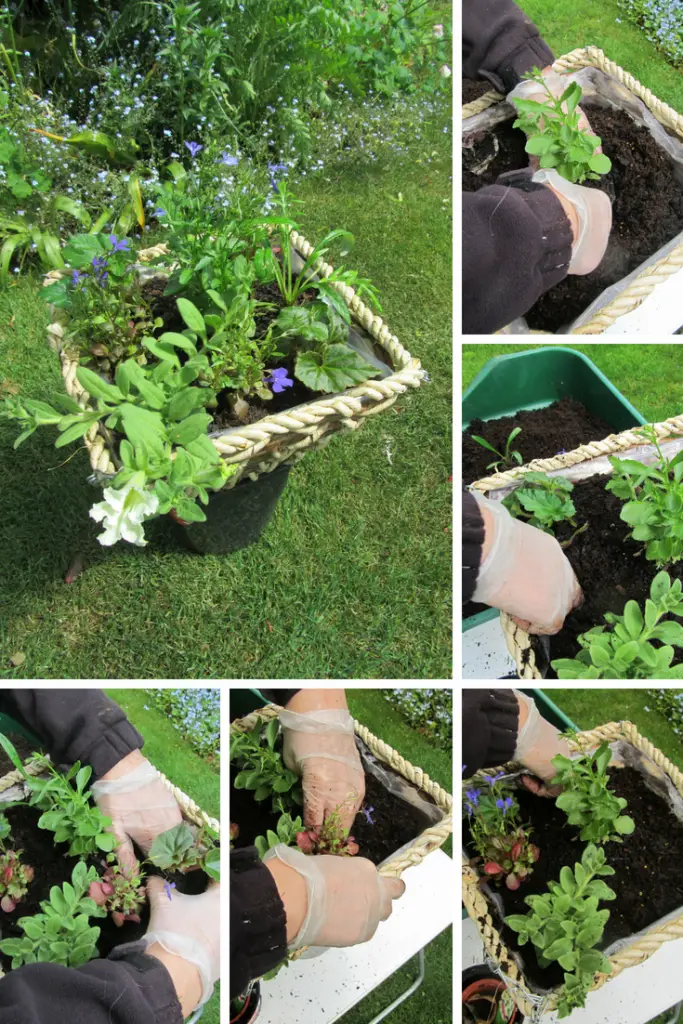
3) Position plants
I always lay the plants out in the pot to ensure I like the way they look. It is difficult to imagine how they will look in a couple of months but I try! This means that I can move them around easily and change the plants until I am happy without damaging the roots.
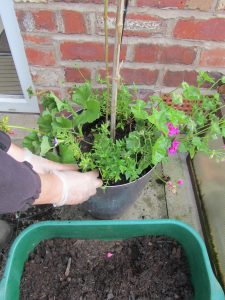
 4) Planting it up
 4) Planting it up
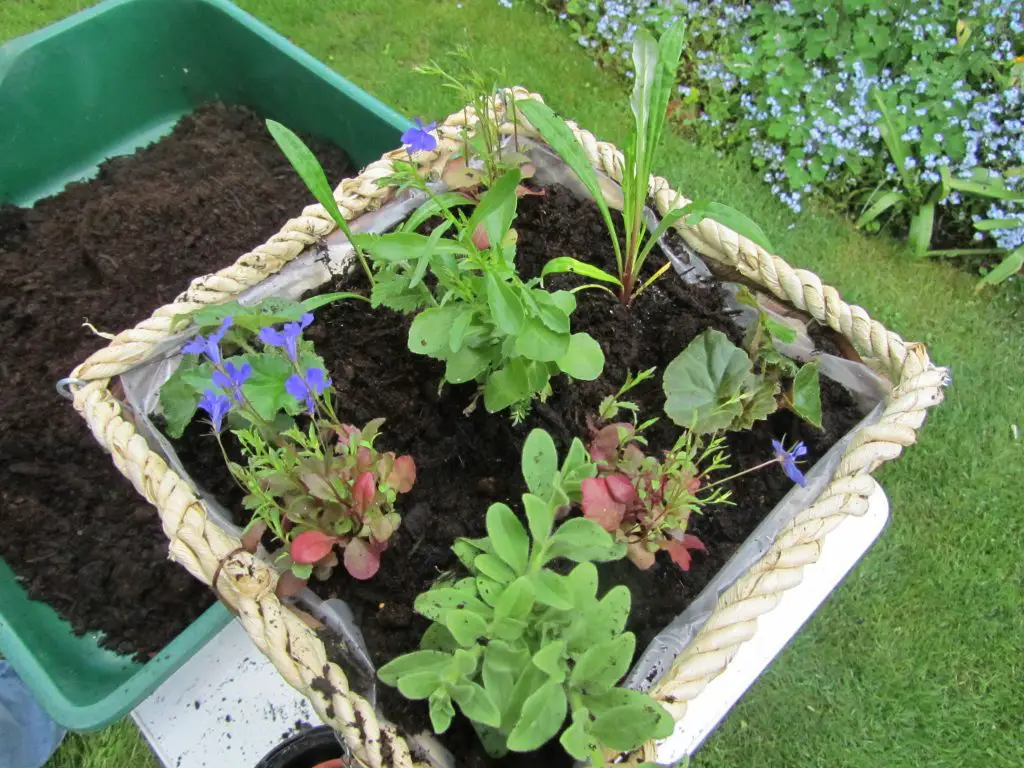
The best part is planting up the pot. Start with the central plant and then add the plants around the sides. Place one plant in and then firm it in with some additional compost. Repeat until all the plants are planted. Check the level of the compost and add any that is needed. Do not get the compost too close to the top of the pot or it will become difficult to water.
5) Completed pot
Once you are happy with the pot or basket make sure you water it thoroughly and keep it in the shade whilst the plants adjust to their new home. I spend a couple of weeks hardening off the plants thoroughly by bringing them in at night. If your plants have already been hardened off you can skip that stage.
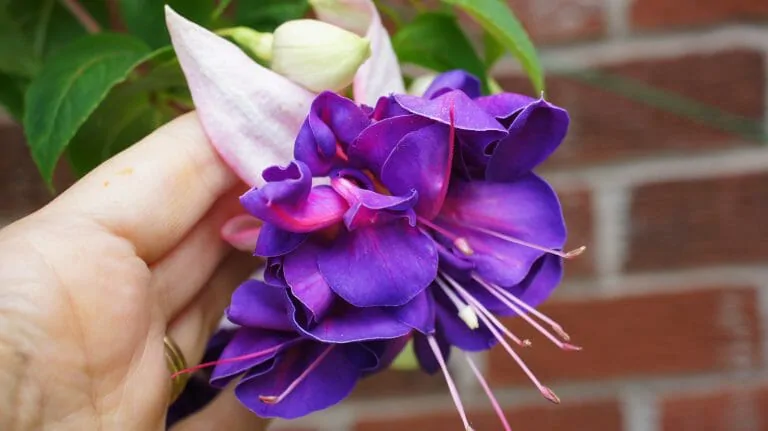
I also planted up several other baskets and pots. I emptied the pot that lives by my back door and re-planted it. All the plants and bulbs I took out were planted in the garden. It should look great in a couple of weeks and last all summer. The standard fuschia I planted is one I took from a cutting last year and grew into a standard. It is the first time that I have attempted it.
So whatever container you use simply get planting and remember to keep it well watered.
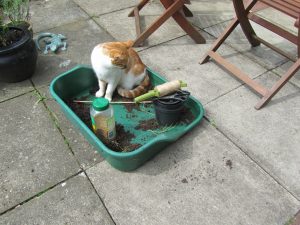
Of course, I had help when planting up my baskets and pots. Emily is never far away (unless she is snoozing!)
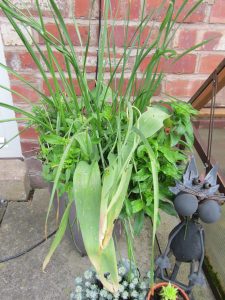
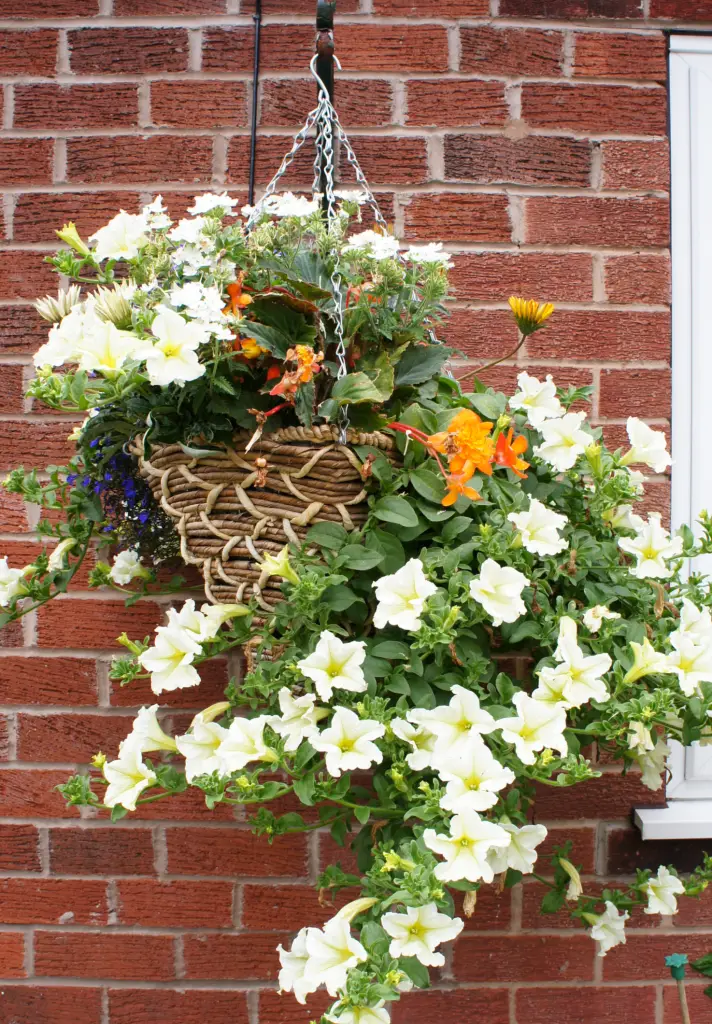
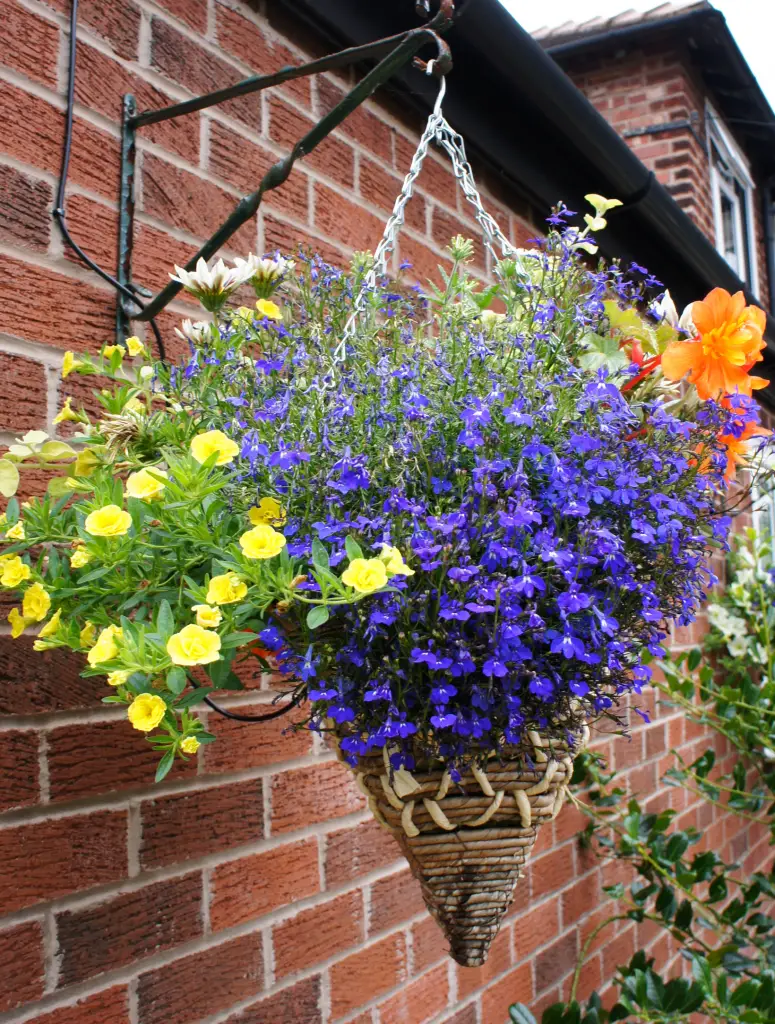
This is how the baskets looked at the height of summer!
I have other articles to help gardeners, old and new, so take a look at:
Key Steps for Success with Succulents
Upcycle an Old Sink using Fabulous Planting
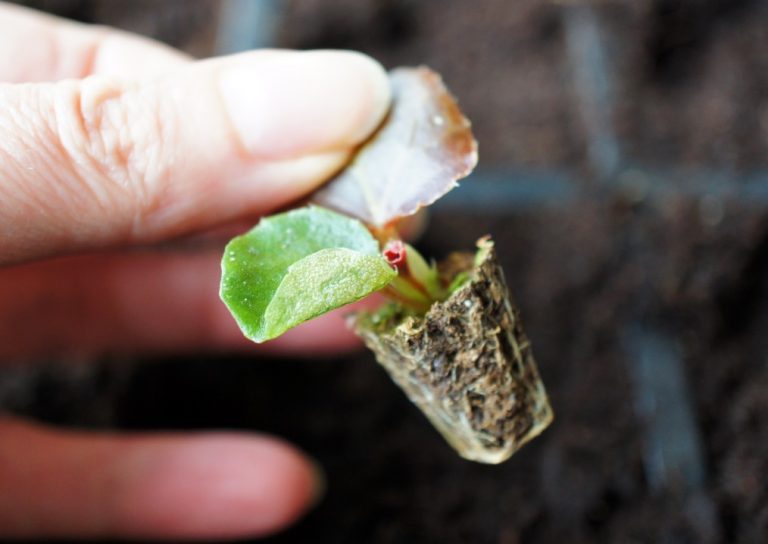
Transplant seedlings successfully
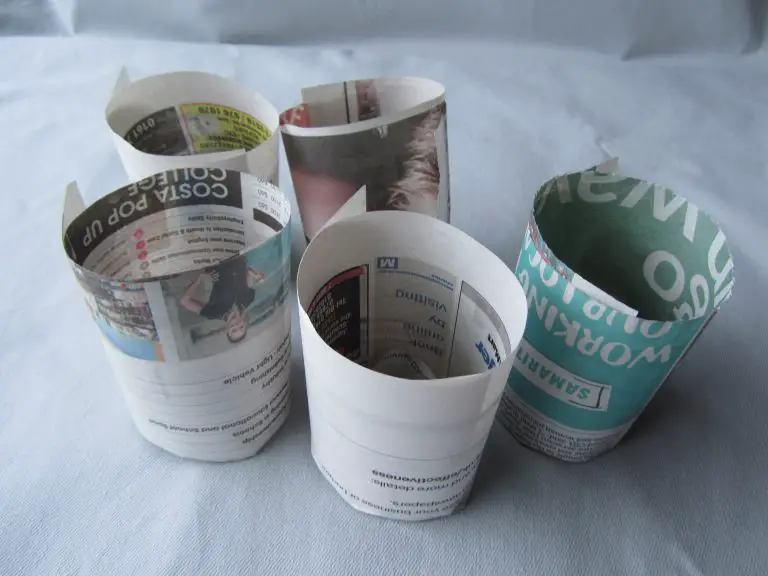
How to make free biodegradable plant pots
If you want fabulous hanging baskets then pin this article so that you can find it again.