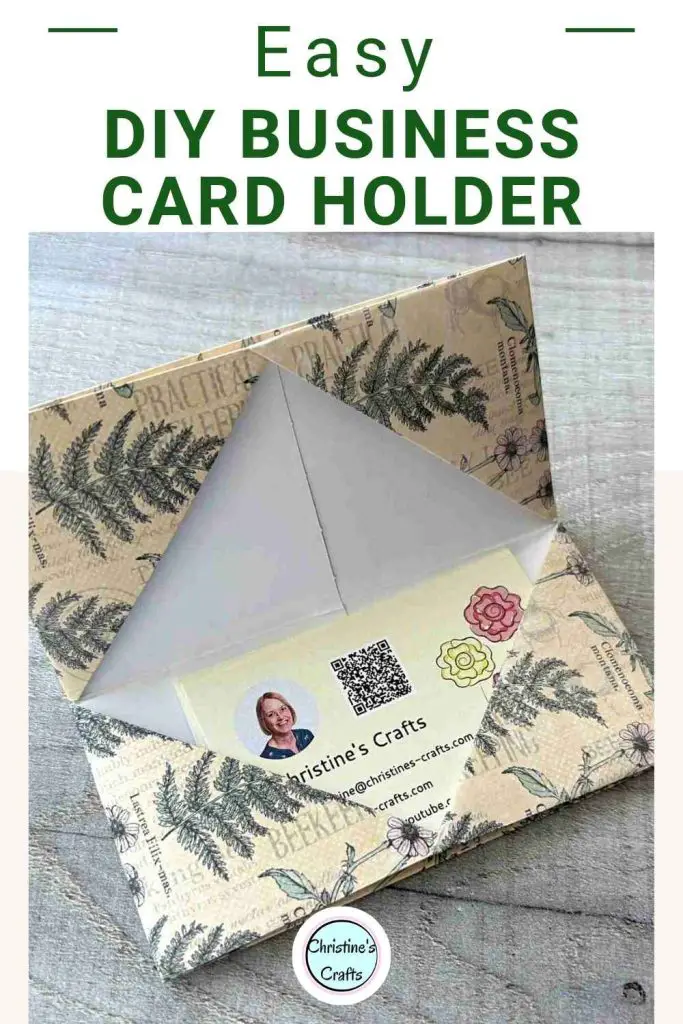
Easy DIY Origami Business Card Holder in under 5 minutes!
As an Amazon Associate I earn from qualifying purchases
Ever find your business cards or credit cards getting a little lost in your bag or pocket? Well, today’s super simple origami project is here to rescue them! We’re going to fold a neat little card holder that’s perfect for keeping things organized.
It takes next to no time – seriously, we’re talking less than five minutes – and all you need is a square of paper or some thin card. Plus, you can totally make it your own with whatever paper you’ve got lying around.
If you want one that is more hardwearing consider using fabric paper!
Let’s dive in and get folding!
You will need:
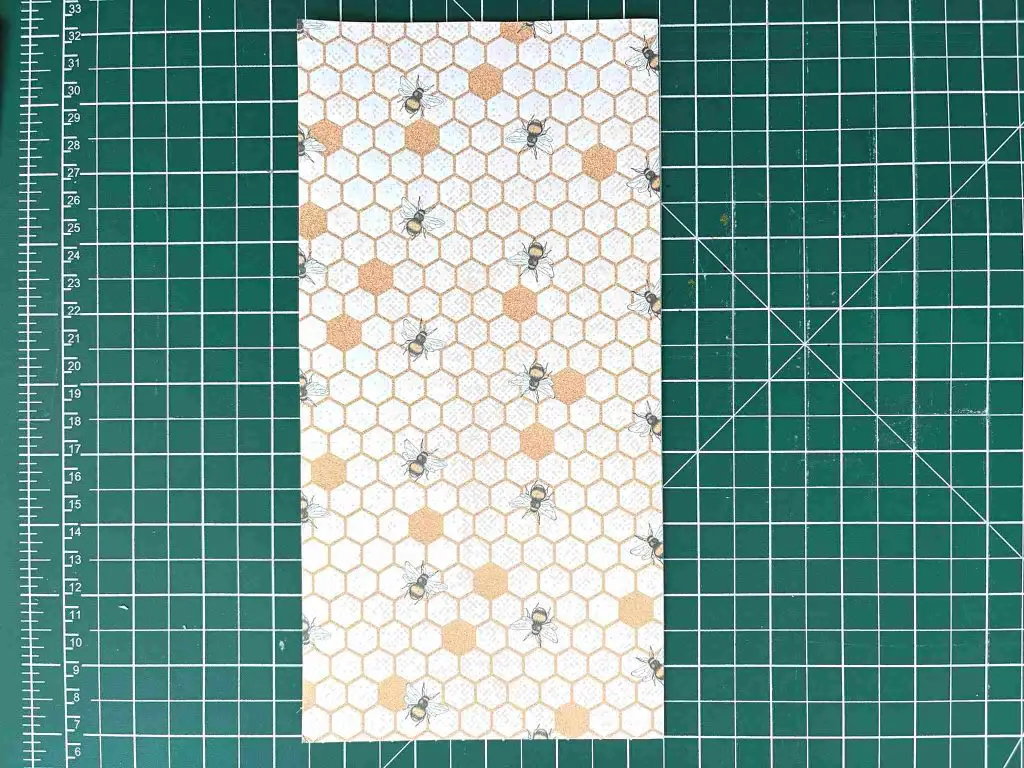
- Square of paper / card – 10″ by 10″ for business cards, 9″ by 9″ for credit cards
- For fabric paper check out how to make it here.
Video Tutorial for the Origami Business Card Holder
This video is also available on my YouTube channel.
General Origami Tips
- Ensure all folds are accurate
- Press all folds firmly
- Running your fingernail along a crease makes it a sharp crease
- Ensure your paper is the same way round as mine at every step
- If you want to learn some basic origami folds take a look at The Beginner’s Guide to Origami
Let’s Get Folding
Place your paper with the pretty side down onto the table. This pretty side will form the outside of your DIY business card holder. Fold your square of paper in half. Then open it up again and fold it into the centre fold on each side of the fold. These steps are shown below.
Then open it up again and fold it into the centre fold on each side of the fold.
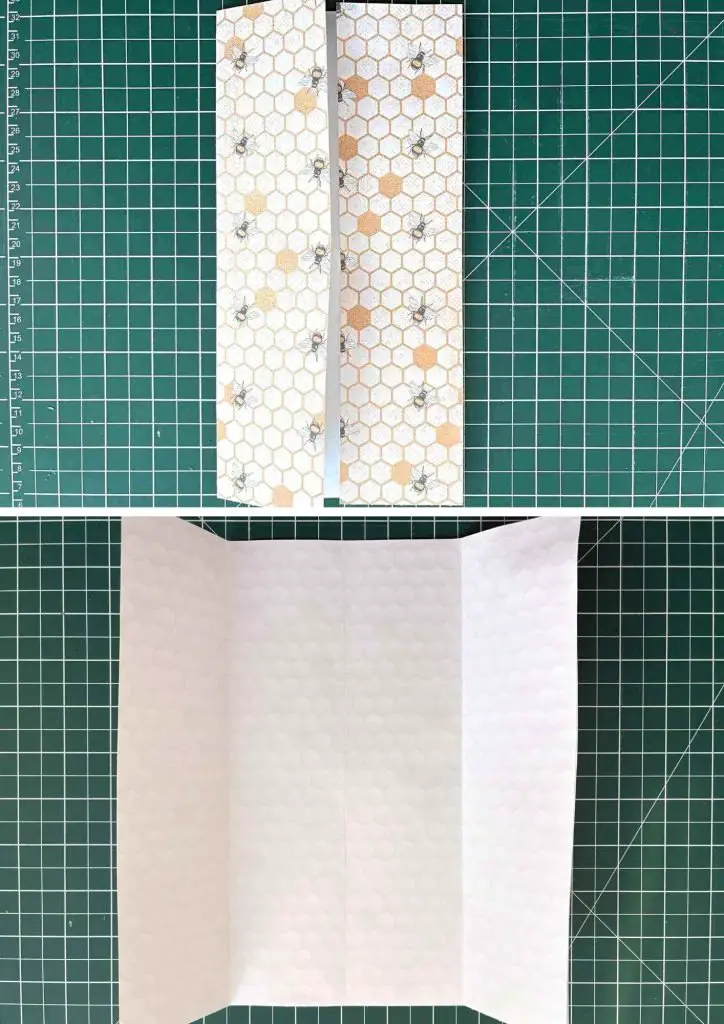
Fold each corner of the paper in as far as the first fold you reach. This will make the inside of your business card holder eventually.
Then fold the two outer edges back in towards the centre of the paper.
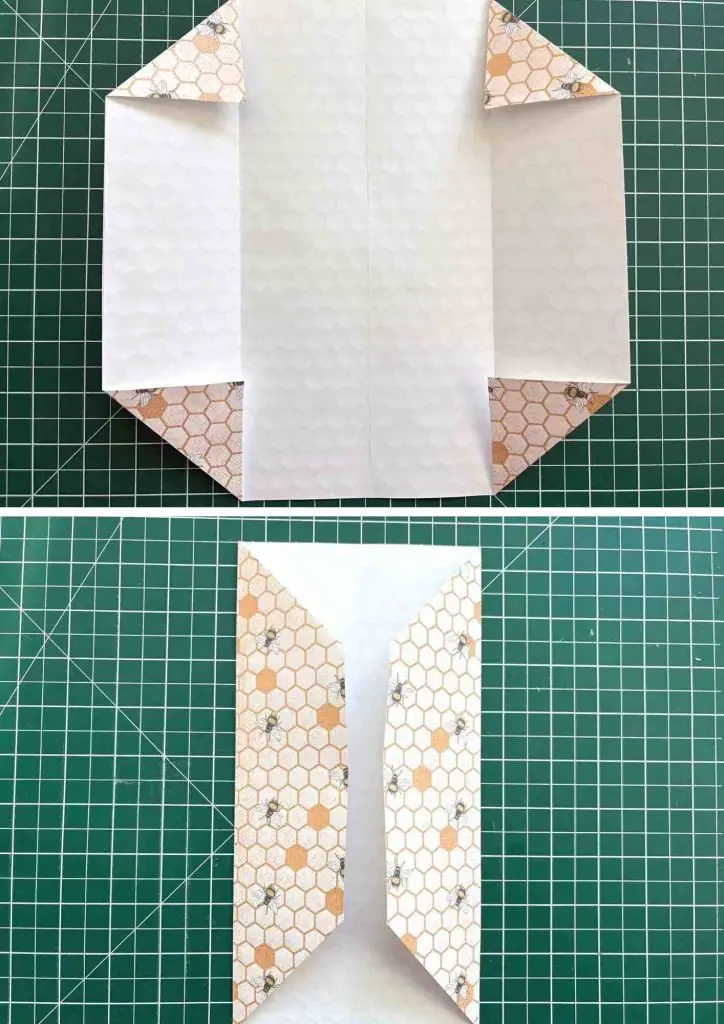
Turn the whole thing over. Now fold up the bottom of the paper until the whole of the white triangle is showing. Repeat for the top of the paper.
The two sections should overlap. Slip one inside the other.
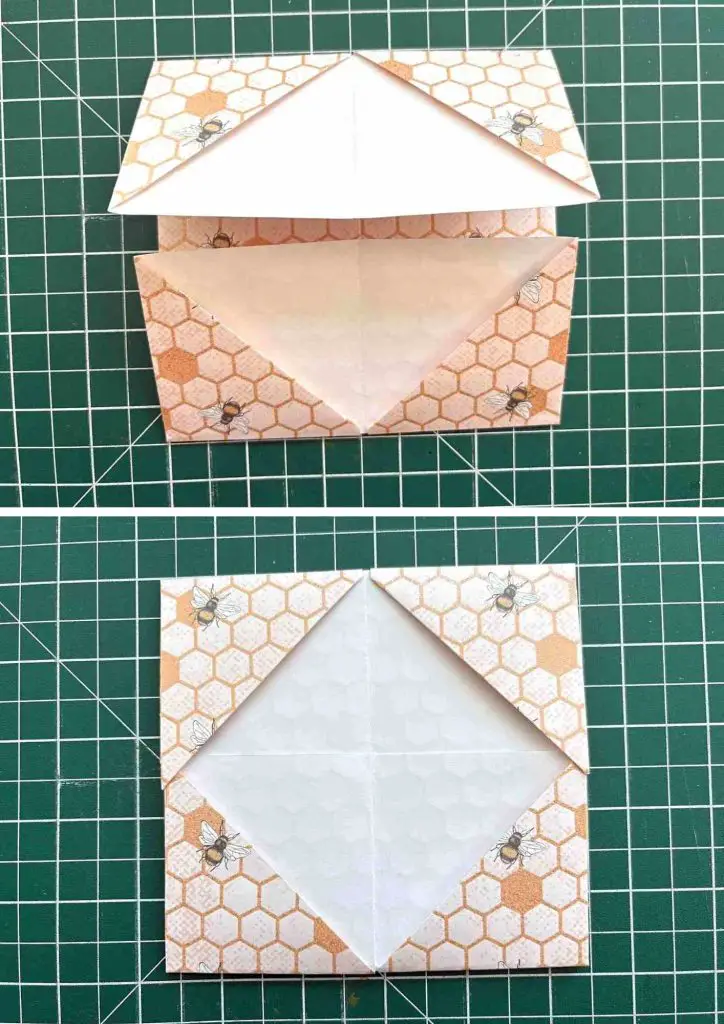
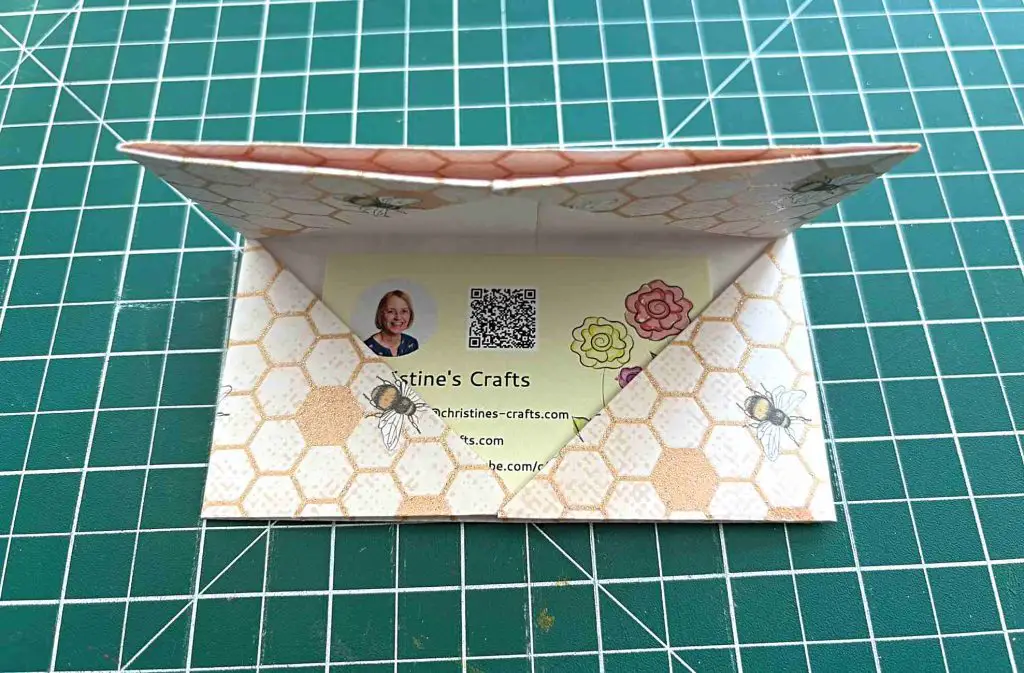
Fold the whole thing in half and you have completed your DIY Origami business card holder.
NOTE: It will only want to fold one way and that is the correct way.
And next …
And there you have it! Your very own origami business (or credit) card holder, all folded up in just a few minutes! How cool is that? I hope you had fun following along – trust me, once you get the hang of it, you’ll be making these for everyone!
Oh, and if you want to try making your own unique paper, the link to my fabric paper tutorial is right here: Fabric Paper Tutorial.
There are more Origami tutorials on this website if you would like to try your hand at some more great projects.
Happy folding, and I’ll catch you in the next one!