Make your own Leaf Mould
As an Amazon Associate I earn from qualifying purchases
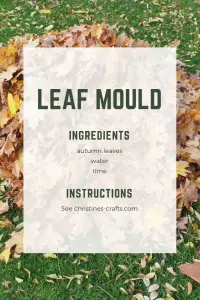
Step 1: Gather leaves
Gather up your fallen leaves and put them somewhere that you can mow them.
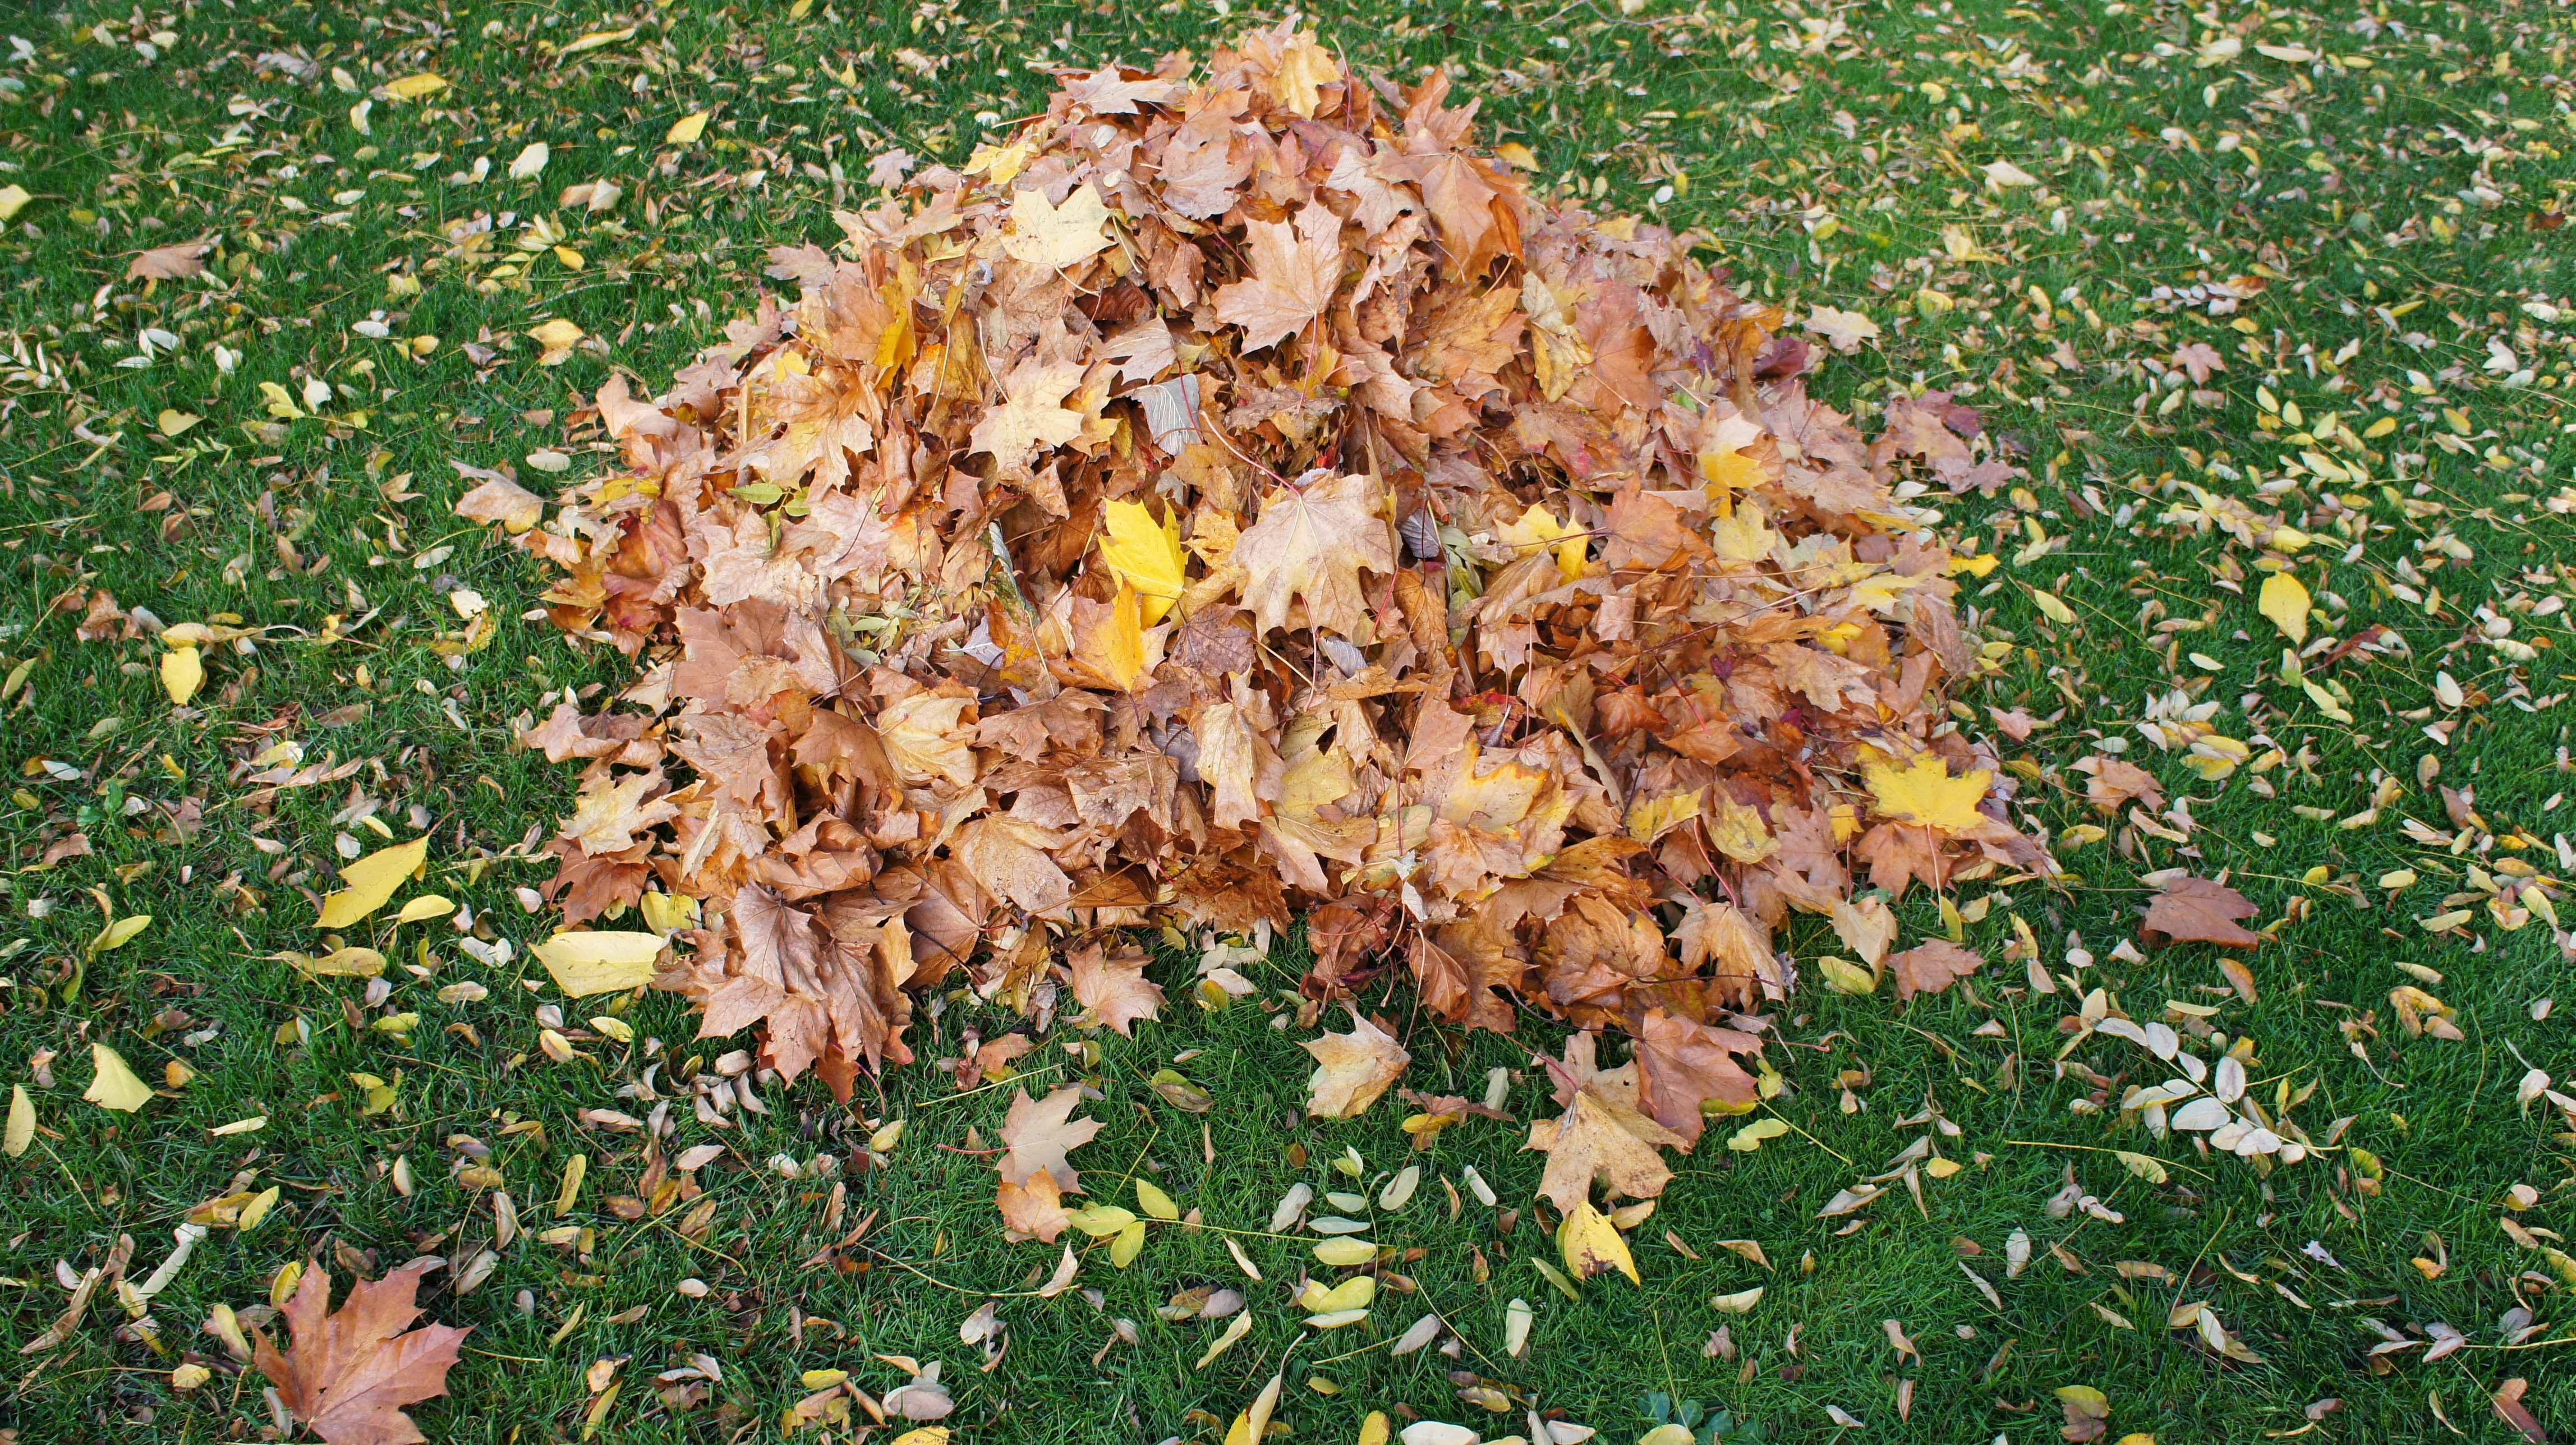
Step 2: Set the mower height
Set your lawn mower to a high cut. As you can see, I use the highest setting that my mower has.
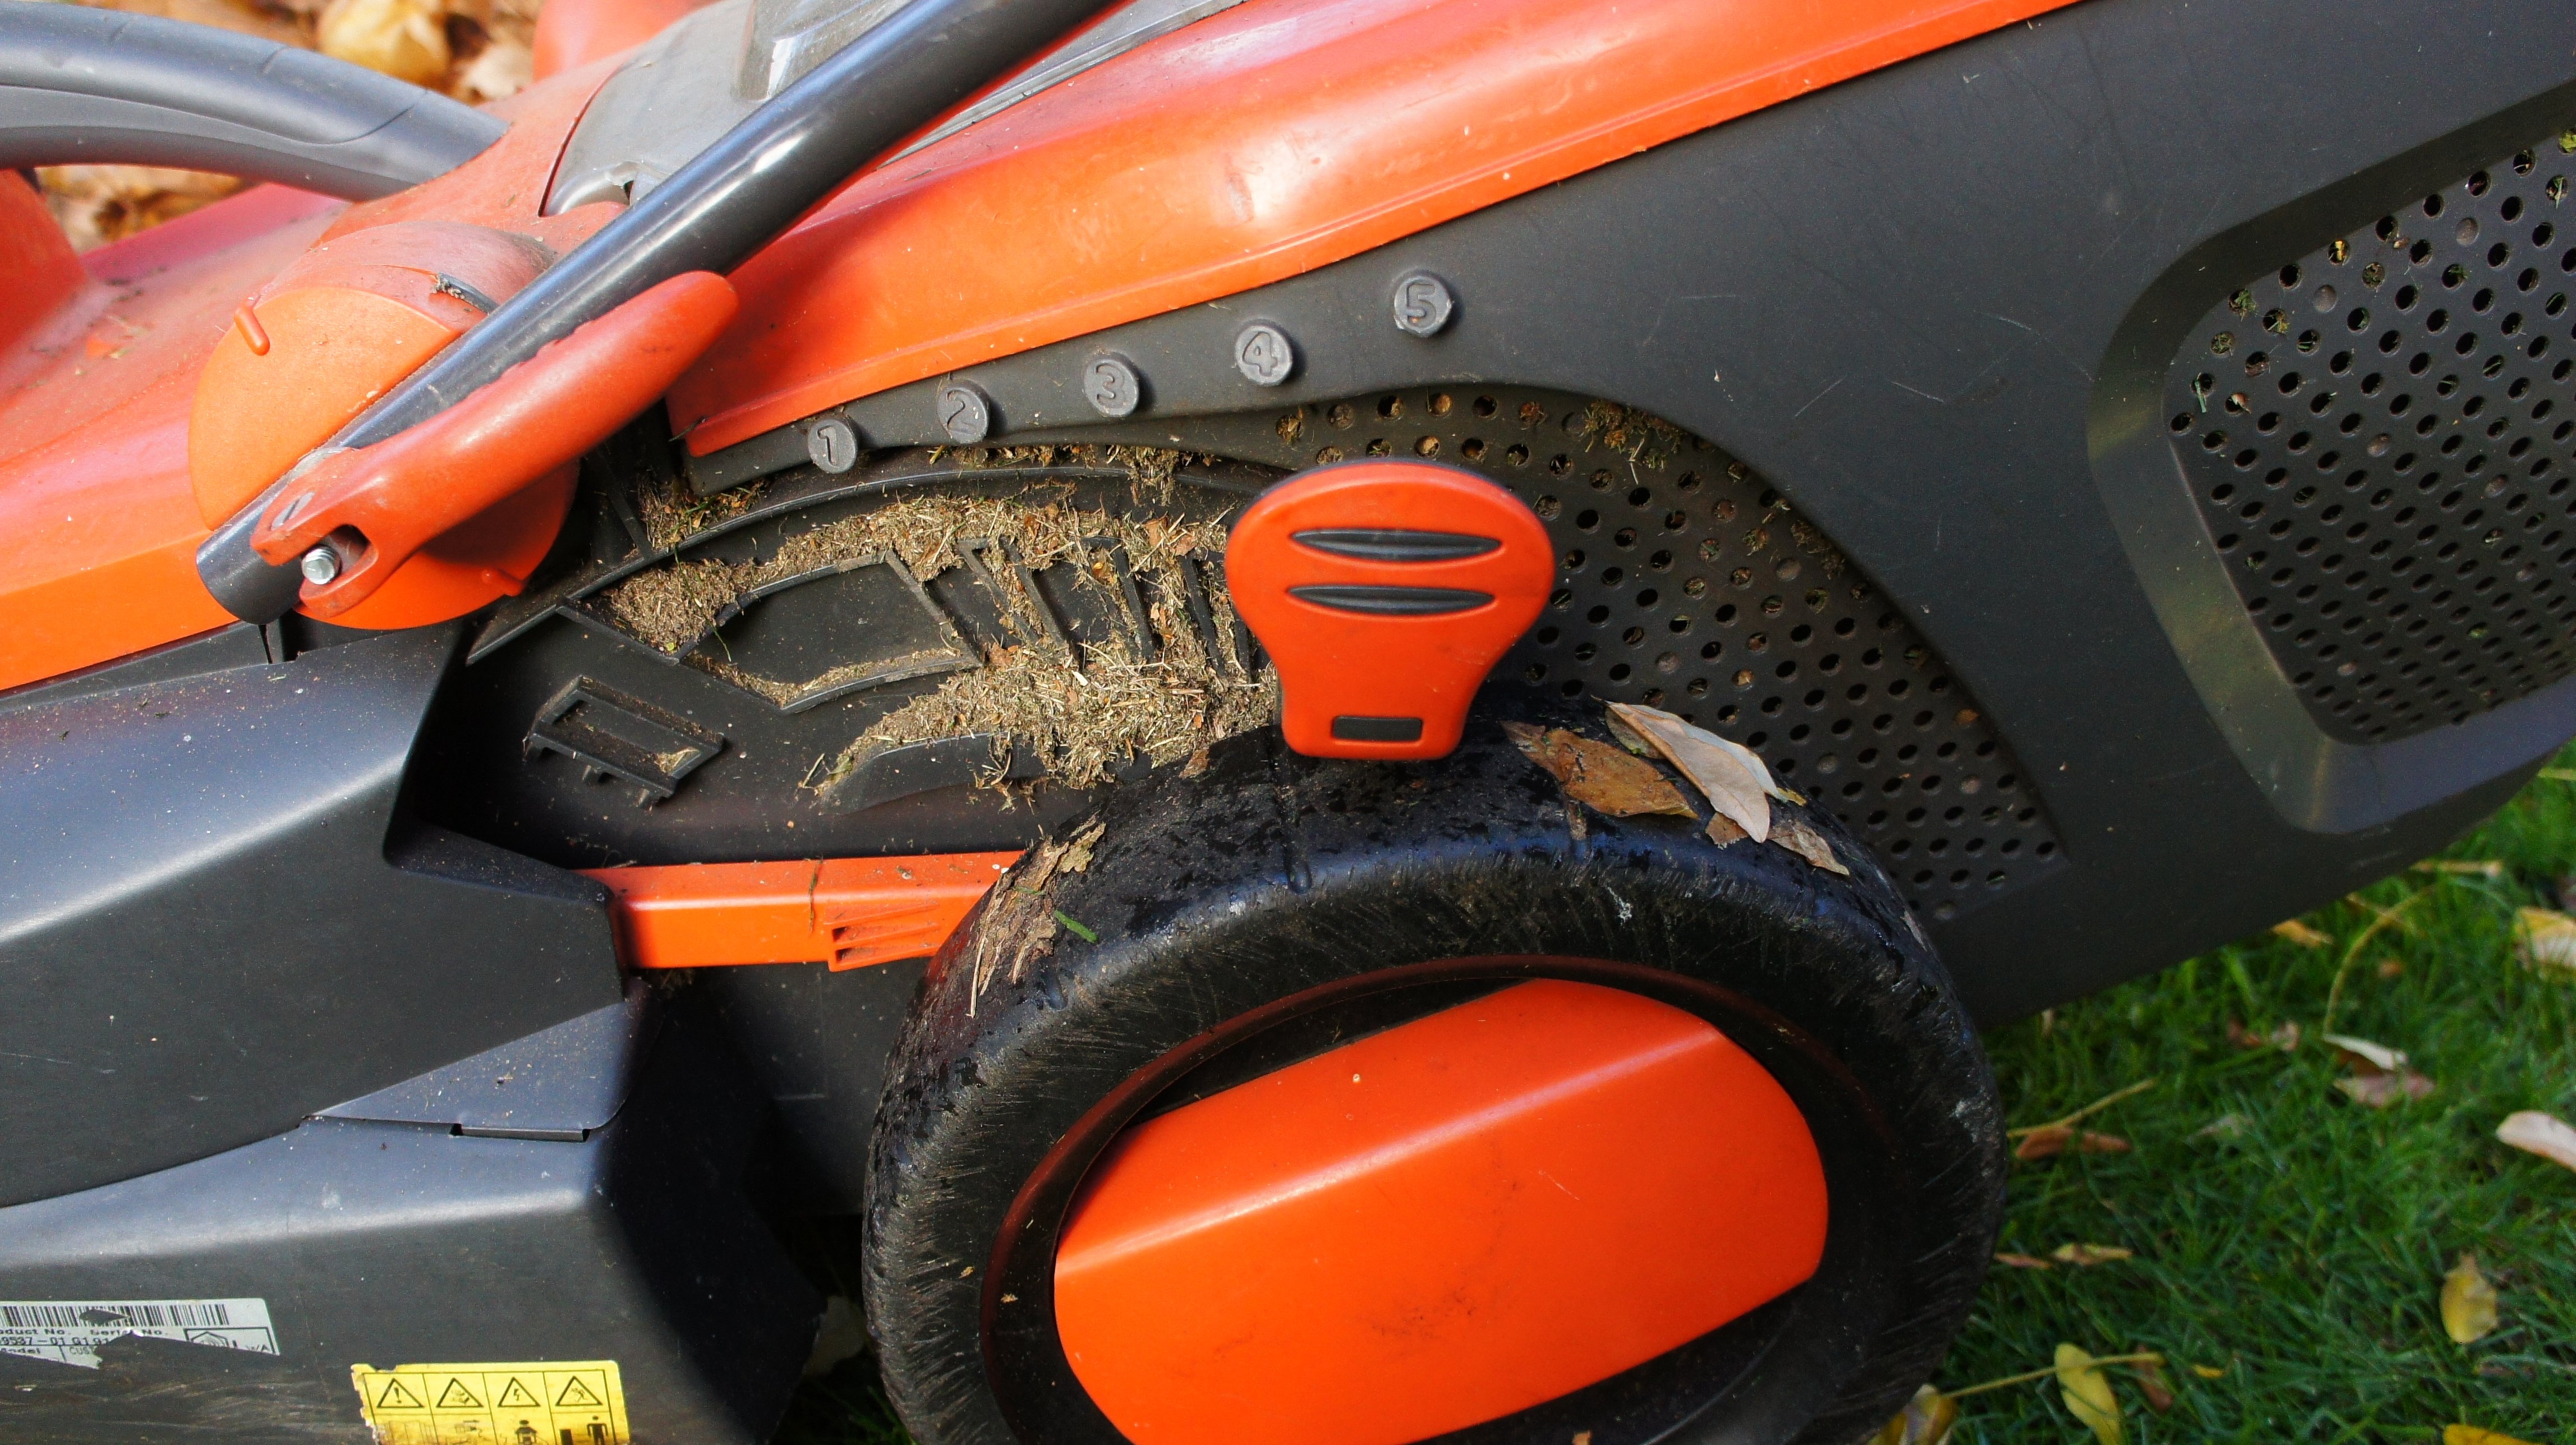
Step 3: Mow the leaves
Mow the leaves so that they are shredded and gathered up in the mower collecting box.
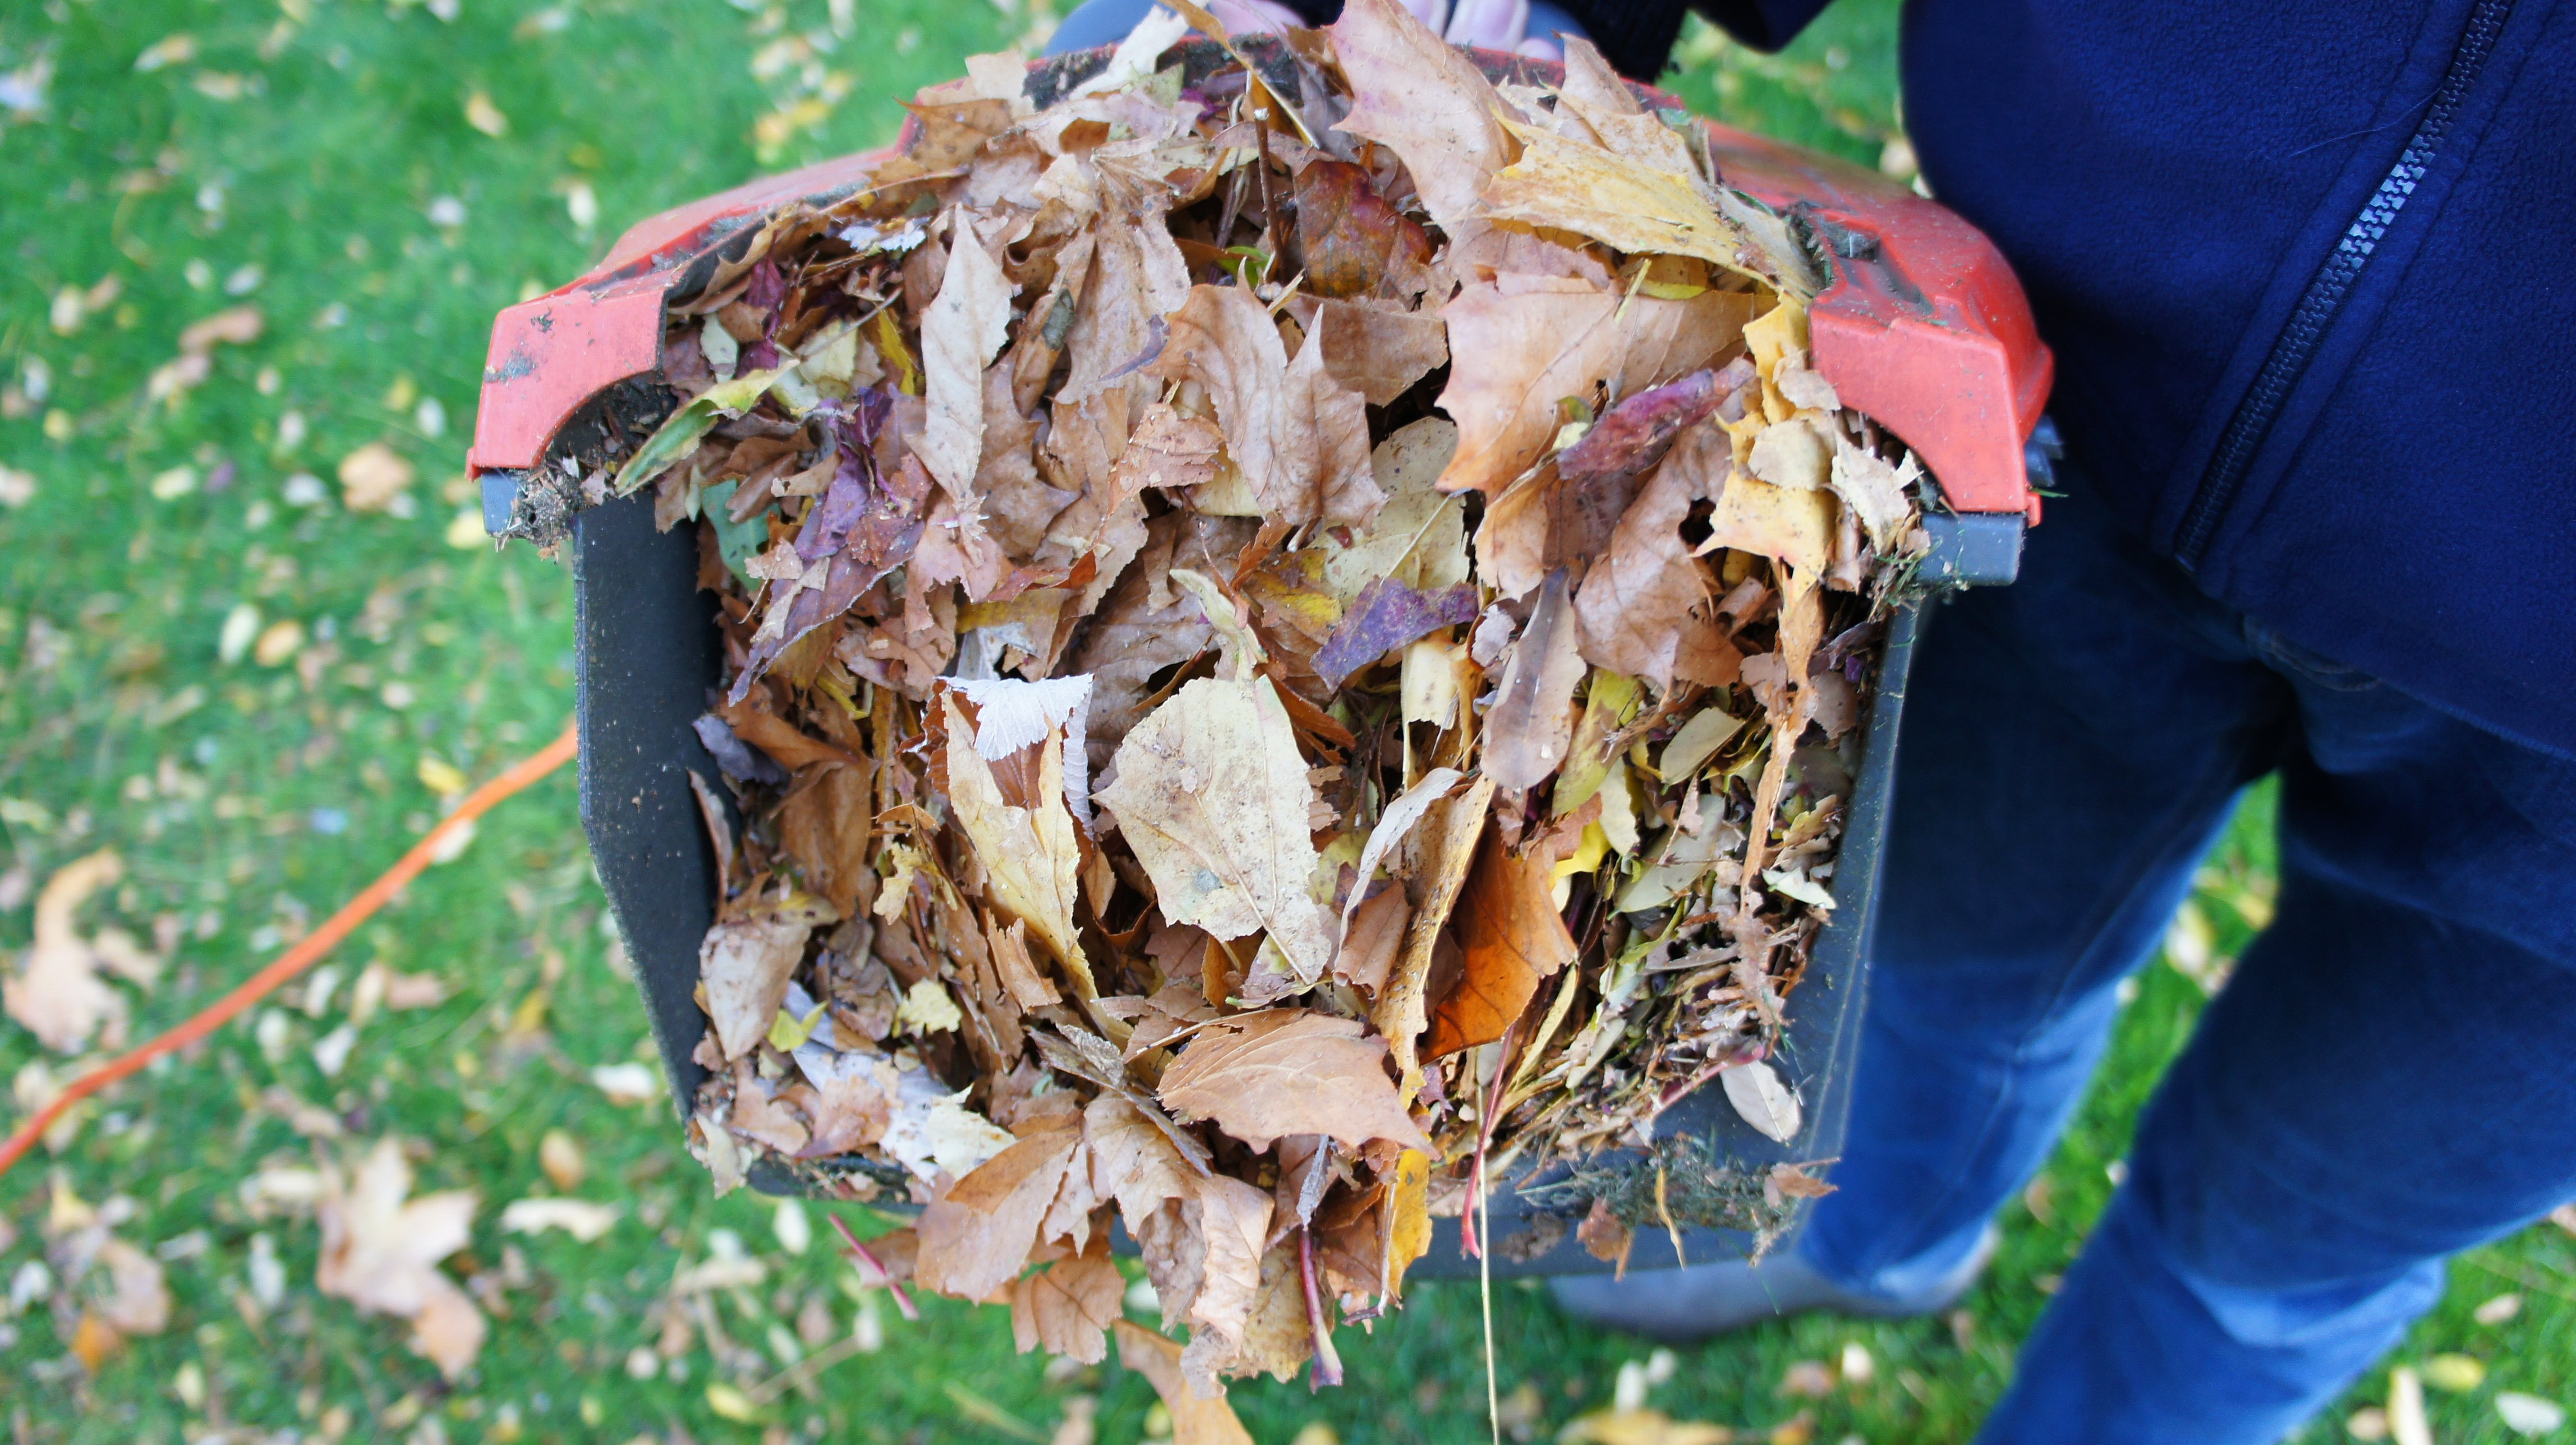
Step 4: Put leaves into a container
Place the leaves into a container that will allow the leaves to get damp and to drain. They need some ventilation. The easiest container is a black plastic bin bag with holes pierced in it. You can use a wire basket to hold the leaves in place whilst they rot down. I use an old wheelie bin with holes drilled into it.
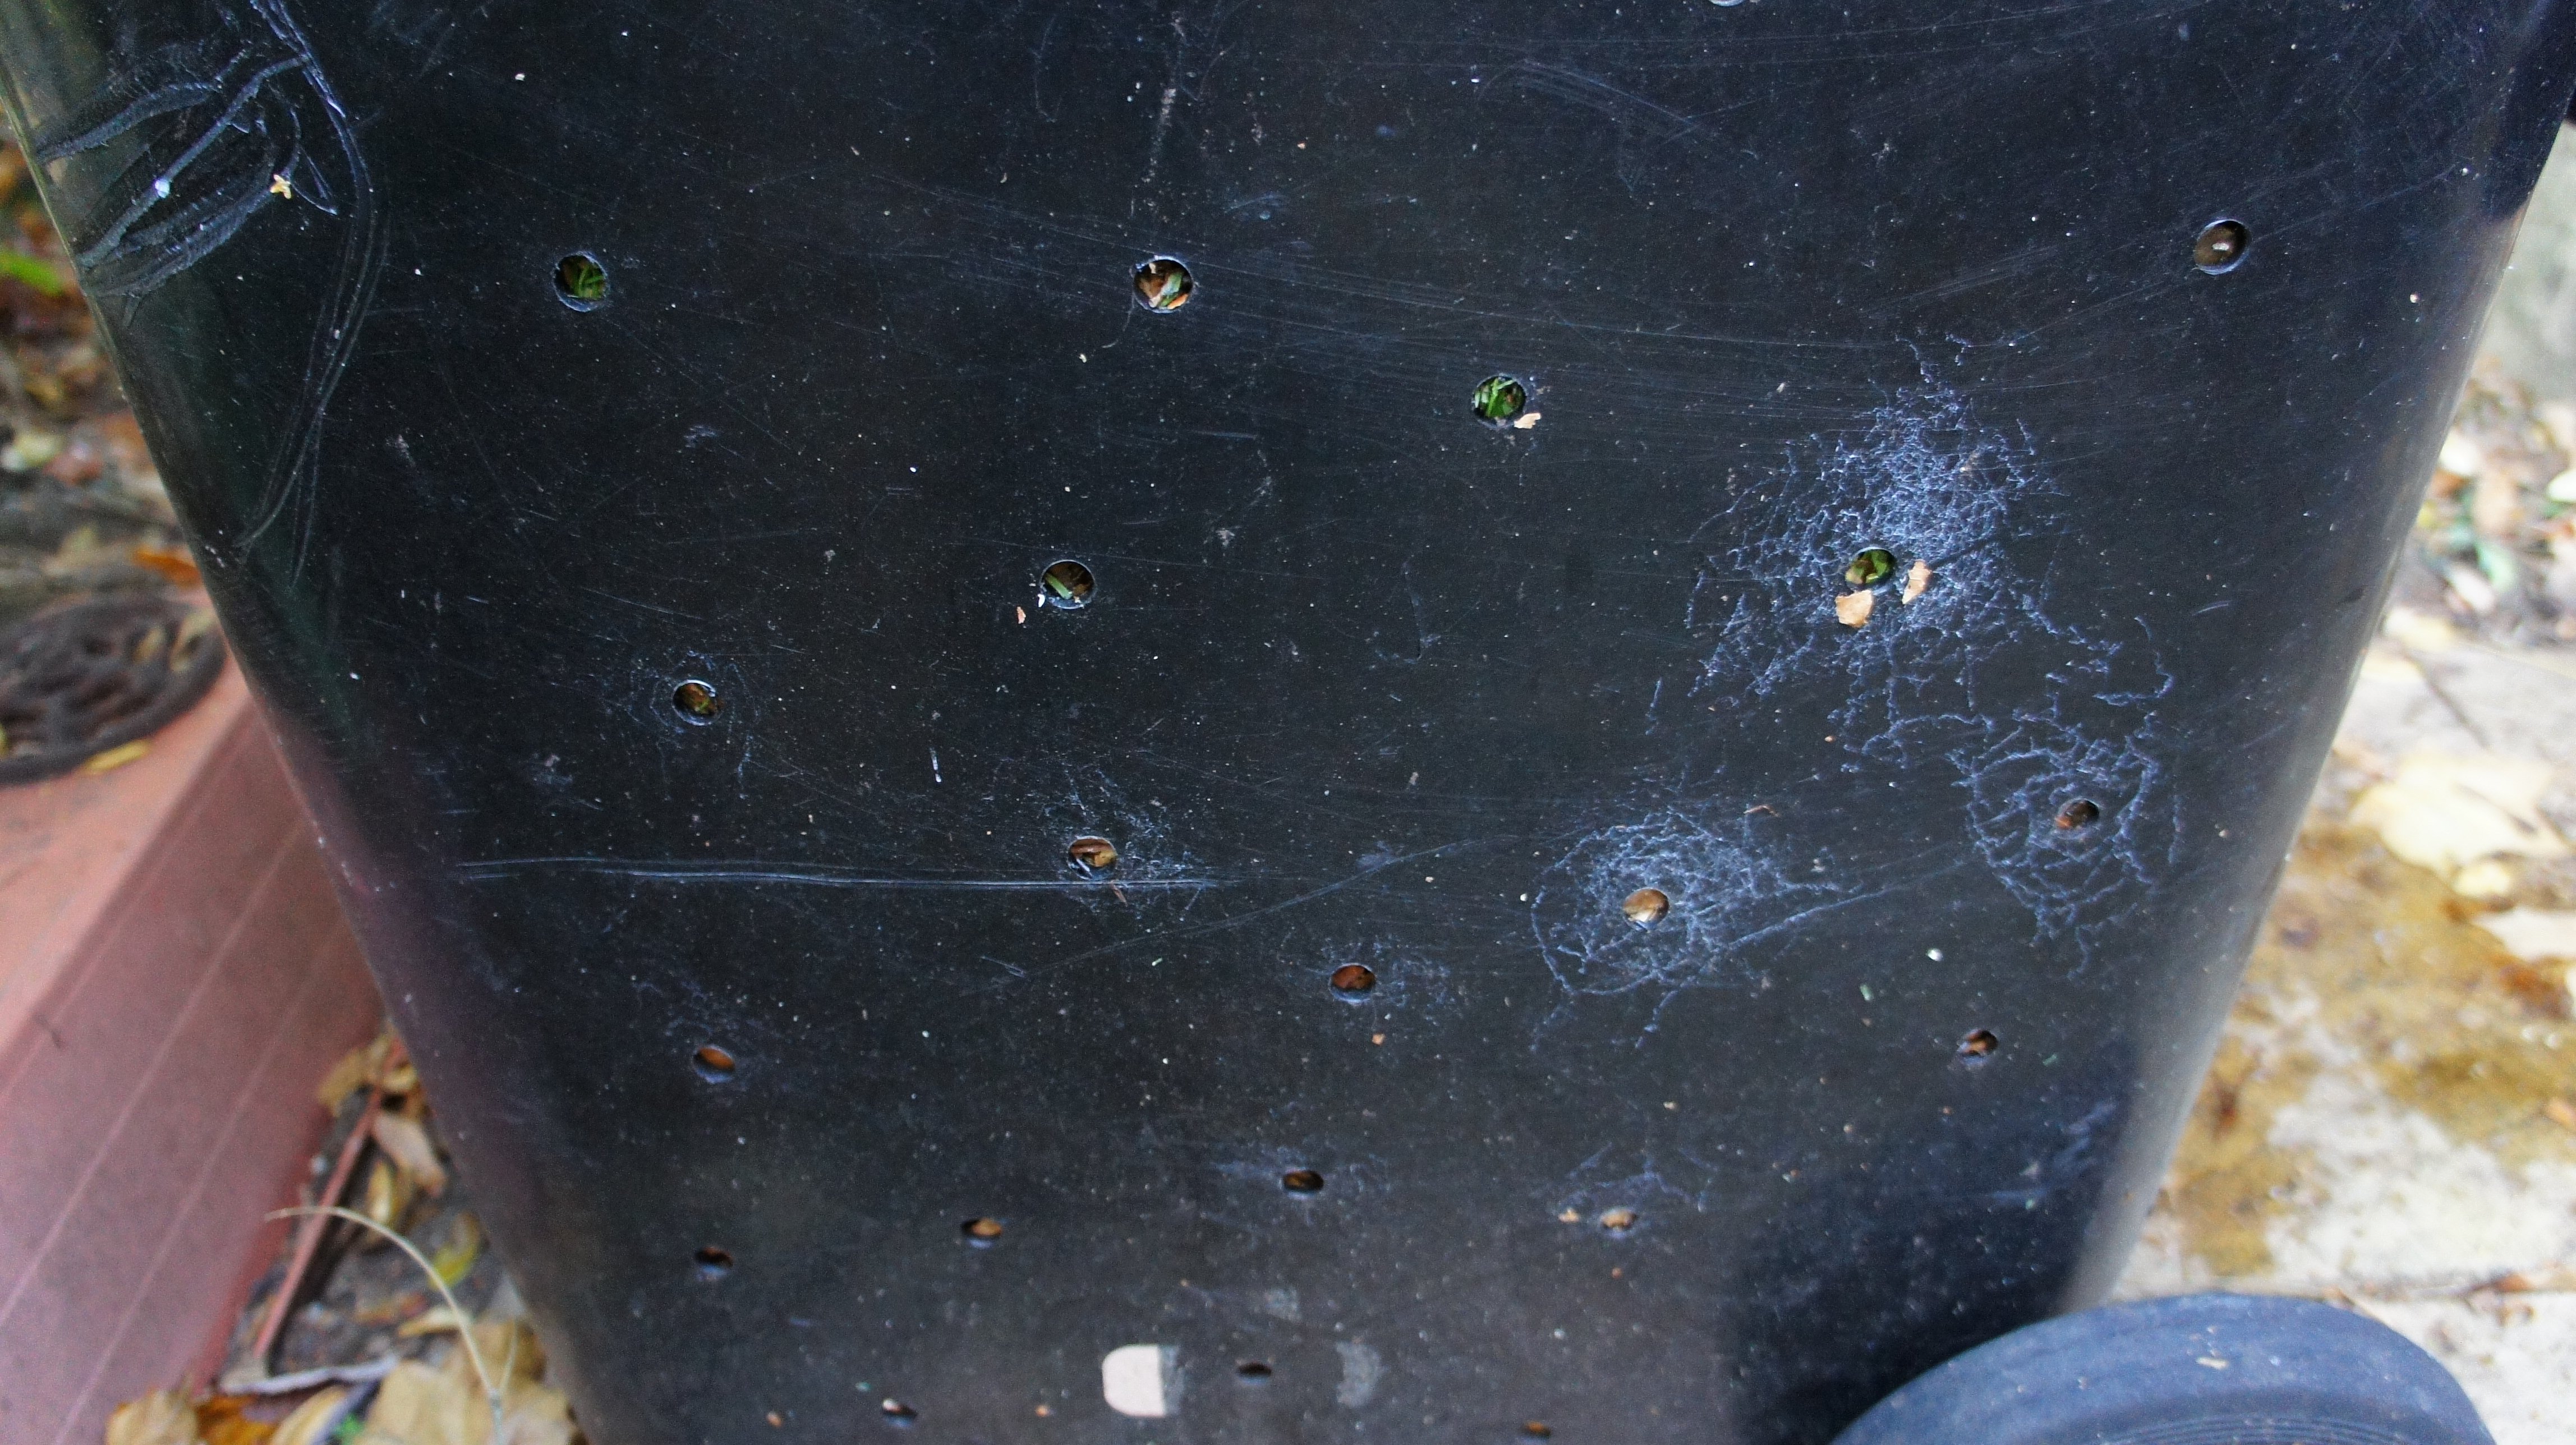
Step 5: Keep leaves damp
Make sure the leaves are damp and remain damp throughout the winter. I water mine occasionally because they are in a plastic bin. By next summer you should have lovely crumbly leaf mould. I leave mine in the bin to continue rotting down throughout the summer and then use it as a mulch in the autumn (fall).
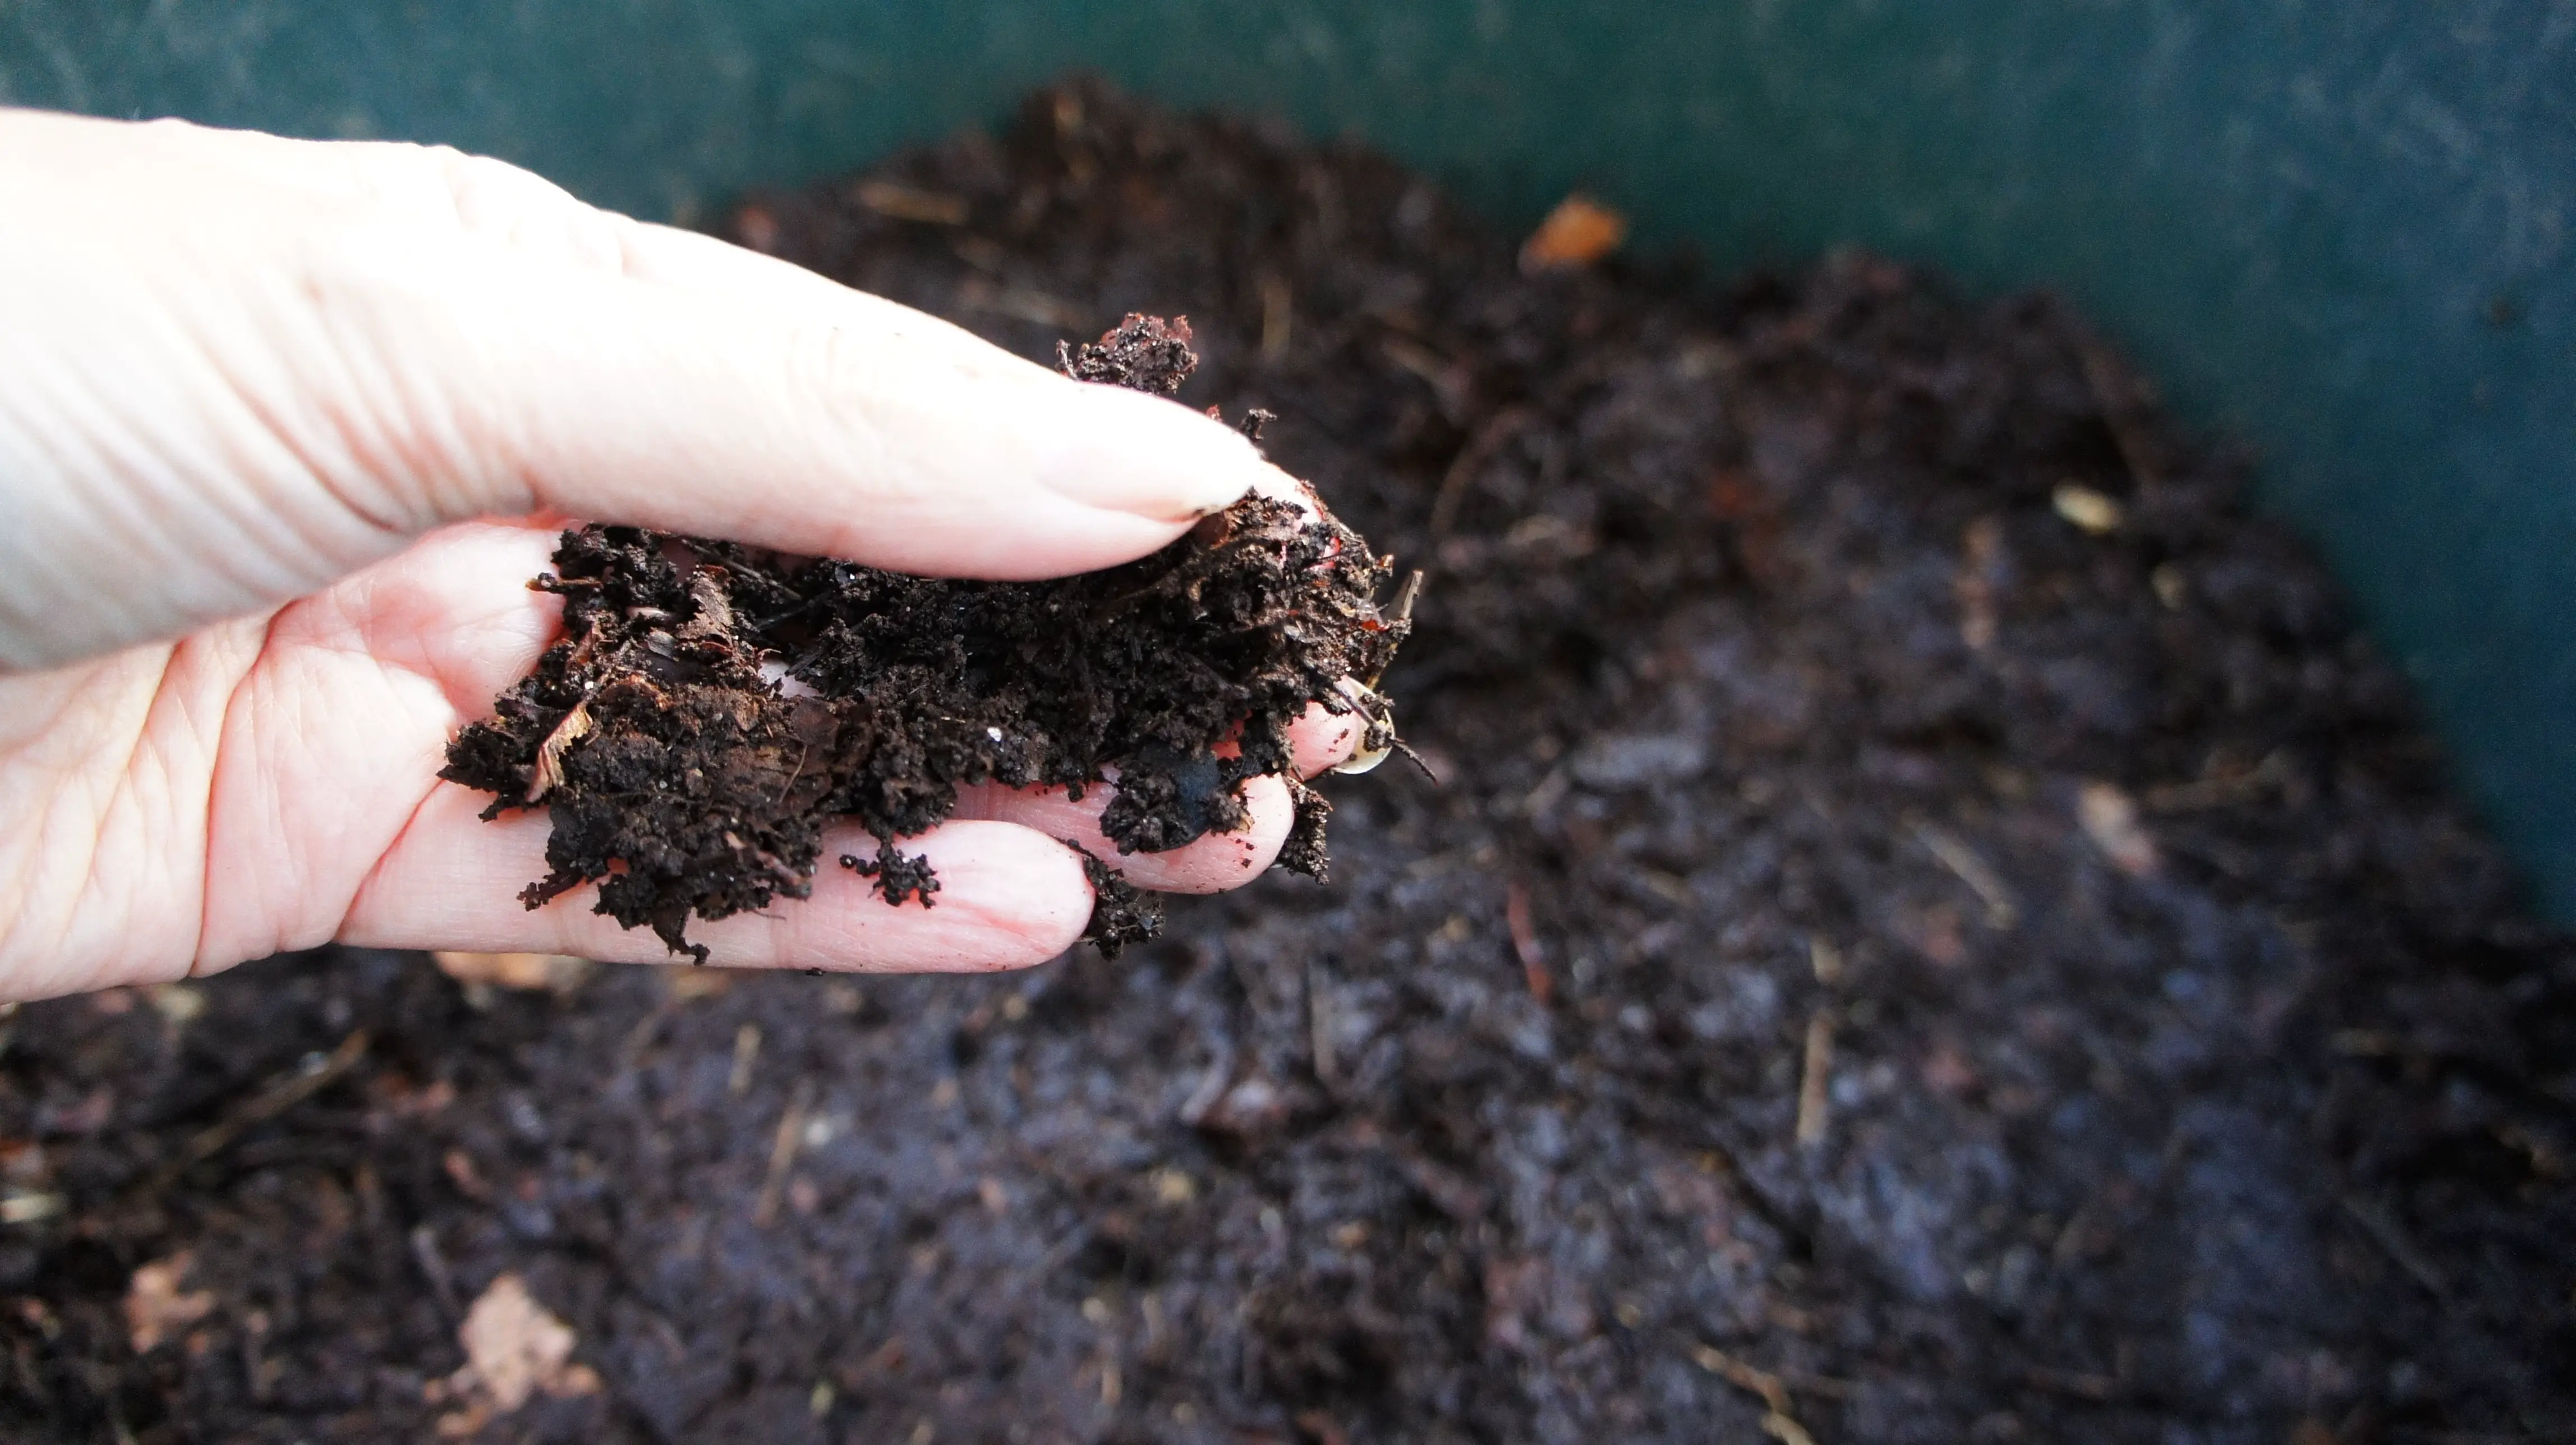
Summary:
It is very satisfying to produce your own leaf mould and use it to nurture your own plants. Obviously it is also environmentally friendly as there are no transport issues.
If I have had any difficulties in achieving nice, crumbly leaf mould it has been because either I did not shred the leaves so they took a lot longer to produce leaf mould or I did not keep them damp. It can also depend on the types of leaves you have. If you do not have lovely leaf mould after a year simply keep it damp and leave it a bit longer. You will be successful eventually.
If it is not autumn (fall) when you are reading this then pin it on Pinterest so that you can refer to it later for success.

If you are looking for great ideas for your garden then take a look at these articles:
How to make biodegradable plant pots
Top Gardening Tasks for September
How to Clear your Garden of Weeds
Please let me know any tips you have for getting good leaf mould in the comments section below.
