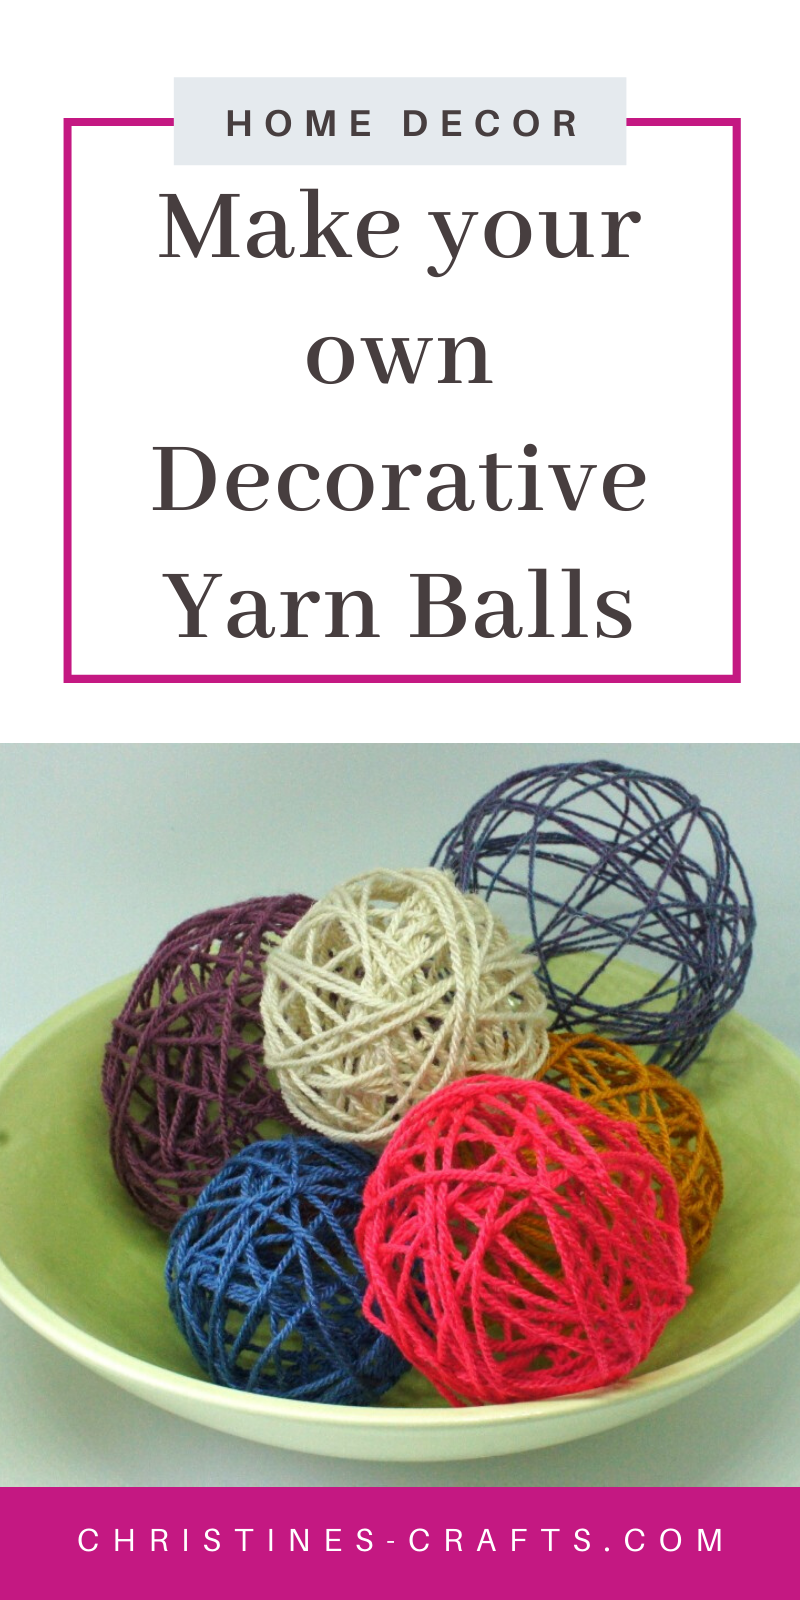
How to Make Yarn Ball Ornaments
As an Amazon Associate I earn from qualifying purchases
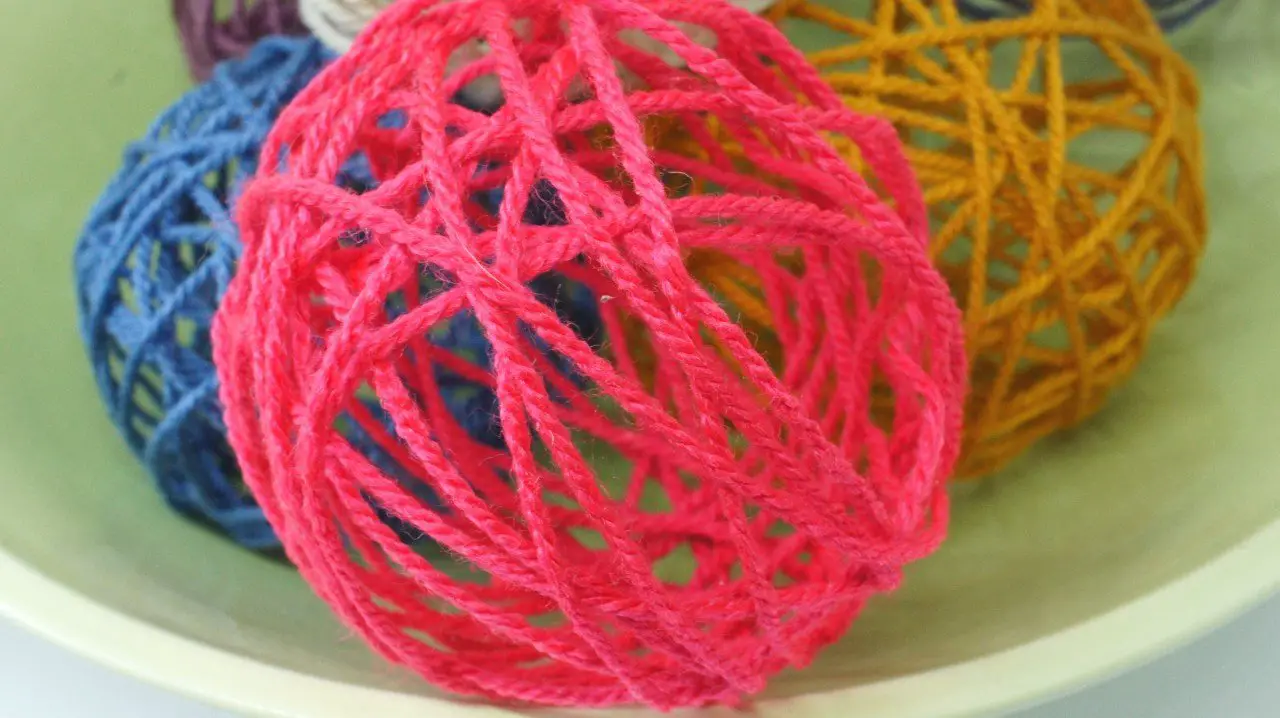
Have you ever seen those stylish bowls of yarn ball ornaments in gorgeous homes or magazine articles? Did you know that you can make them yourself at home using some scraps of yarn leftover from other projects? You can use any colour you like to match your decor. They are super quick and easy to make but rather messy!
You can display yarn ball ornaments in a bowl or basket or how about hanging them for a different display? You could also use string for your balls for a more rustic look. Let your creativity run wild.
This page contains affiliate links meaning I earn a small commission if you use those links at no cost to you. I only recommend brands I use and trust.
You will need:
PVA glue (or similar water based glue)
Water
Bowl
Scissors
Disposable gloves (optional)
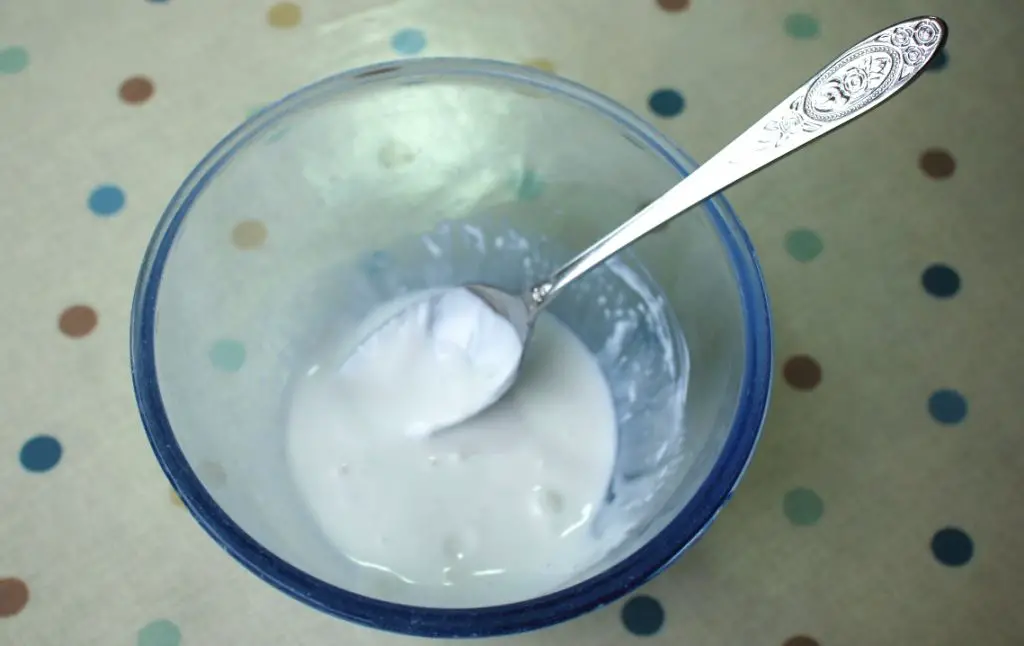
Step 1: Prepare the glue
Take a good measure of glue (perhaps a table spoon) and mix it with approximately the same amount of water. Add the water a little at a time and mix. You do not want your glue to be too watery or your balls will not be very stiff when they dry.
TIP: Work on a surface that you can easily clean. It is going to get glue on it!
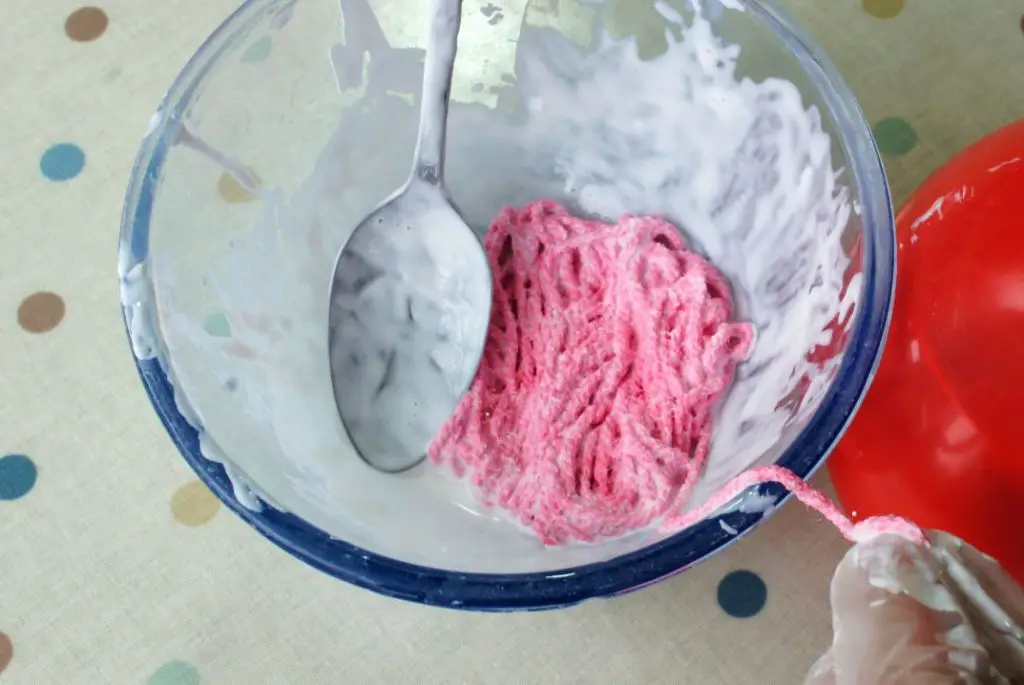
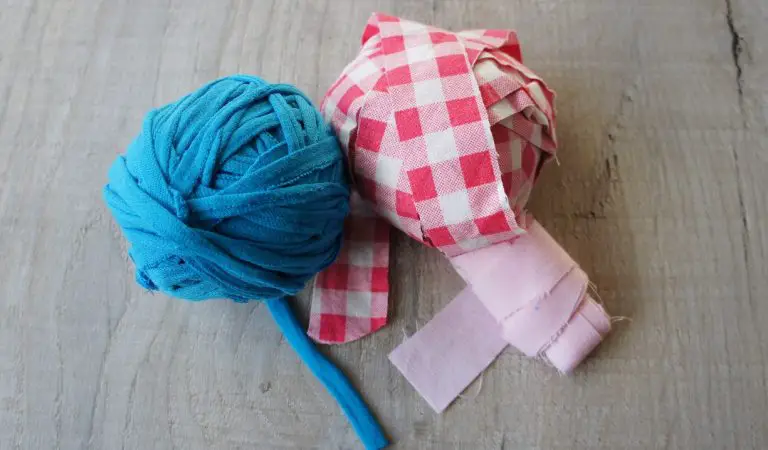
Step 2: Cut and soak yarn
Cut a length of yarn. Now this is a bit of guesswork. Remember that you can always trim the yarn later if it is a little too long but that will be messy as it will be covered in glue. It also depends on the size of your balloon so just make an educated guess.
Now soak the yarn in your glue/water mix so that it is all coated. BUT keep one end out of the glue so that you can find it. I also recommend placing your yarn in carefully so that it does not get tangled.
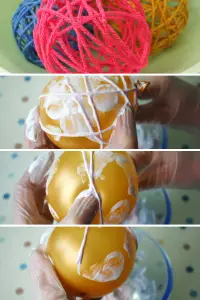
Step 3: Wrap the yarn around the balloon
Inflate your balloon to the size that you want your ball to be. It is important to use the correct size balloon as just inflating a large balloon a little bit is not very successful.
Take the end of the yarn and place it onto the balloon. Then wrap it around the balloon and cover the end that you started with.
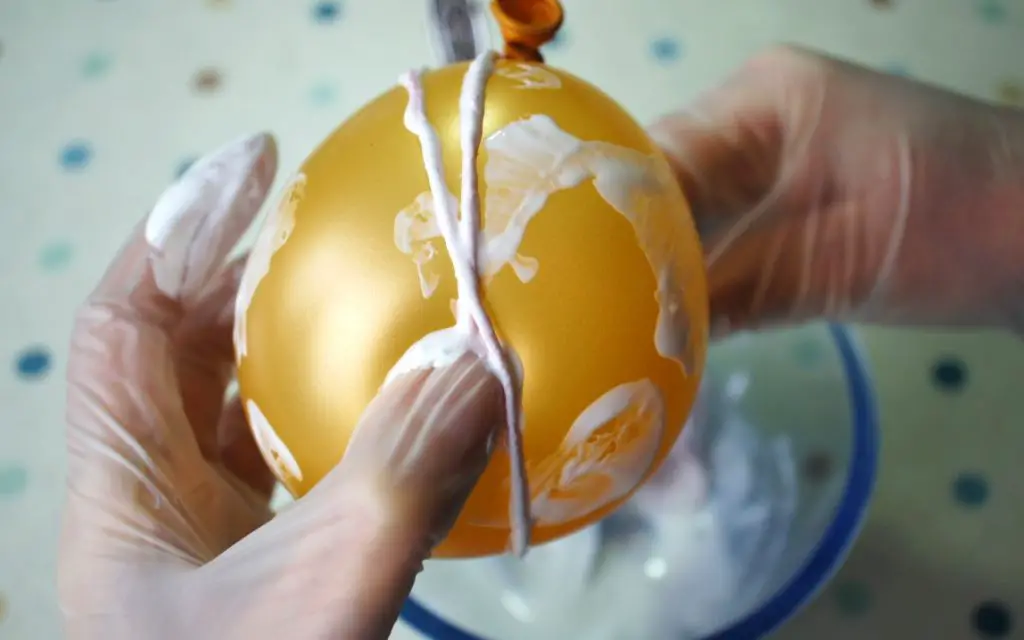
Continue to wrap the yarn around the balloon in different directions to make the effect you require.
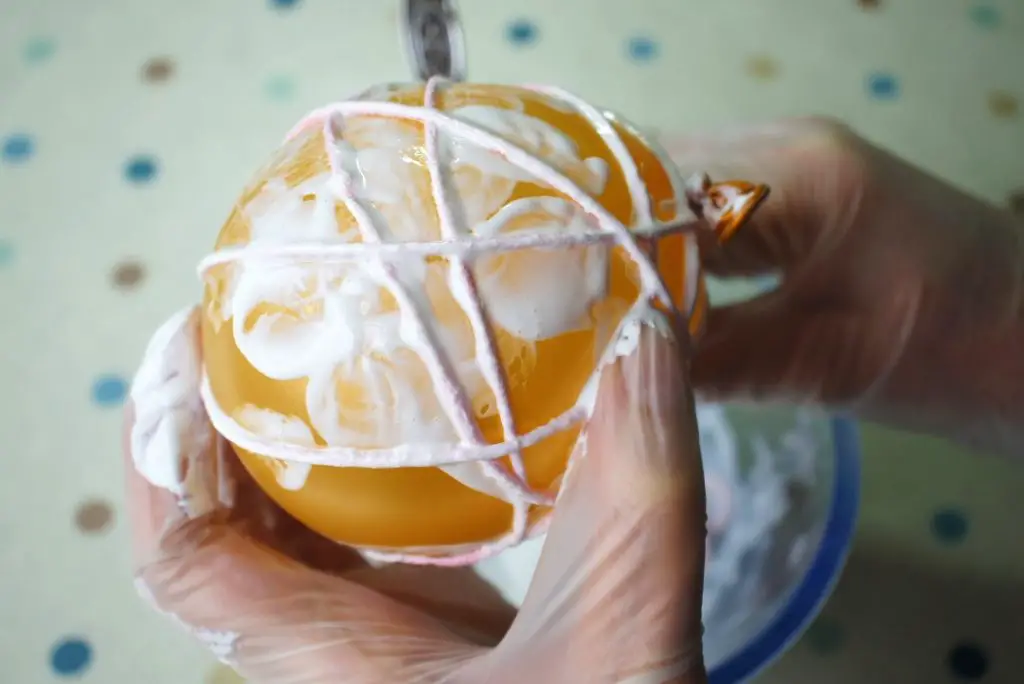
You do need to cover most of the balloon or your ball may not be strong enough to support itself. Once you are happy with your ball tuck the yarn end under one of the lengths of yarn on the balloon. If your yarn is too long simply cut it to length first.
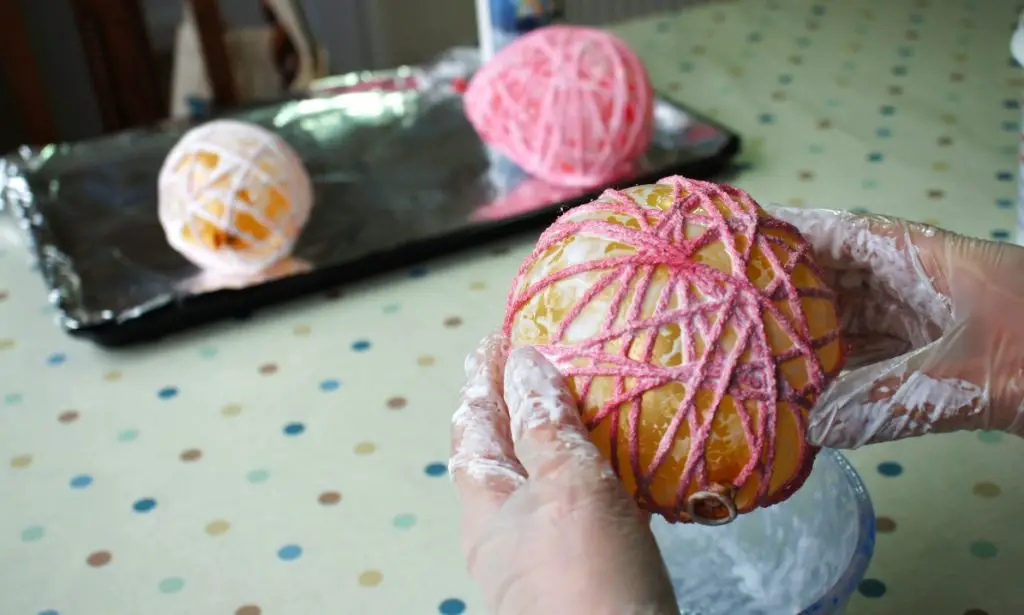
Repeat for as many balls as you want in whatever colours you want.
Step 4: Drying your yarn ball
You simply need to dry the ball so that it hardens. I recommend drying the ball as quickly as possible. Sometimes your balloon may deflate before your yarn ball is hard! I stood mine on some aluminium foil on a radiator but if it is summer you could dry them in the sunshine. It may take several days to be fully dry.
Once the ball is dry and firm gently push the balloon away from the yarn and then pop it. You should then be able to remove it through one of the larger holes in the ball. Tweezers may help you to get hold of the balloon without damaging your ball.
Congratulations your ball is finished. Make as many as you like and decide how you want to display them.
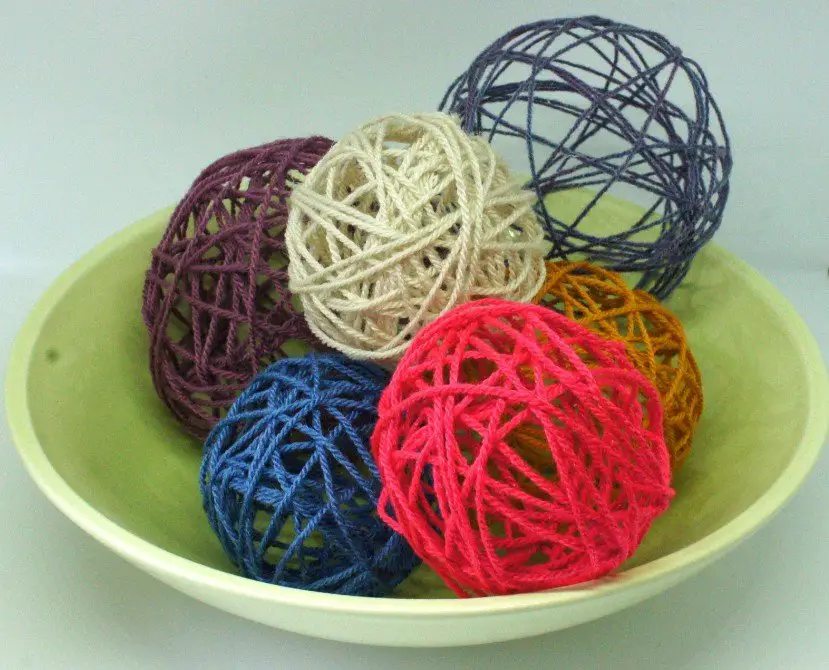
I hope that your yarn balls have worked beautifully and give you lots of pleasure however you display them.
If you have enjoyed making your own yarn balls perhaps you might like to try out some of my other crafts:
How to make pompoms without a pompom maker
Three tutorial course to make your own French Knitting Nancy and learn French Knitting
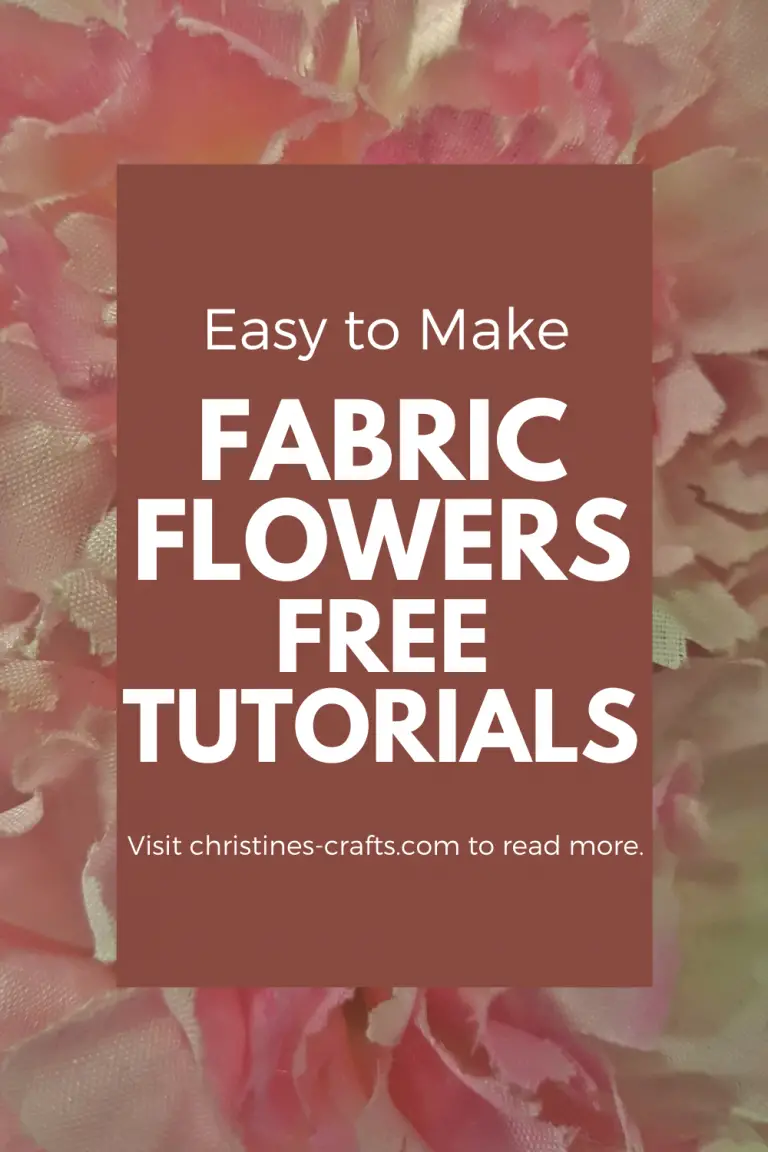
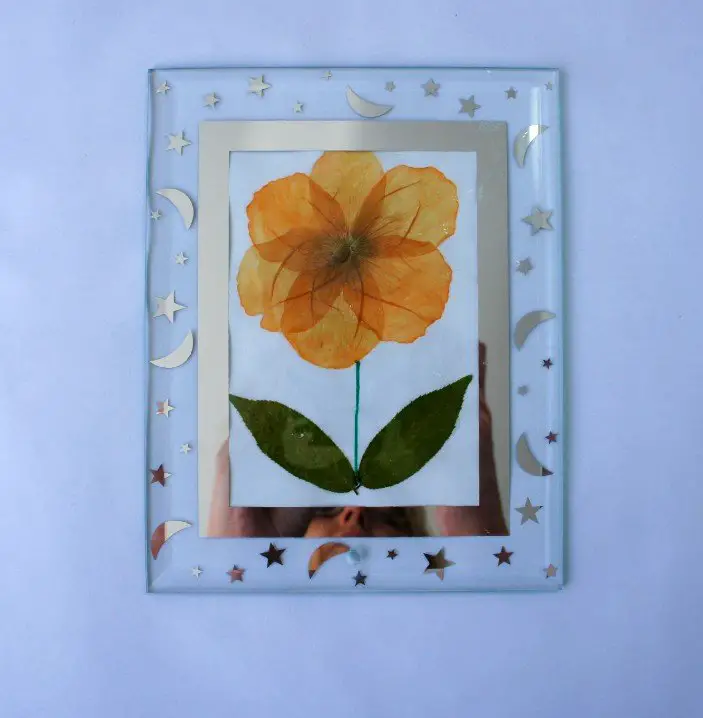
Gorgeous Flowers from Old Magazines
Super Quick and Easy Tassels
You can also get even more inspirational ideas from following me on Pinterest as Christine’s Crafts.
I’ve made these yarn balls once and they came out really well! These yarn balls are so pretty! Love the colours!
Ingenious idea! I know many people that would enjoy doing this.
Well please feel free to share it with everybody.
We made Christmas ornaments using this technique, and we love how it came out.
Sometimes getting messy while crafting is not always a bad thing as it makes me feel like a child again. LOL Pinned.
I could not agree more! I loved making these while my husband took the photos. He was not as impressed with the sticky mess as he did not have his fingers in it.
How can these be salvaged if they didnt get stiff enough?
I am not sure you can if they have lost their shape. You could try again using less water and see if that helps. Also they can collapse if you pop the balloon before they are thoroughly dry so make sure they are fully dry first.
Love these! I know my kids would enjoy making some!
I always wanted to try this but have a hard time doing so thanks for the directions can u use Elmers or fabric glue
I have only ever tried PVA glue so I do not know about other glues really. However Elmers glue is a PVA glue so that should work well.