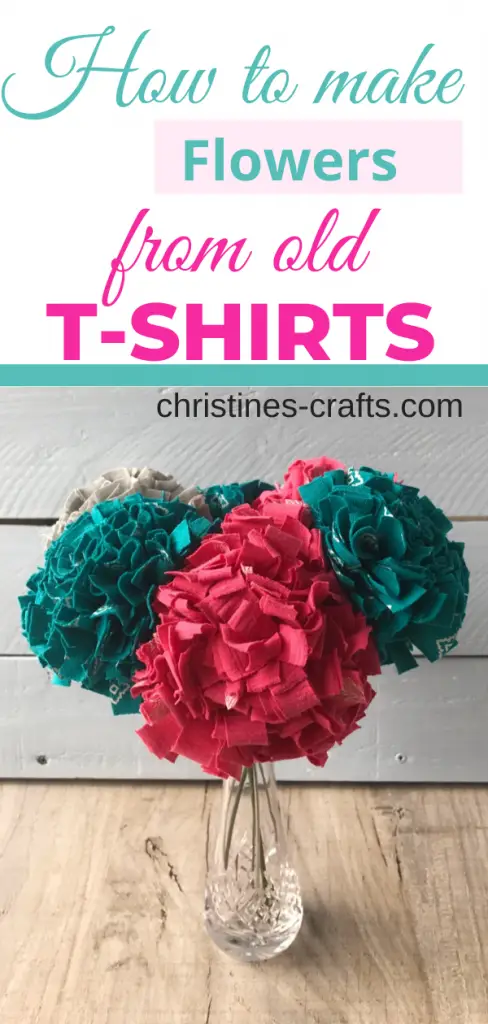
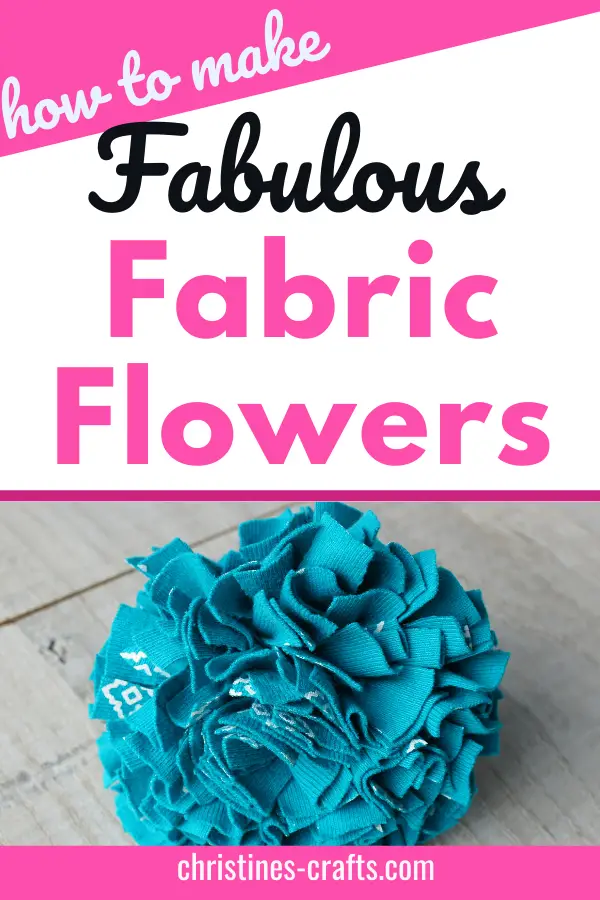
Upcycle an old t-shirt into Fabulous Fabric Flowers
As an Amazon Associate I earn from qualifying purchases
What should you do with those old t-shirts you are throwing away? Send them to landfill? No, create a beautiful flower or two, of course. This step-by-step tutorial will show you exactly how to upcycle those old – t-shirts into these beautiful long lasting flowers.
At this difficult time it can be hard to source craft supplies so why not use what you have and save the environment at the same time. Raid those wardrobes and drawers and get creative!
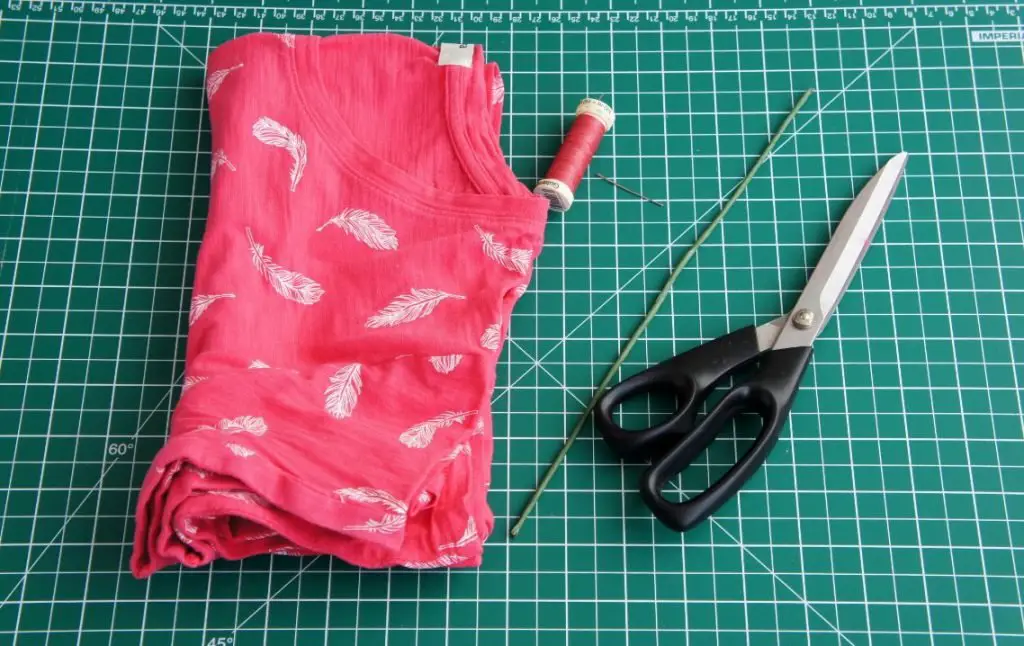
You will need:
Old t-shirts
Wire that you can bend but will support your fabric flower (thick garden wire is great for this)
Scissors
Needle and thread
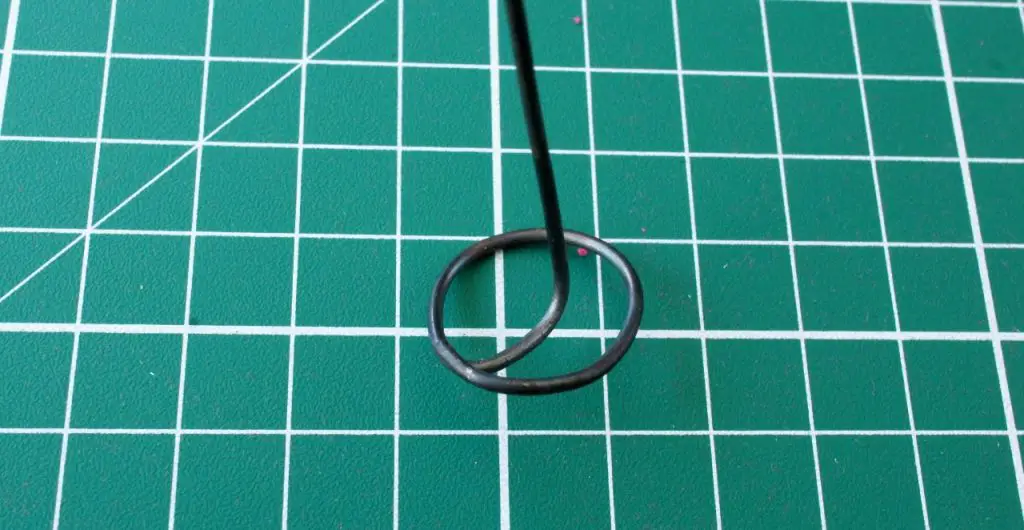
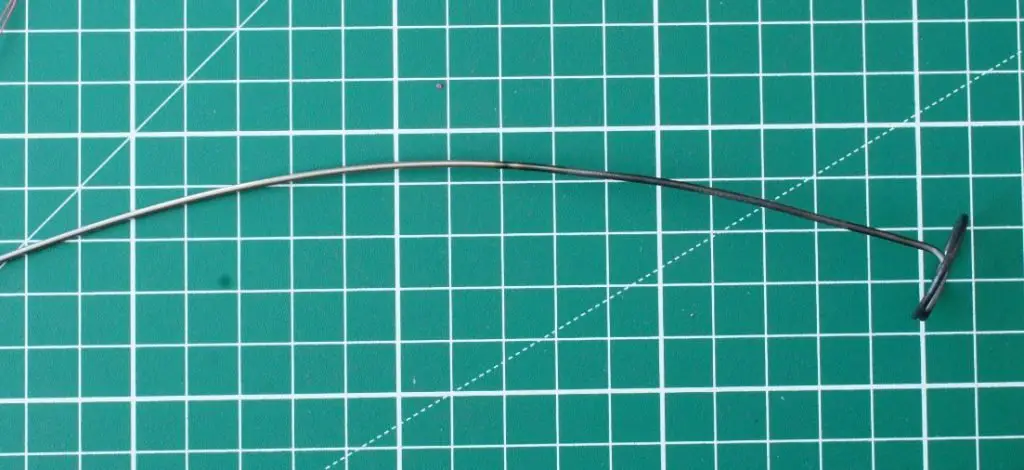
Step 1: Make your stem
Cut a piece of wire approximately 12″ (30cm). This will form your stem. At one end you need to form a circle of diameter approximately 3/4″ (2cm). This value is not critical at all , it is just to give you an idea of size. Bend the circle so that it is on top of the wire and that the wire is central.
You can keep the long section of wire straight or curve it gently as I have done. You can also cover it with florists tape if you want it to be green but I decided not to.
Step 2: Cut fabric strips
Lay your t-shirt out flat and cut the hem off the bottom. Then working your way up the t-shirt cut it into strips approximately 1.5″ (4cm) wide.
If you are only making one flower then you need approximately 8 strips. As your fabric is double you will only need to cut 4 strips. This is approximate as it depends on the size of your t-shirt and how solid you want your flower. Feel free to mess about with this. I have used a UK size 12 (US size 10) t-shirt.
Once you have these strips simply cut the hems off the sides so that you have simple strips of jersey fabric.
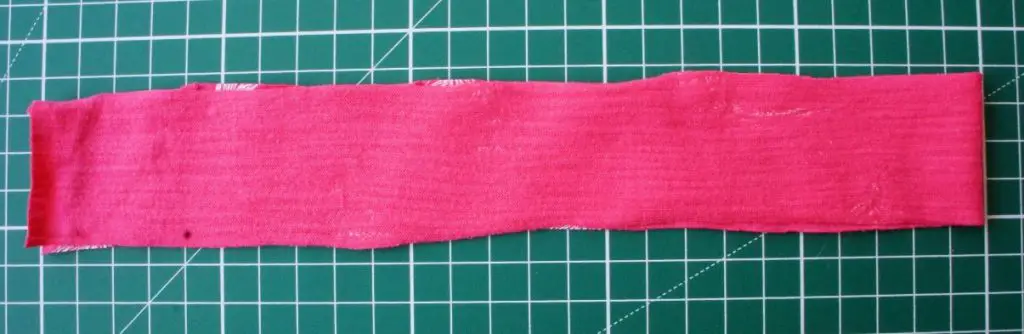
When you reach the sleeves / armholes simply cut them off and carry on. It does not matter if all your strips are the same length or not.
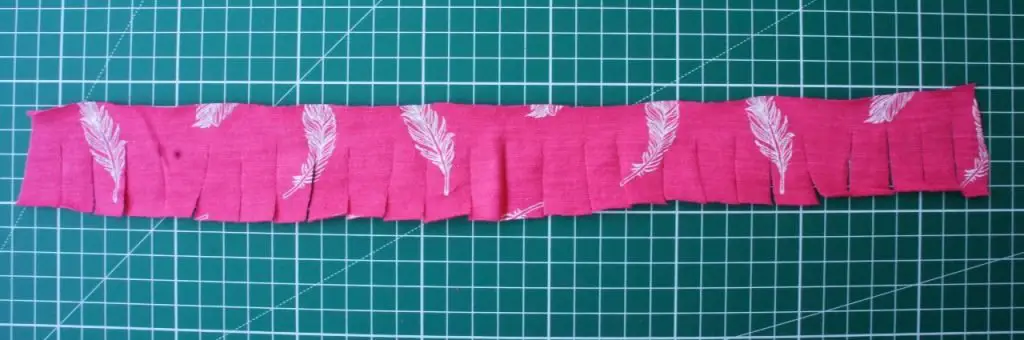
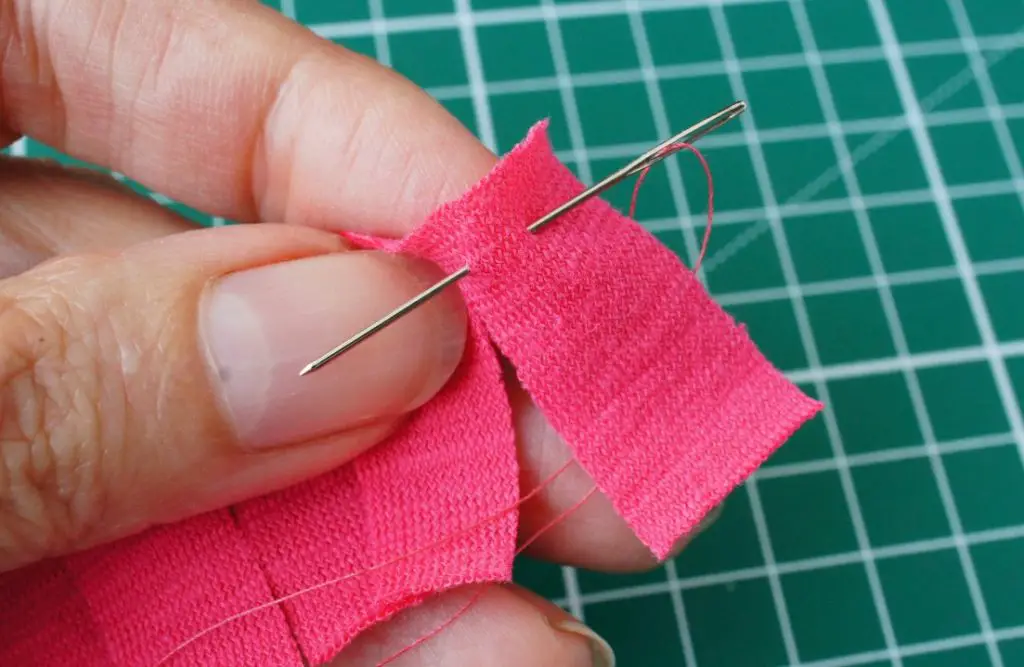
Step 3: Cut the fabric into petals
Now you have your strips you need to form the petals. Simply take each strip in turn and cut into the strip approximately 1″ (2.5cm) at regular intervals of approximately 1/2″ (1.5cm). These do not need to be precise at all. Simply make it look right. These petals will be some of many so precision is not required.
Step 4: Form the centre of the flower
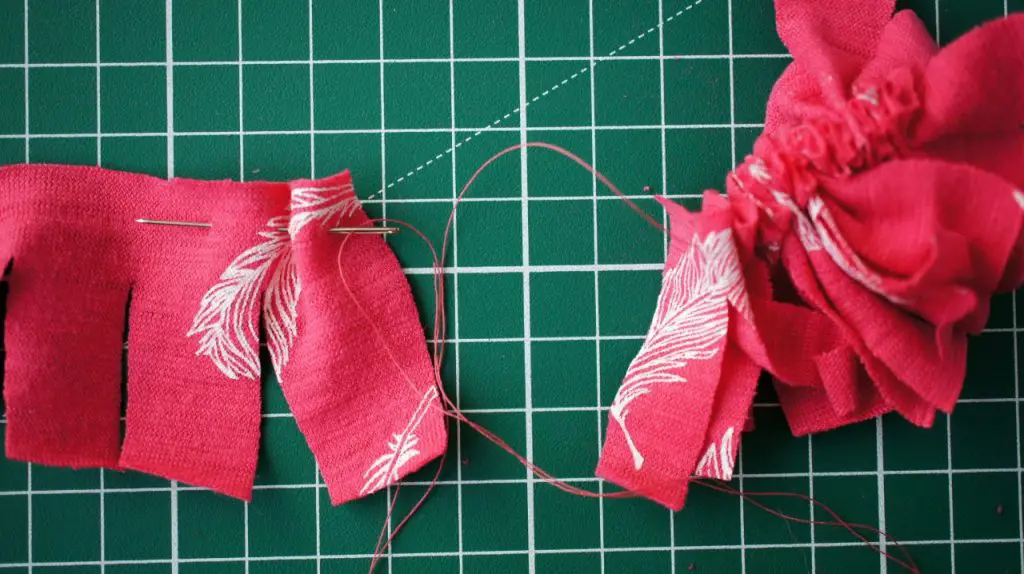
Thread your needle with some thread that is close in colour to your t-shirt. Do not worry about a close match but you do not want to sew a white t-shirt with a black thread! Take one of your strips and start rolling it up.
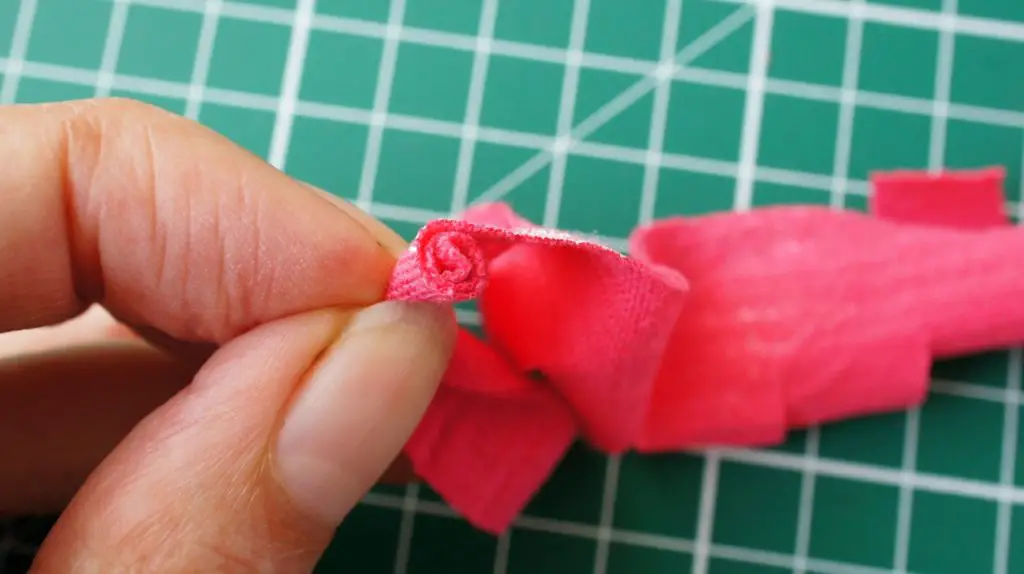
Once you have a few rolls secure them with your needle and thread. You just need a few stitches, nothing fancy.
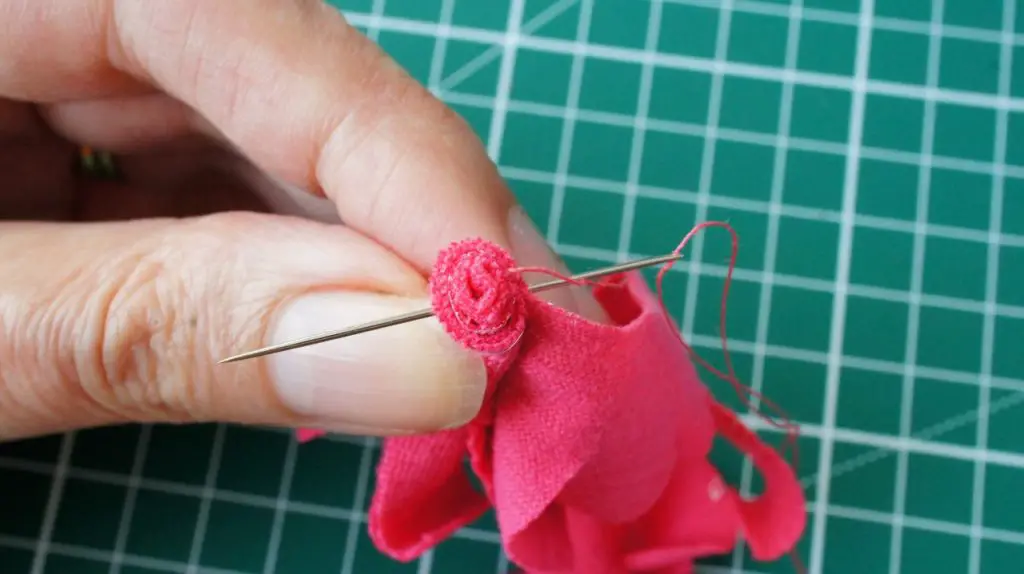
Continue rolling up the strip and secure it with a few stitches every few rolls. Continue until you have rolled up the whole strip. Secure it and fasten off your thread.
That is the centre of your flower completed.
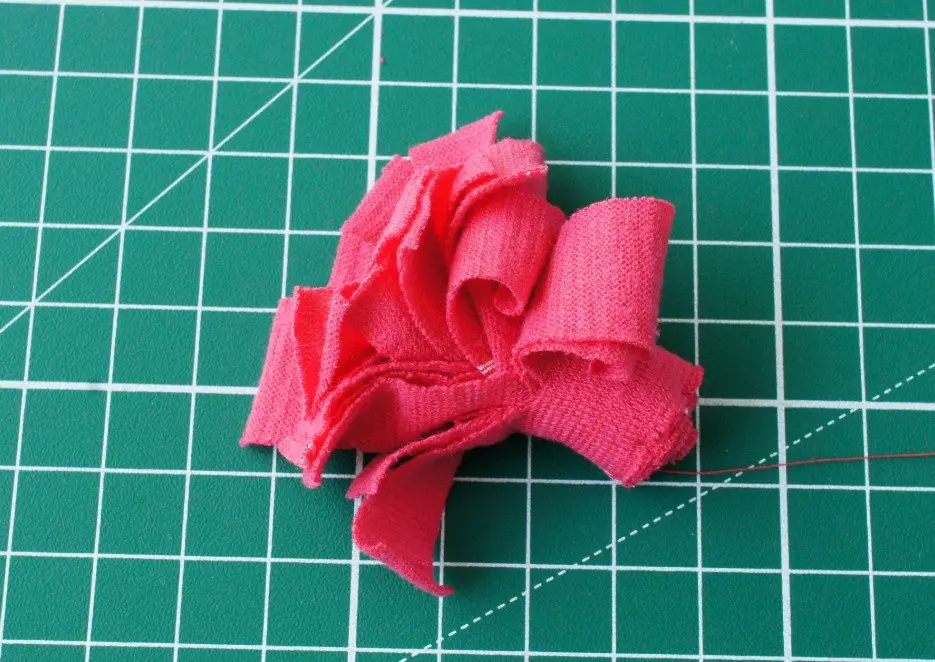
Step 5: Prepare the rest of the petals
You need 7 more strips (unless you want to try more or fewer). Take the first strip and start sewing a running thread along the non-clipped side. Ensure that you have a long thread as this is what you will use to sew the rest of the flower.
Continue with the running stitch along the edge gathering it as you go.
Continue right to the end and gather it all up. Keep your needle and thread ready for the next one. Do NOT fasten it off.
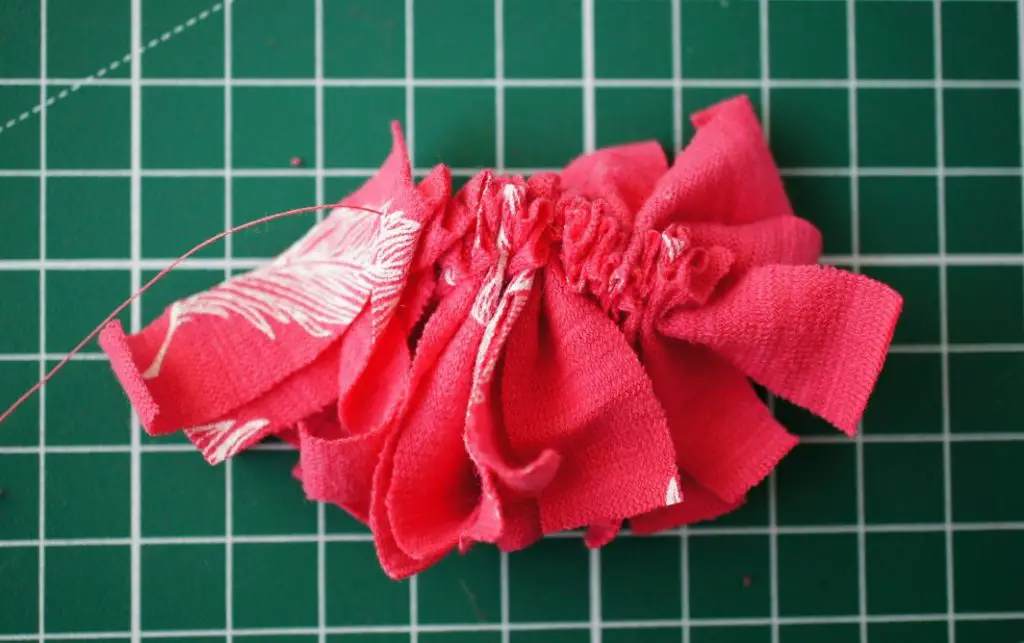
Repeat this process with the next strip of petals so that it continues along the same thread.
Continue along the whole strip. Then repeat for the other 5. You will end up with a long thread of gathered strips of petals. Do NOT cut your thread.
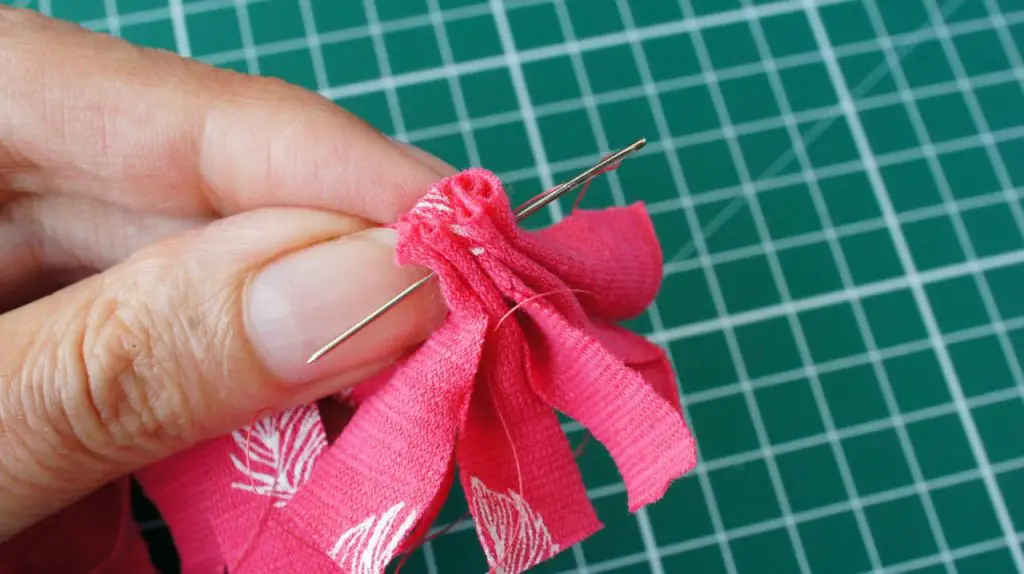
Step 6: Completing the flower
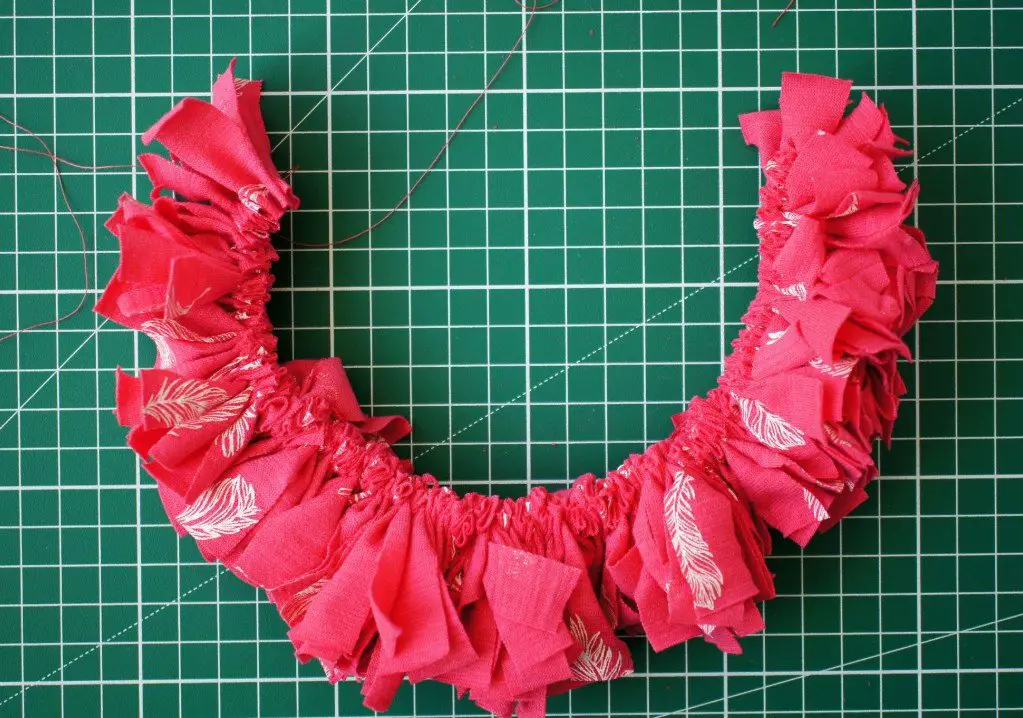
Take the flower centre that you made earlier and start to sew your ‘string’ of petals that you have just made around the centre.

Continue until the base of this flower is larger than the ring on your stem.
Now place the ring of the stem onto the base of the flower so far and attach it using a few stitches over the ring.
Continue to wrap the string of petals around the flower and attach with stitches.
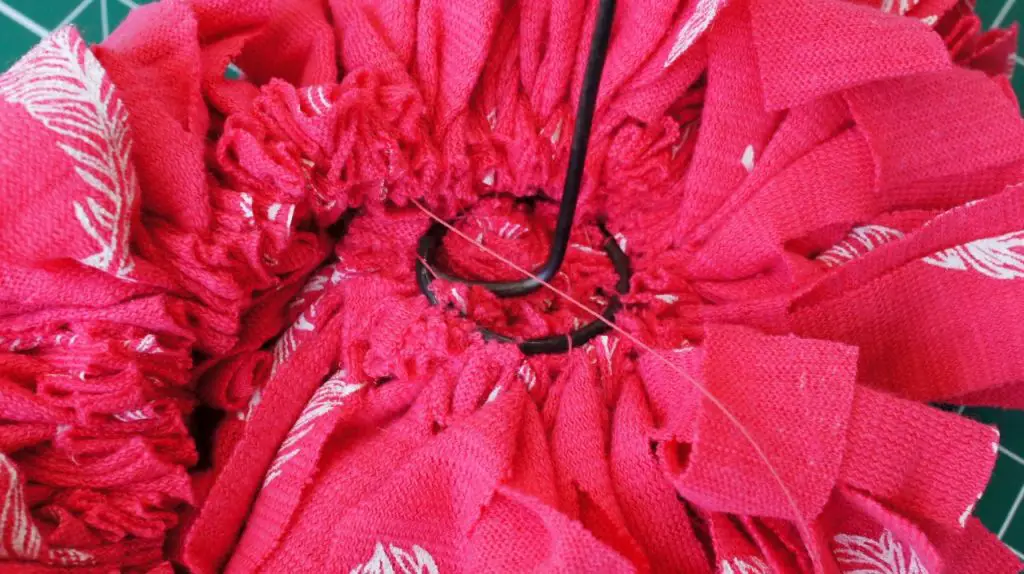
Once you are getting close to the end of the string of petals then bring them over the ring and cover it as you work around the flower.
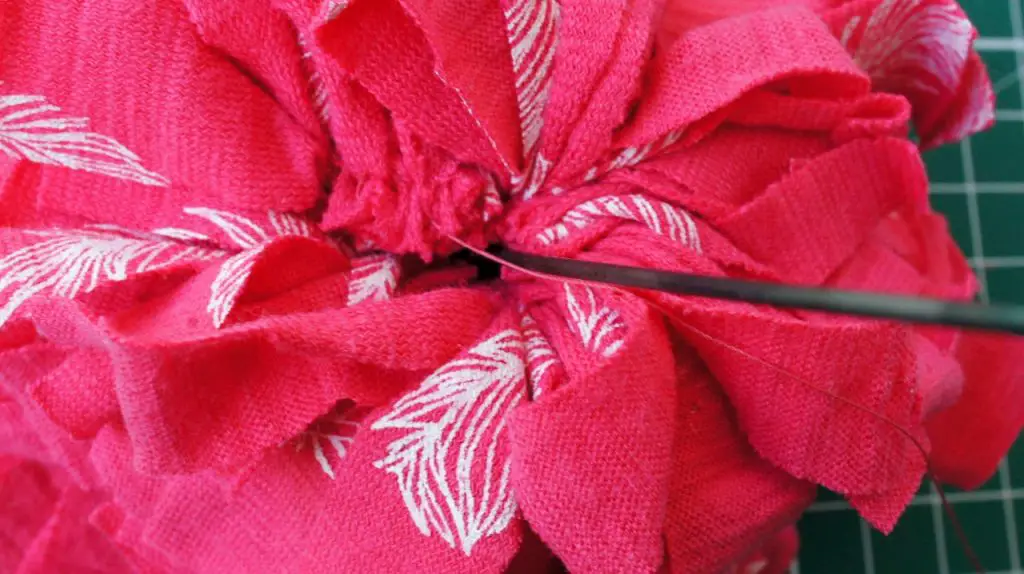
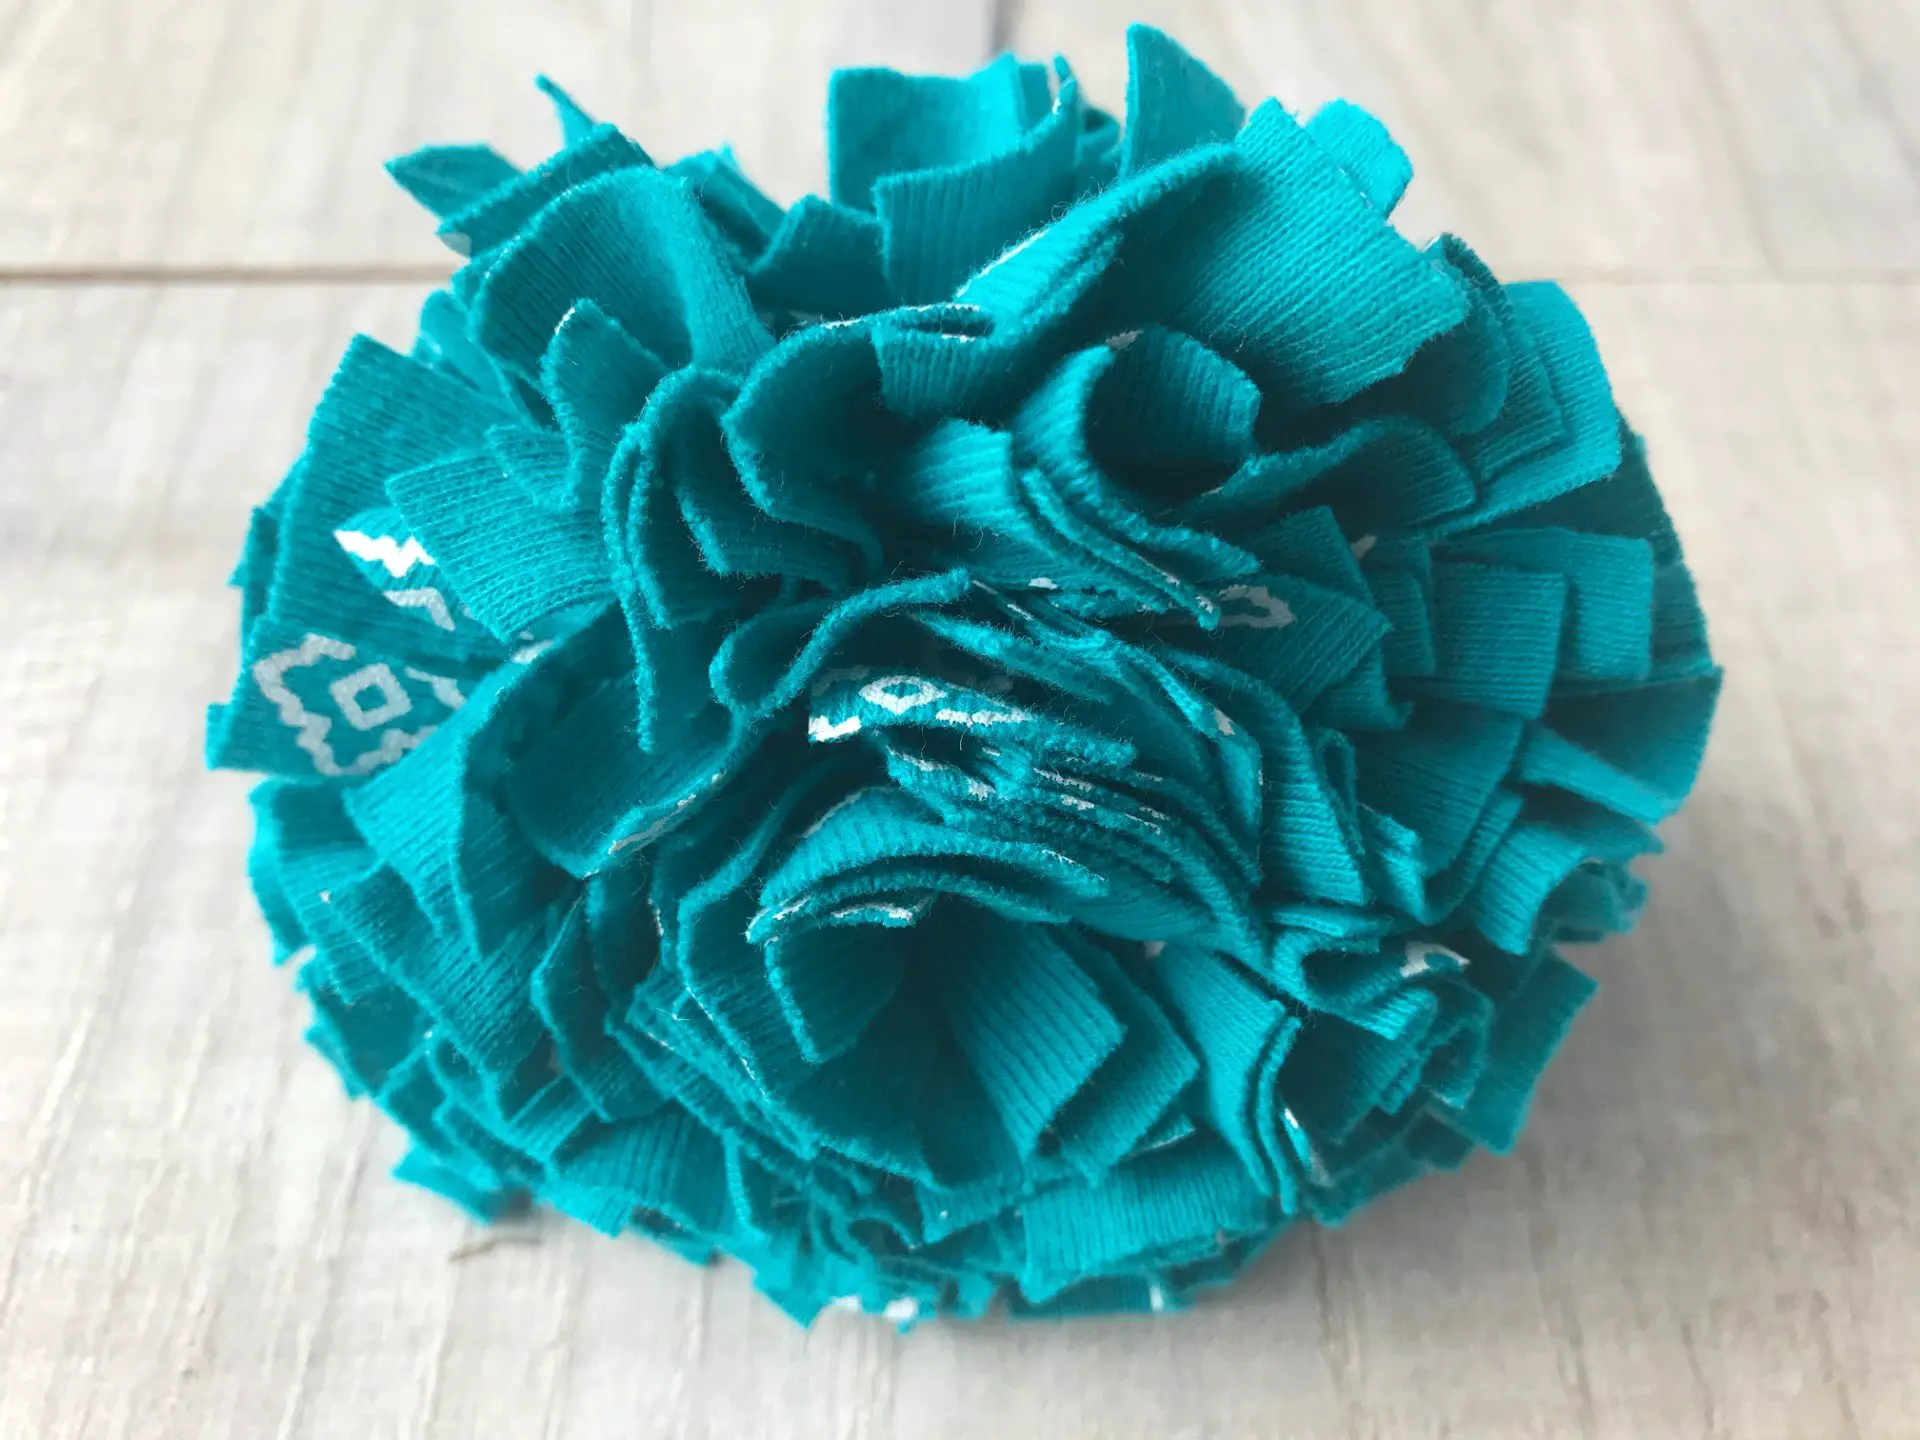
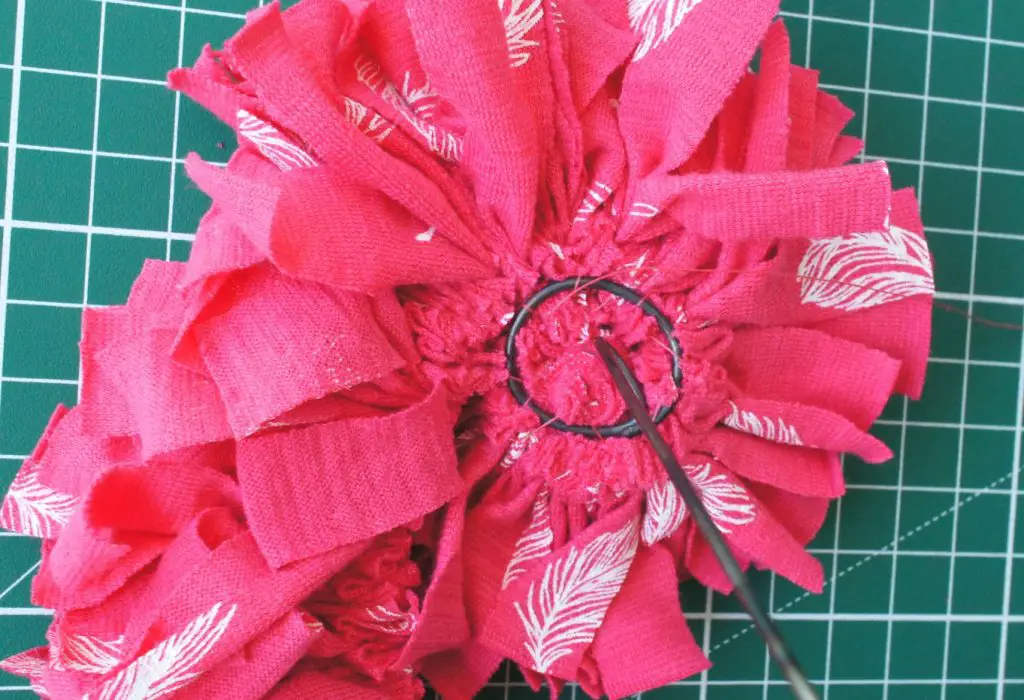
Fasten off your thread and cut it off. You now have a finished fabric flower. Well done!

Continue?
Well, now you have one fabric flower you can continue and make a whole bunch. I used 3 t-shirts to make my flowers and I could have made more grey ones but I felt I had enough.
Perhaps a bunch for a friend or relative on their birthday would be a nice gift. You could also make them to match your decor (if you can find the right colour t-shirt in your wardrobe!). You can also make these from any jersey fabric, it does not have to be old t-shirts so perhaps you could raid your fabric store.
I have other tutorials for making flowers so take a look here:
Shabby Chic Denim Flowers
Yoyo Flowers from Fabric Scraps
Silk Ball Flowers for Embellishments
Paper Flower Tutorials – tried and tested
Tried and tested fabric flower tutorials
Enjoy making your flowers and do let me know what you think and how you get on in the comments section below.
Remember to pin this tutorial on Pinterest so that you can find it later. You can also follow me on there as Christine’s Crafts for more great ideas.

These are so cute! Do you have any other craft ideas for t shirts? I don’t wear them and I have a TON (my husband designs shirts for lots of events, so we keep them for sentimental reasons.) I’d love a way to reuse them where I can enjoy the design but they’re not stuffed in a drawer
No, I haven’t done any other tutorials yet but I have been thinking of doing one where I turn a t-shirt into a tote bag. Then you could really enjoy a large design still. We all need bags for shopping, etc. You may just have guaranteed that I do it! Thanks for the push!
Wow! These are really creative. I would like my daughters to try this.
These are so fun! Especially as many of us are looking for ideas to do with our kids at home these days.
Really great post. I appreciate the detailed instructionals, and your choice of bright colors for the photos. It gives me some ideas to try with my kids while we’re stuck inside. Thanks Christine!
This is amazing and super easy with your guided instructions! I shall be trying to make it for my mums birthday as an extra hand made present! She loves stuff like that! Thank you!
I am glad you feel inspired and confident to make them. I am sure your mum will love them.
Super cool idea! Turning old tees into flowers? Can’t wait to try this out!
Glad you like them! Enjoy making them.