Pompoms – How to Make them with Cardboard and Yarn
As an Amazon Associate I earn from qualifying purchases
You can do this!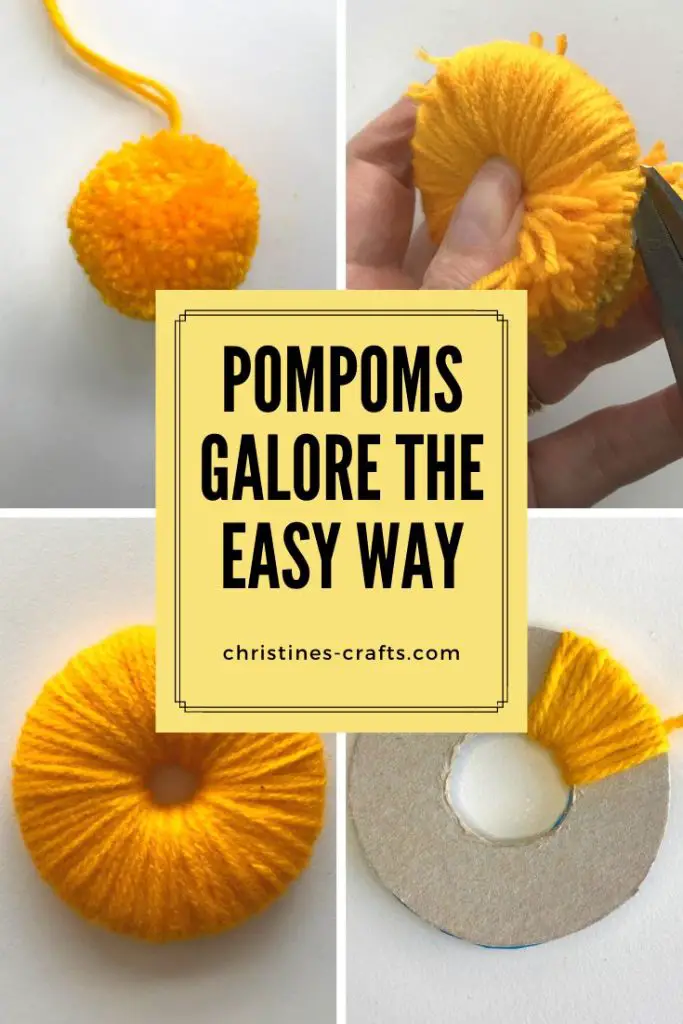
This page contains affiliate links meaning I earn a small commission if you use those links at no cost to you. I only recommend brands I use and trust.
You will need:
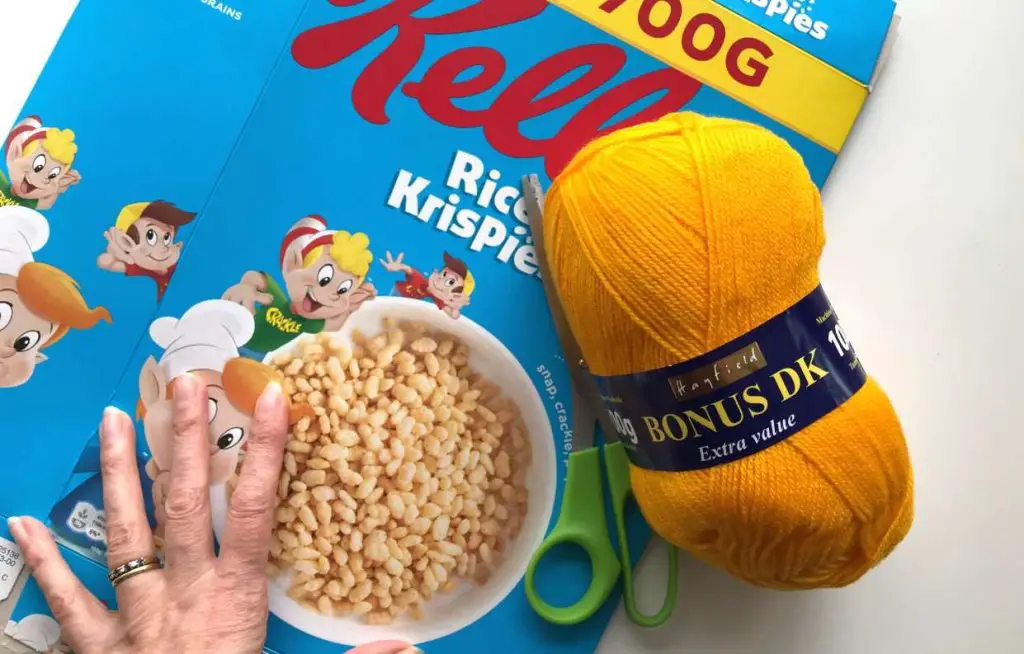
Yarn – I used double knitting similar to this from Amazon
Cardboard (cereal boxes are great for this)
Sharp Scissors
Video Tutorial for Pompoms
This video is also available on my YouTube channel.
Step 1 – making the cardboard rings:
Decide on the size of pompom that you want to make. I made a pompom just under 6cm (2.4″). To achieve this I took my cardboard and drew two circles of diameter (distance all the way across) 5.5cm (2.2″). Basically you will make a pompom slightly larger than the circles you draw. Then draw a circle within the original circle (concentric). To get a nice fluffy pompom my inner circle was 2cm (0.75″)in diameter.
The larger the inner circle the more yarn you will use and the fluffier the pompom will be.
The easiest way to get your circles concentric is to use a pair of compasses to draw your circles but if you do not have compasses you will simple have to measure carefully to get the circles lined up properly.
Cut out the circles to give you 2 identical rings. A sharp pair of scissors is needed to cut out the inner circle.
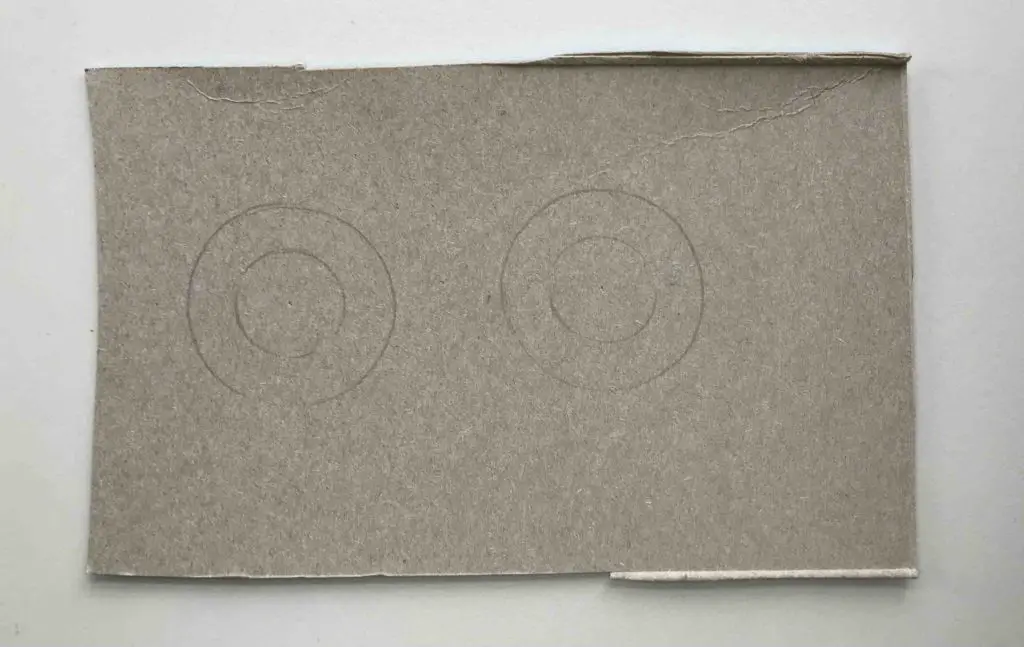
Place one card on top of the other. You will use the rings together like this.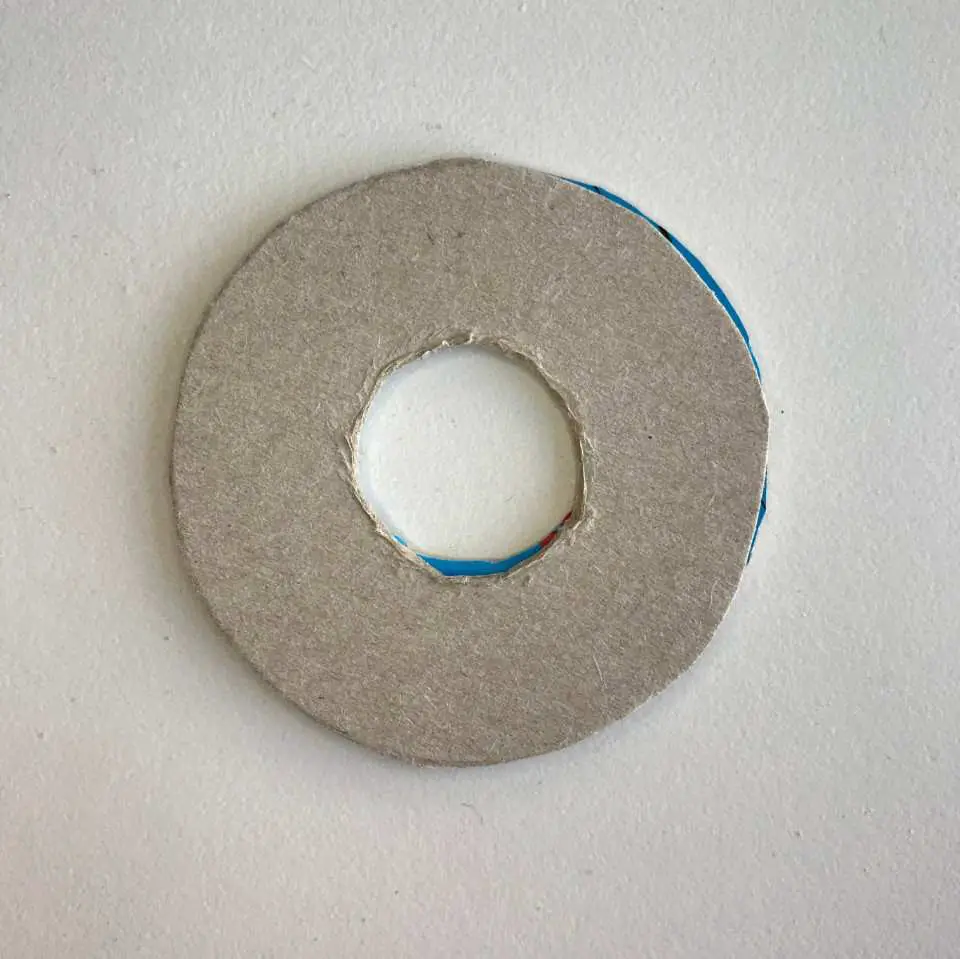
Step 2 – building the pompoms:
Cut a length of your chosen yarn, approximately 30cm (12″) will be a good length. Put it to one side for now.
Cut another length of yarn. How long is up to you and you will see why! I find about 3m (10ft) is a good length. Keep the two circles together. Place the yarn onto the circles and hold it in place as shown.
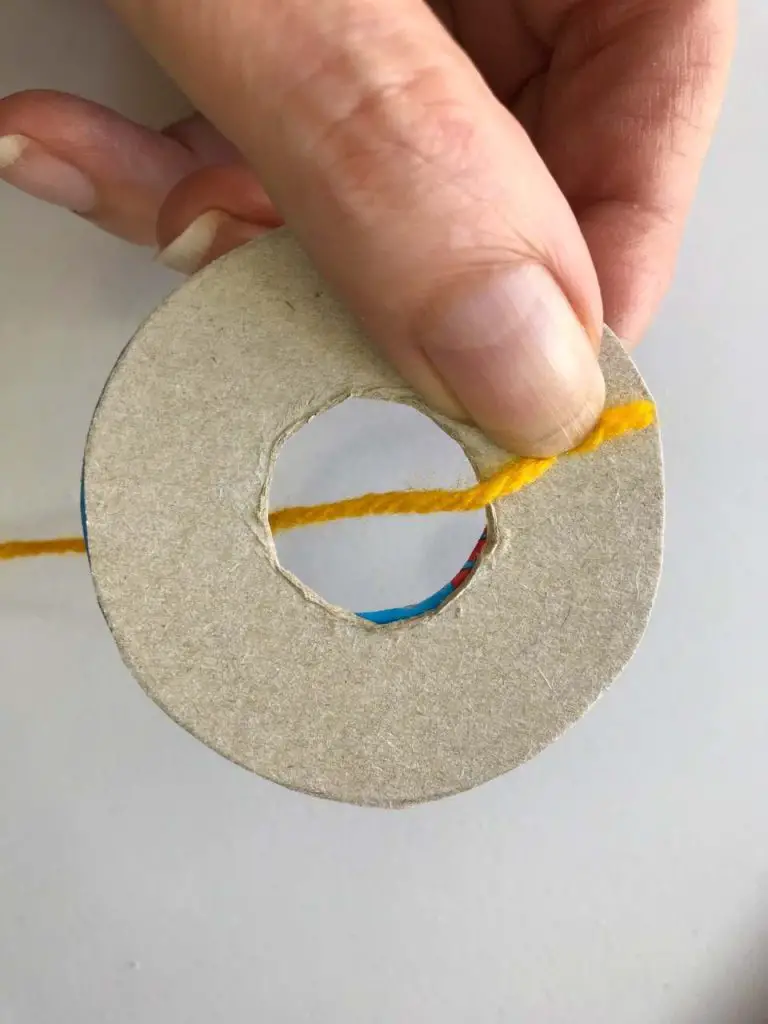
Now feed the yarn through the hole and wrap it around the circles trapping the end of the yarn.
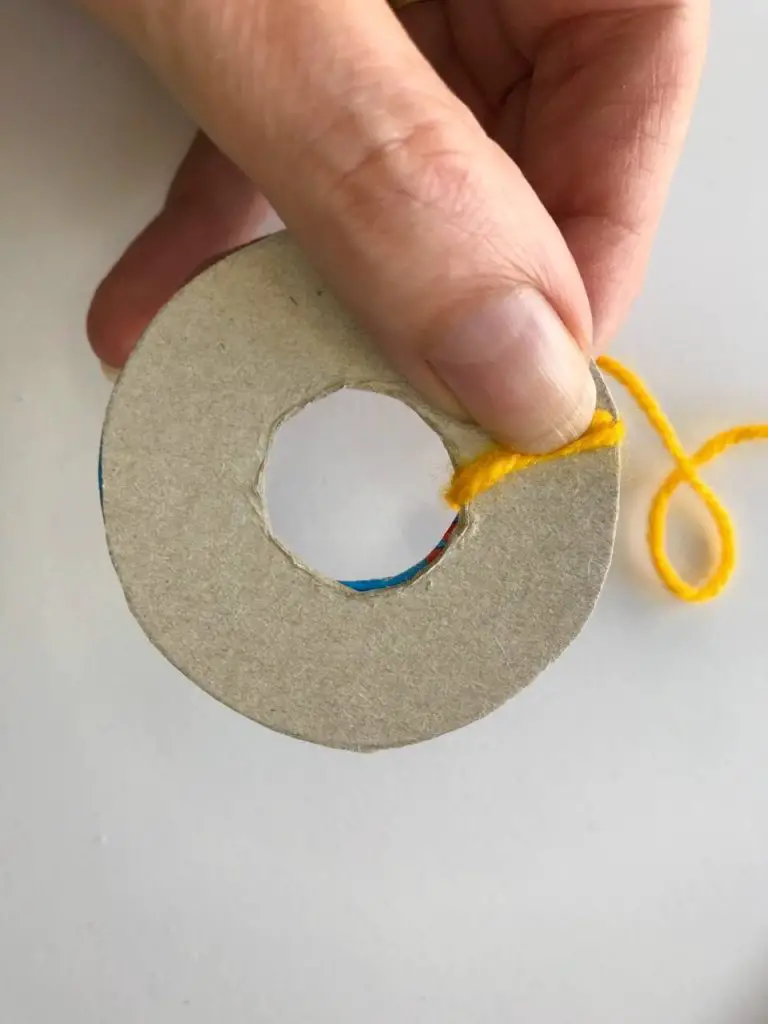
Repeat and work your way around the ring. When your yarn runs out make sure you finish on the outside of the ring and then cut a new length and start again as you did with the first length.
It is important to work steadily around the ring to keep your work even.
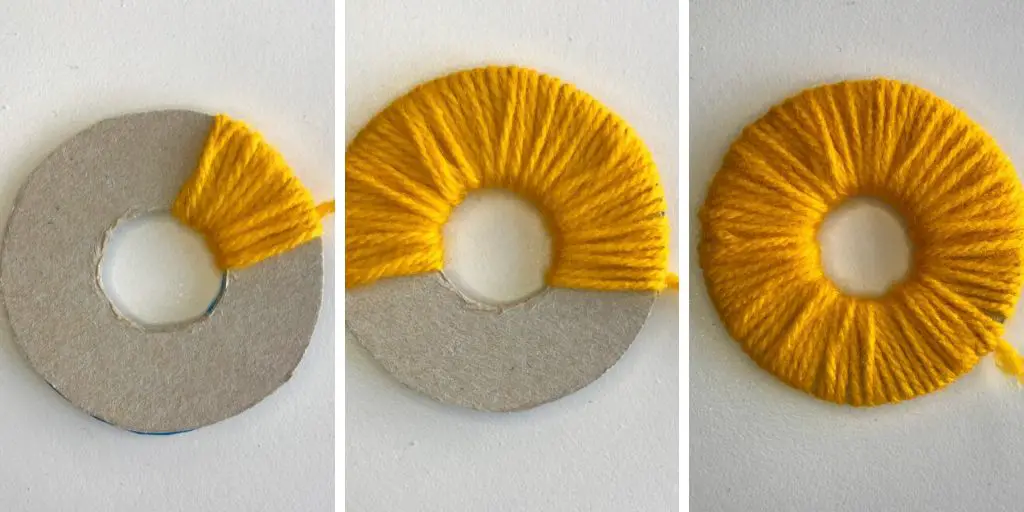
Once you are all the way around the ring keep going. Just start new lengths of yarn when you need to. So long as you always start and finish your yarn at the outside edge of the rings you will not have any problems.
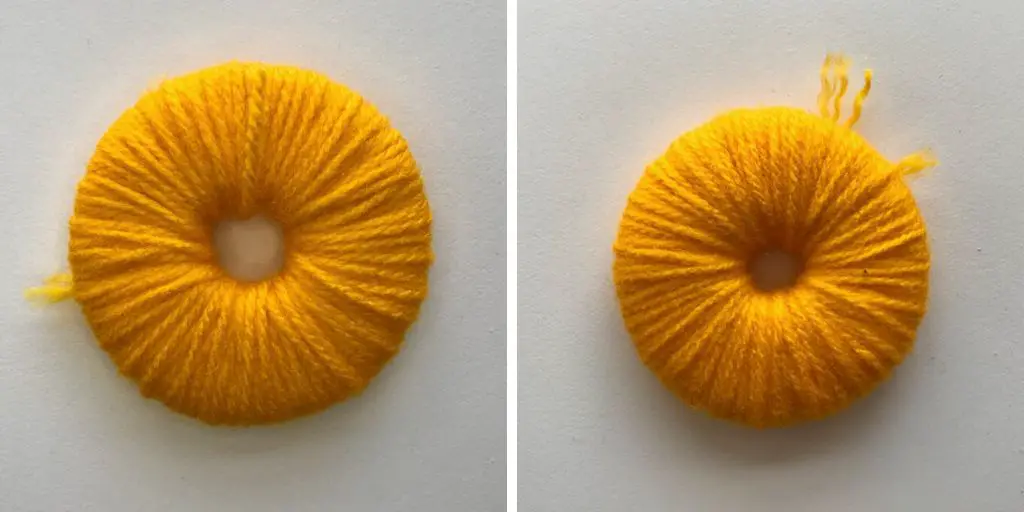
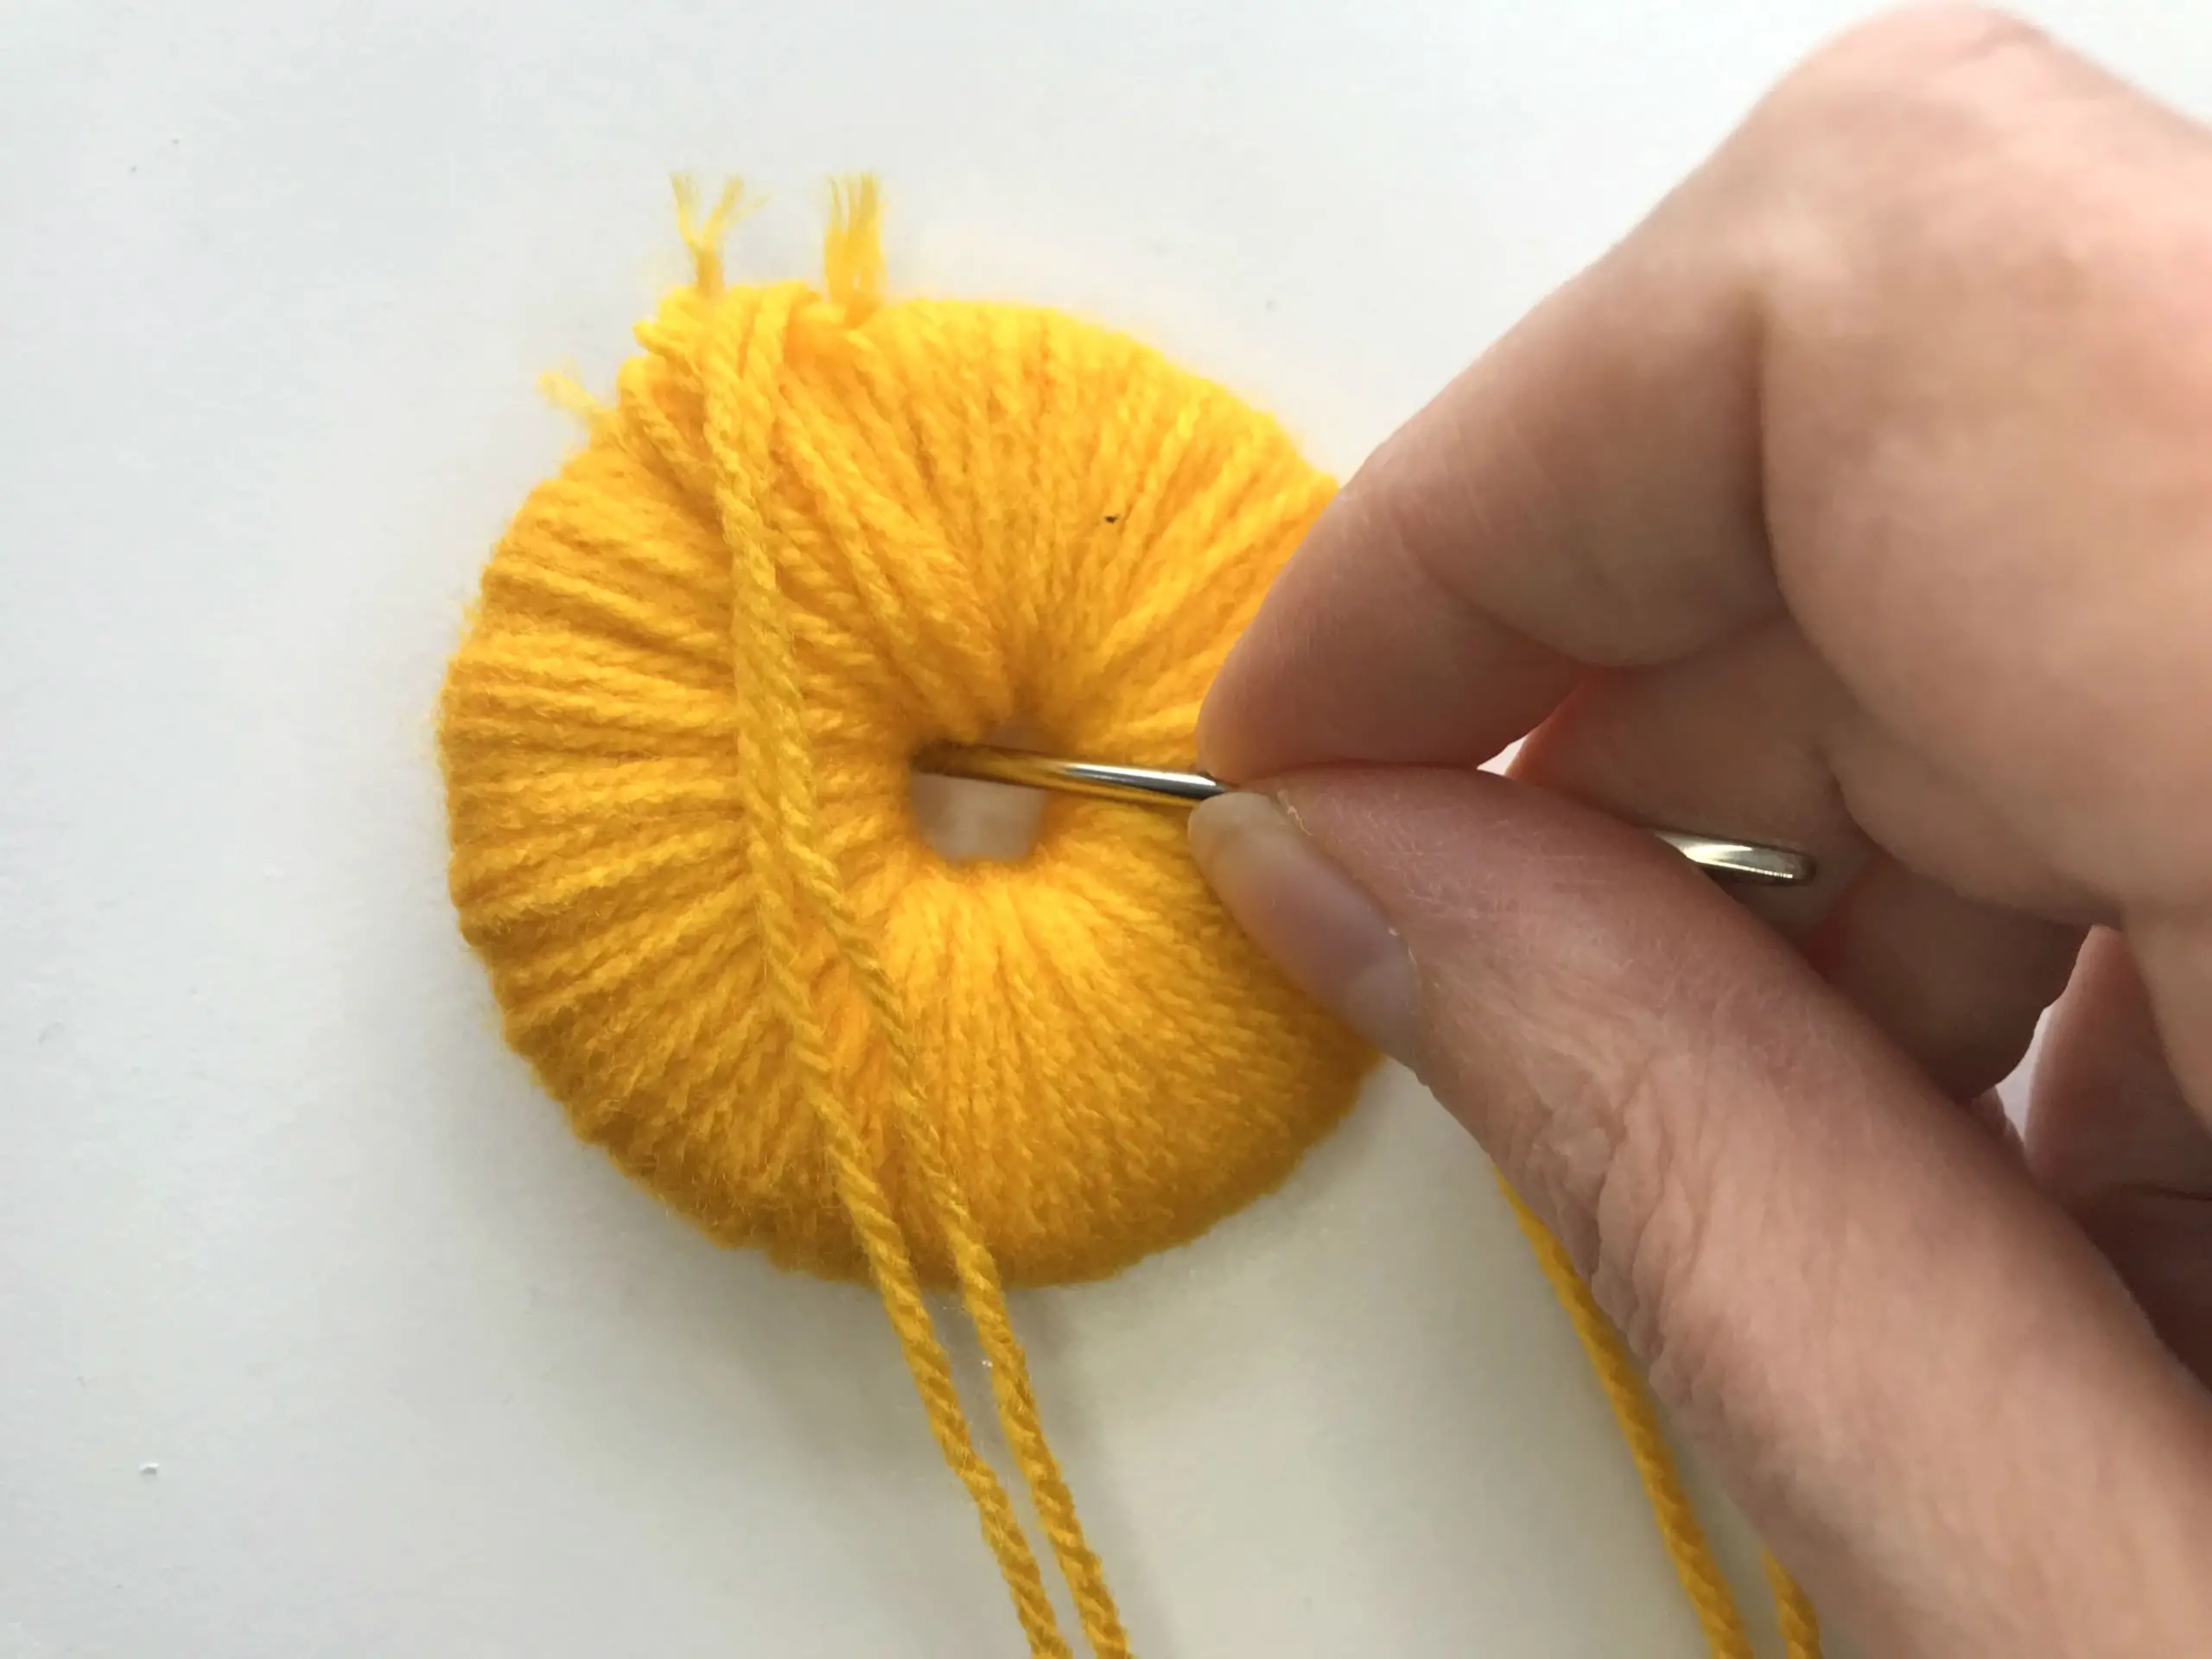
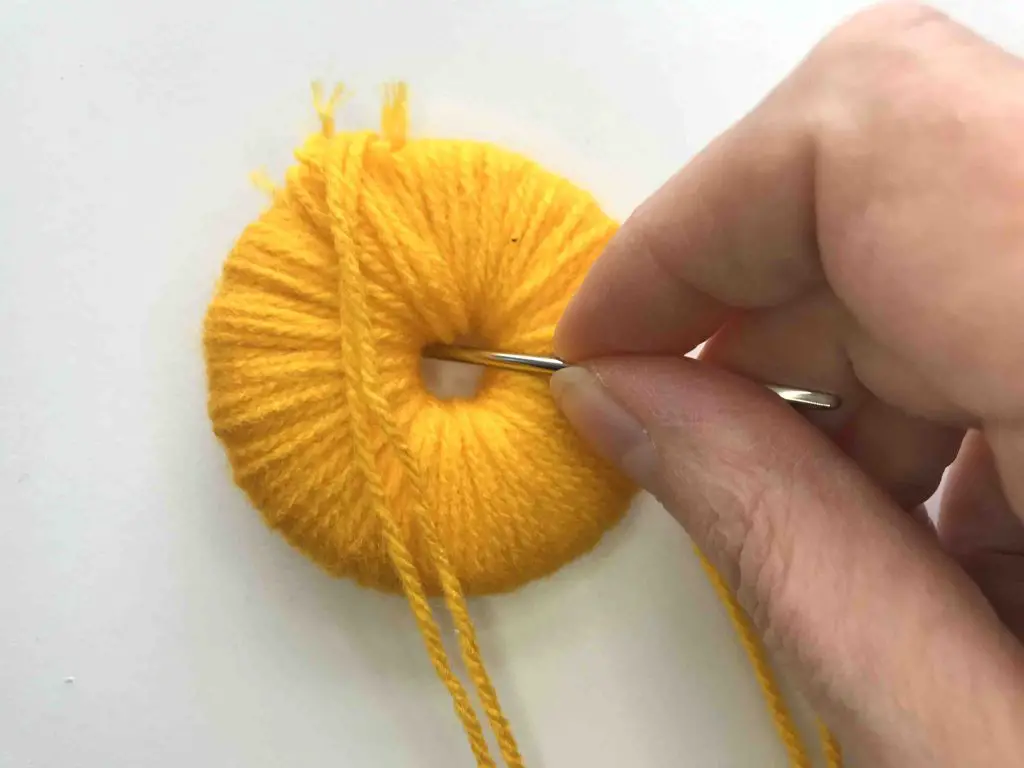
As the hole in the middle gets too small to easily pass the yarn through you can thread your yarn onto a blunt needle and use that to pass the yarn through the hole. You can keep the yarn double and work twice as fast! If you want to you can use a needle from the start.
Once there is no hole left cut off your yarn and move onto Step 3.
Step 3 – cutting the yarn:
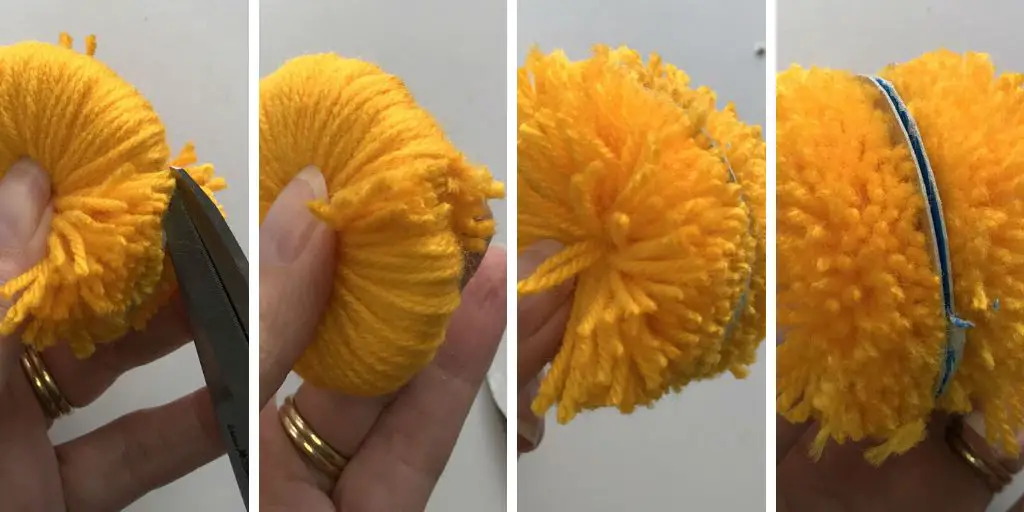
Take a sharp pair of scissors and cut around the outside edge of the discs as shown below. This will form the yarn ends that make your pompom. Once you are all the way around you will be able to see your cardboard discs and it will be starting to look like a pompom!
Step 4 – securing the pompoms
Now take the piece of yarn that you cut at the beginning of this project and wrap it around the pompom so that it fits between the two cardboard discs. You may need to open these slightly to get the yarn in. Tie it tightly and securely as this will hold all your yarns together to form your pompom.
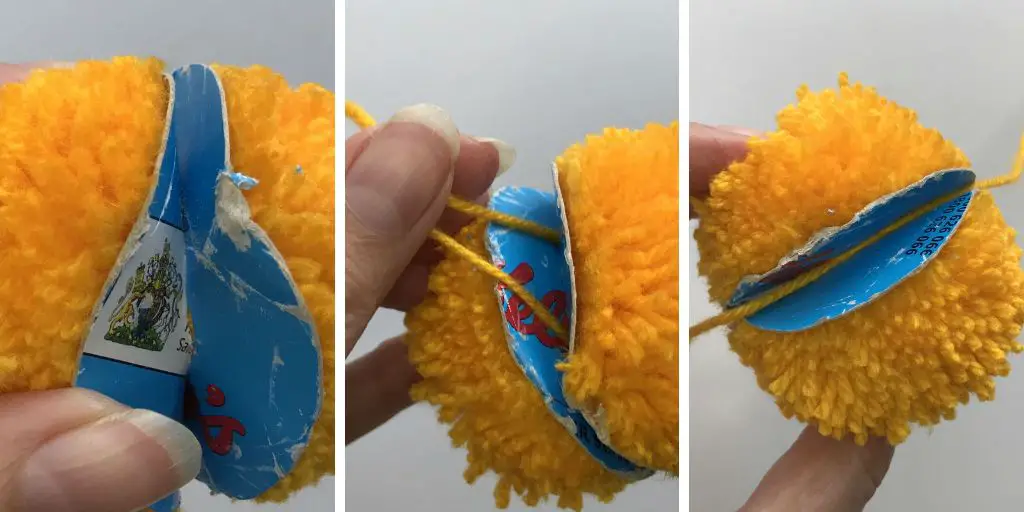
Now you need to remove the cardboard discs. I usually snip each ring with some sharp scissors and then rip them out carefully. Cereal box cardboard rips easily at this point.
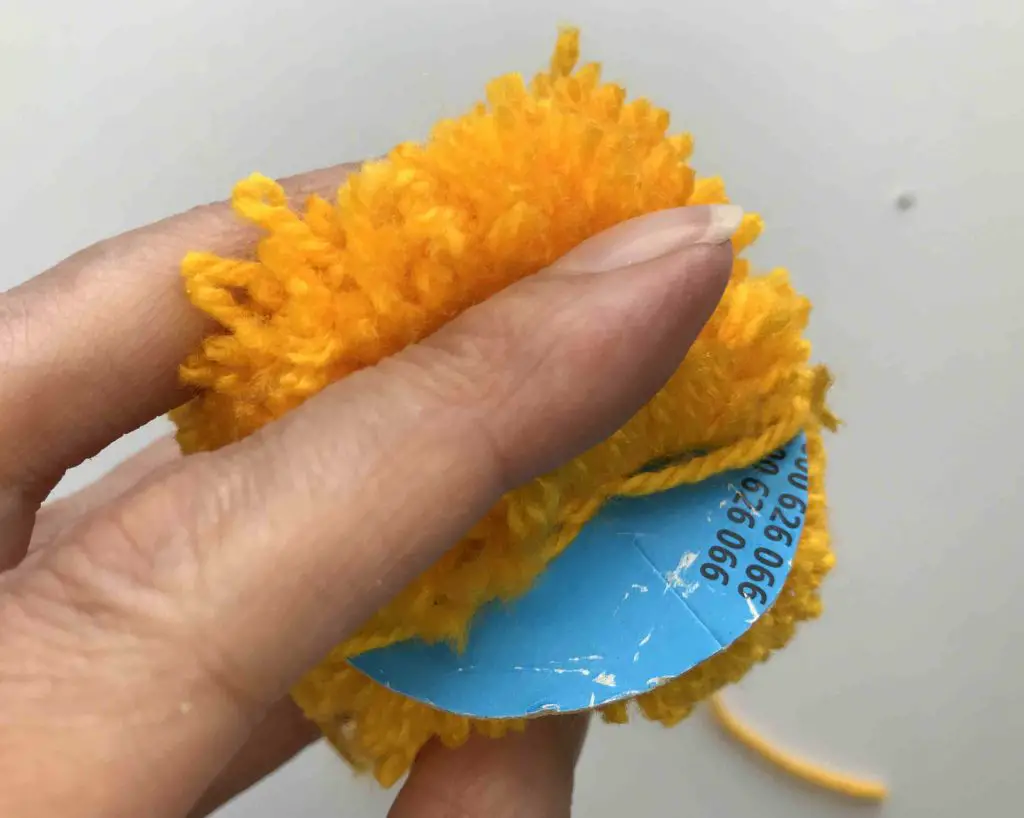
You now have a pompom but it probably looks rather untidy!
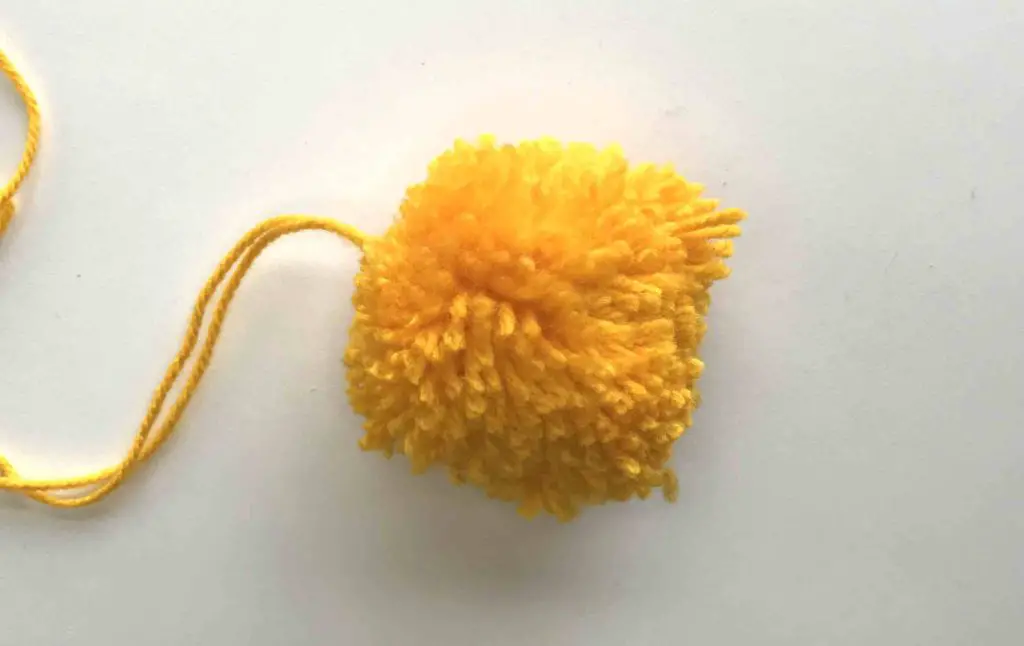
Step 5 – trimming the pompoms
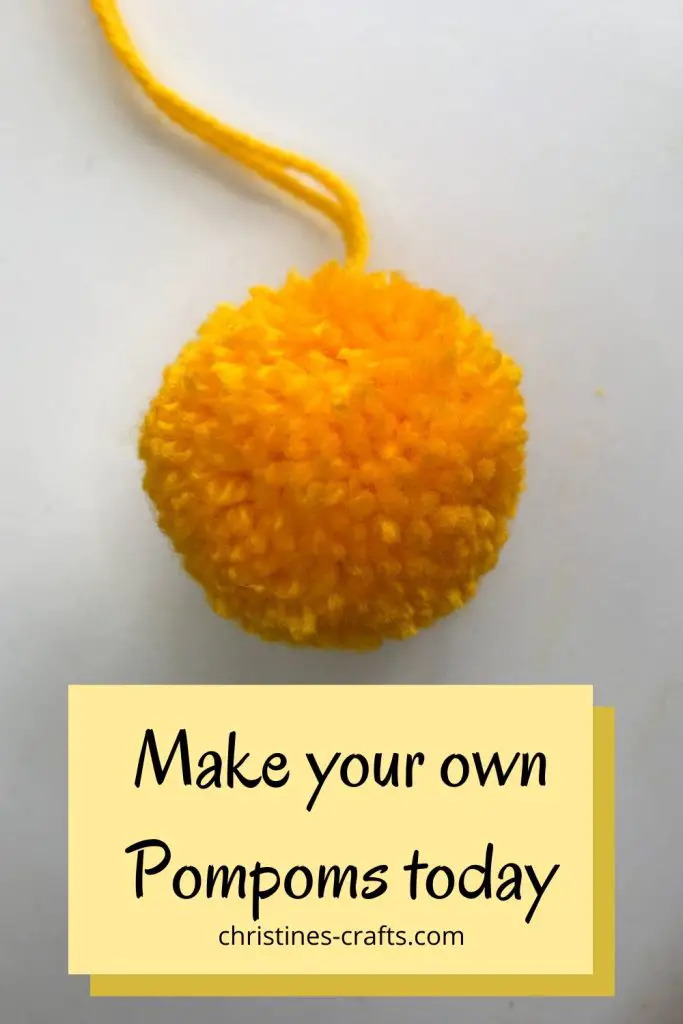
Now you just need to tidy up your pompom to make it a sphere and look amazing! Use a sharp pair of scissors to snip off any long lengths of yarn and make it a sphere. It is up to you whether you cut the really long lengths off. If you are sewing your pompom to anything, eg a hat, then use these lengths to do that. Otherwise trim them off as you go.
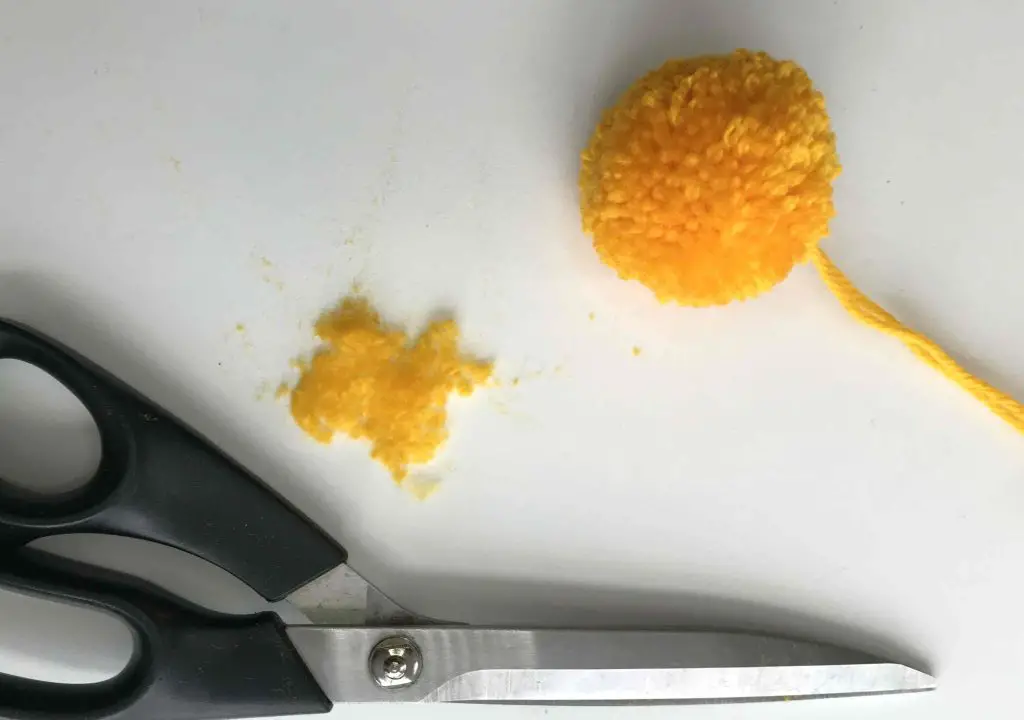
Now take your pompom or pompoms and create! How about a cute Easter chick?
If you enjoy crafting then take a look at some of my other tutorials:
- Super quick drawstring bag
- Make a fabric covered notebook
- Yarn (or dammit) doll
- Fabric corner bookmarks
- Easter Chick
If you love crafting then remember to subscribe to the regular newsletter, That way you will never miss anything and get access to my resource library for free.
I am also on Pinterest so please follow me there for even more inspiration. Remember to pin this post so that you can find it later.
