
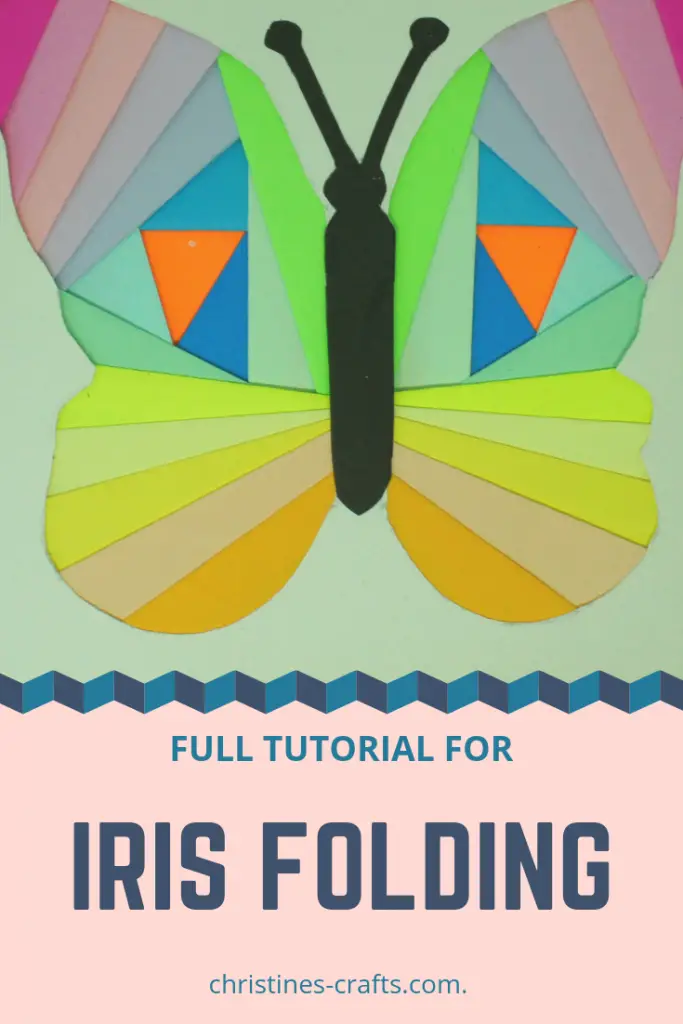
Iris Paper Folding – Super Easy!
As an Amazon Associate I earn from qualifying purchases
This eye-catching effect is incredibly easy to achieve using iris paper folding. It is, as the name suggests, a way of producing an iris effect using folded paper. I have produced a Christmas card in this tutorial but you can make any shape you like. There are so many patterns available!
If you would like to know how to create your own patterns then check out my iris folding patterns tutorial for help.
This page contains affiliate links meaning I earn a small commission if you use those links at no cost to you. I only recommend brands I use and trust.
You will need:
Pattern (plenty available online, google ‘iris folding patterns’)
Card (like this from Amazon)
Paper ( not too thick, printer paper is ideal)
Scissors
Tape
Masking tape
Double-sided tape
If you like watching a tutorial then scroll down to the bottom of these instructions and watch my video tutorial. If you prefer reading then carry on!
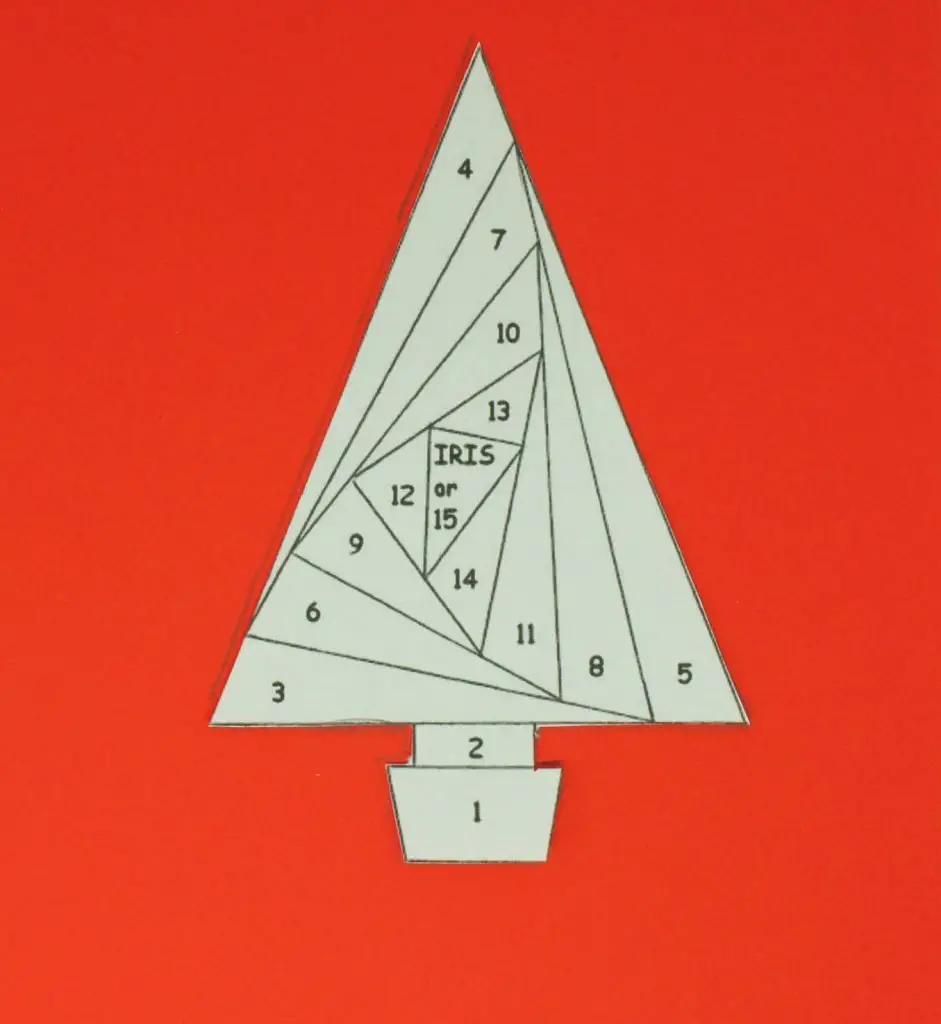
Step 1: Cut pattern from card
I used two copies of the pattern. I cut one of them out and used it as a template on my card (which was red). You need to draw around the template and then cut out your tree shape. I used a craft knife but you could use scissors.

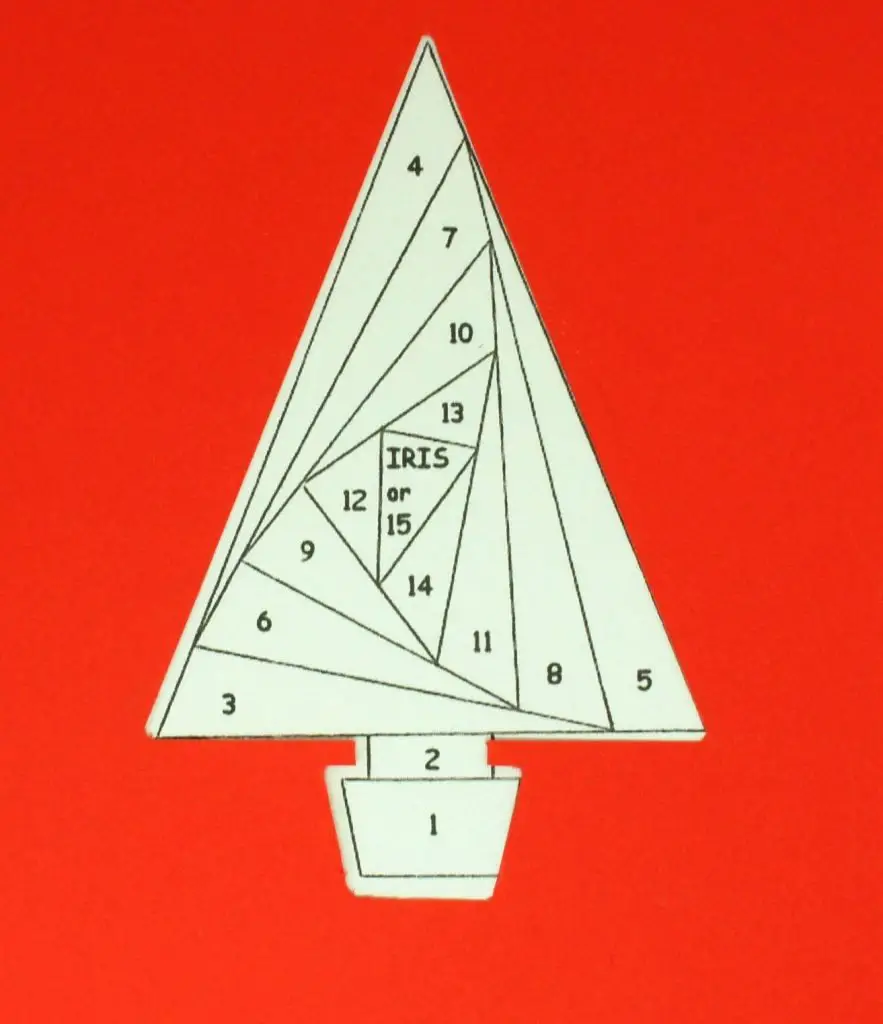
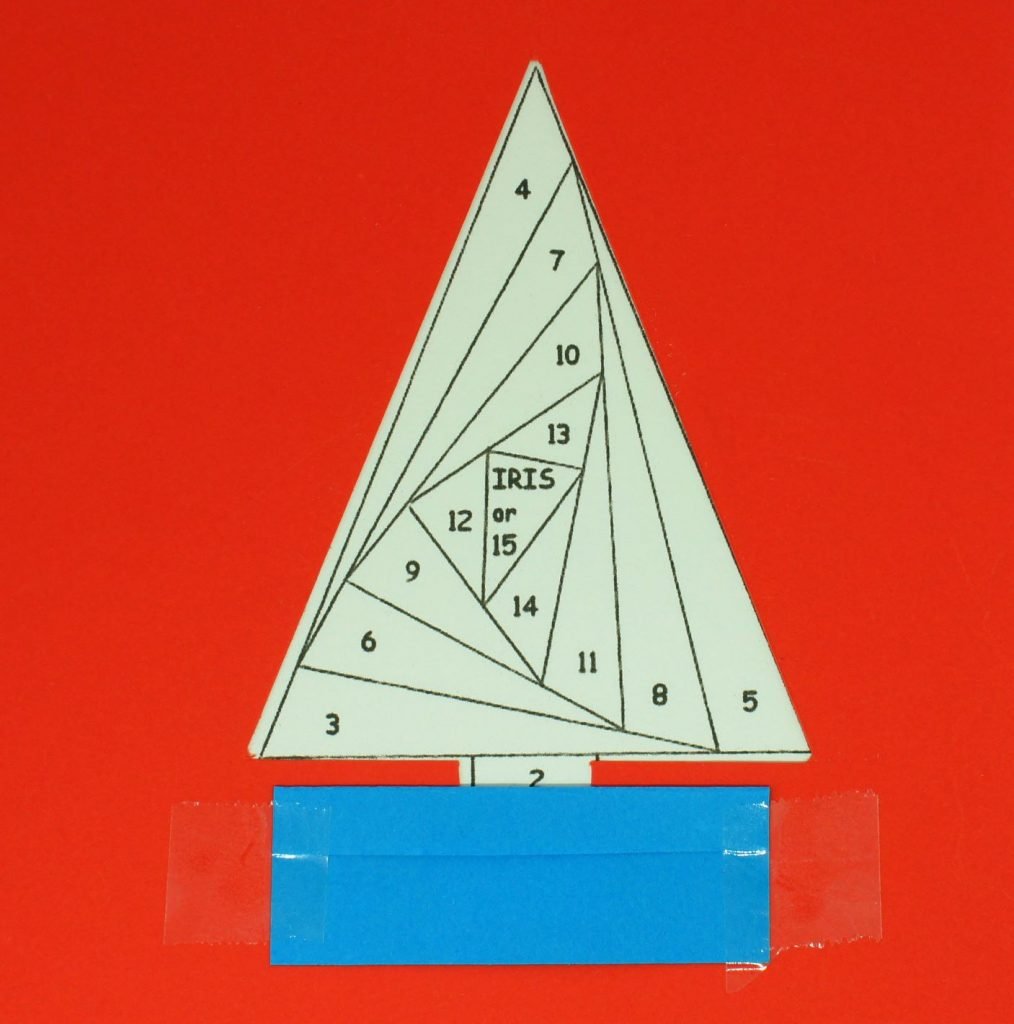
Step 2: Affix pattern to card
Place the pattern that you did not cut out directly behind that card so that it lines up perfectly with the cut out in the card. You will see that my cutting out was not perfect but it will not matter. No-one will ever know! Stick the pattern to the card using masking tape. I used low-tack tape to avoid damaging the card when I remove it.
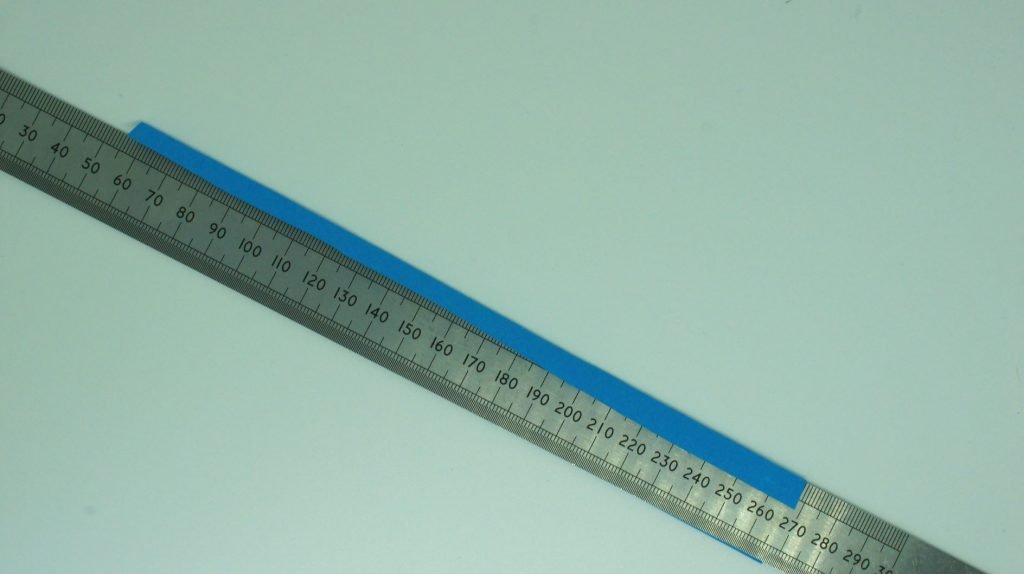
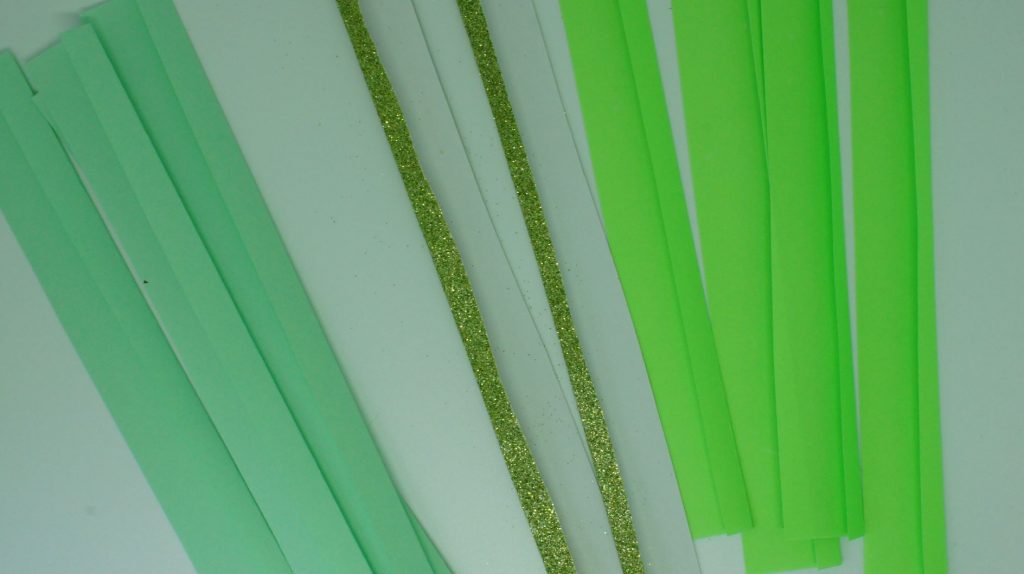
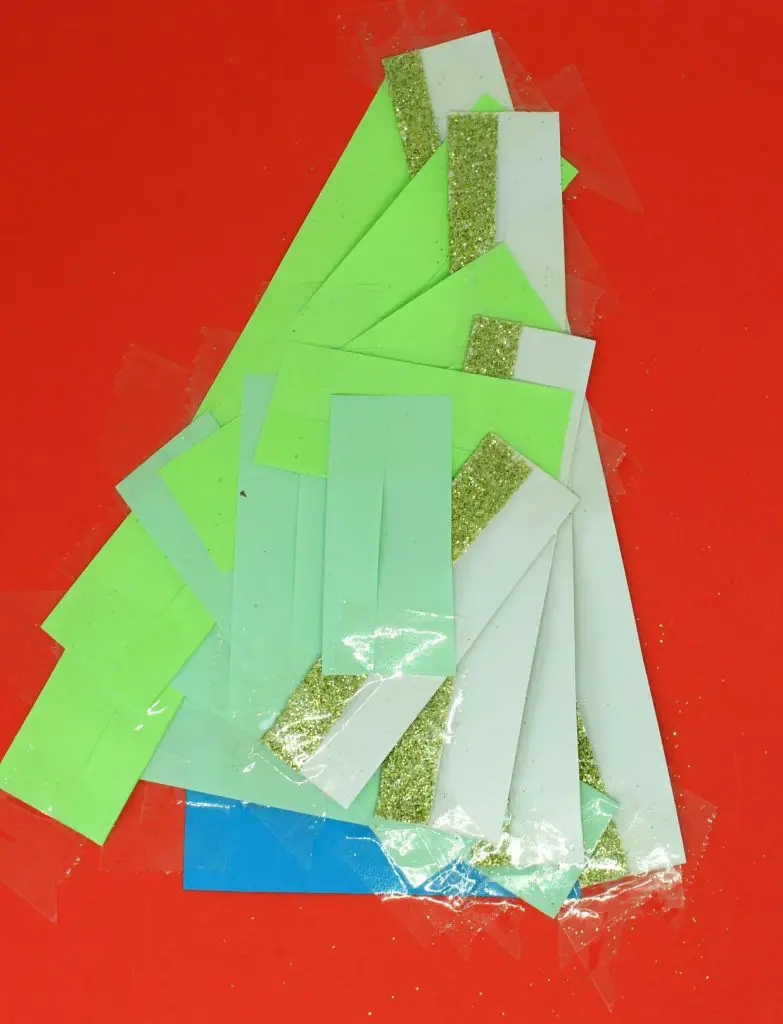
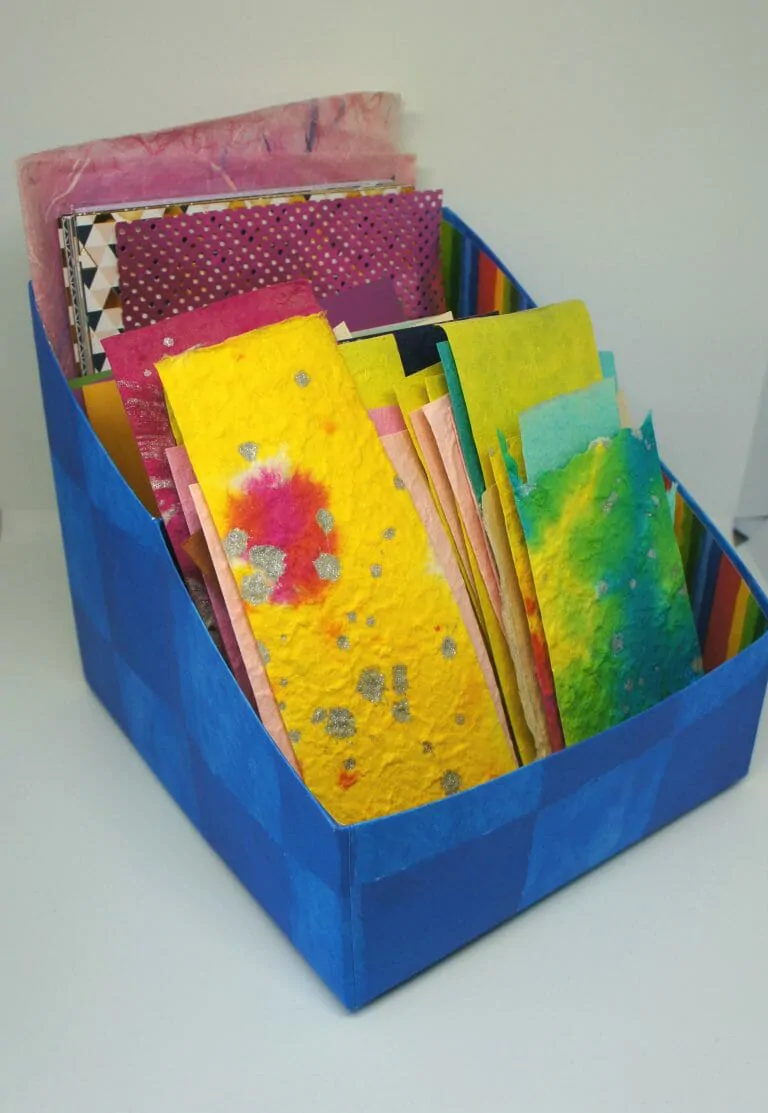
Step 3: Cut strips
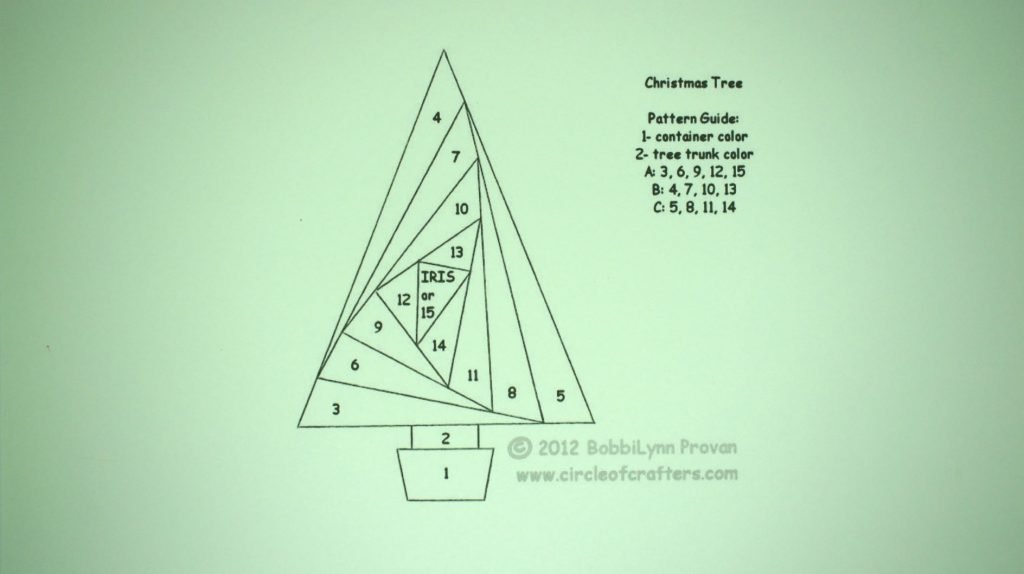
Decide on the colours for your iris folding. In this case I needed a pot, trunk and three colours for the tree. Of course, what colours and how many is really up to you and your imagination. Cut your paper into strips approximately 2.5cm (1″) wide. Fold them along their length approximately a third of the way across. I used a ruler to make the fold and then ran my fingernail along it to make it a crisp fold.
Step 4: Attach strips
Apply the strips in the order of the pattern. In this case, from 1 up to 15. Take your first strip and place it onto the card so that it covers the section marked with a 1. Ensure that the fold is along the line on the pattern bordering section 1. Tape it down.
Repeat for strip 2 in your chosen colour. Then continue, making sure that you use the correct colours for your pattern, building up your iris.
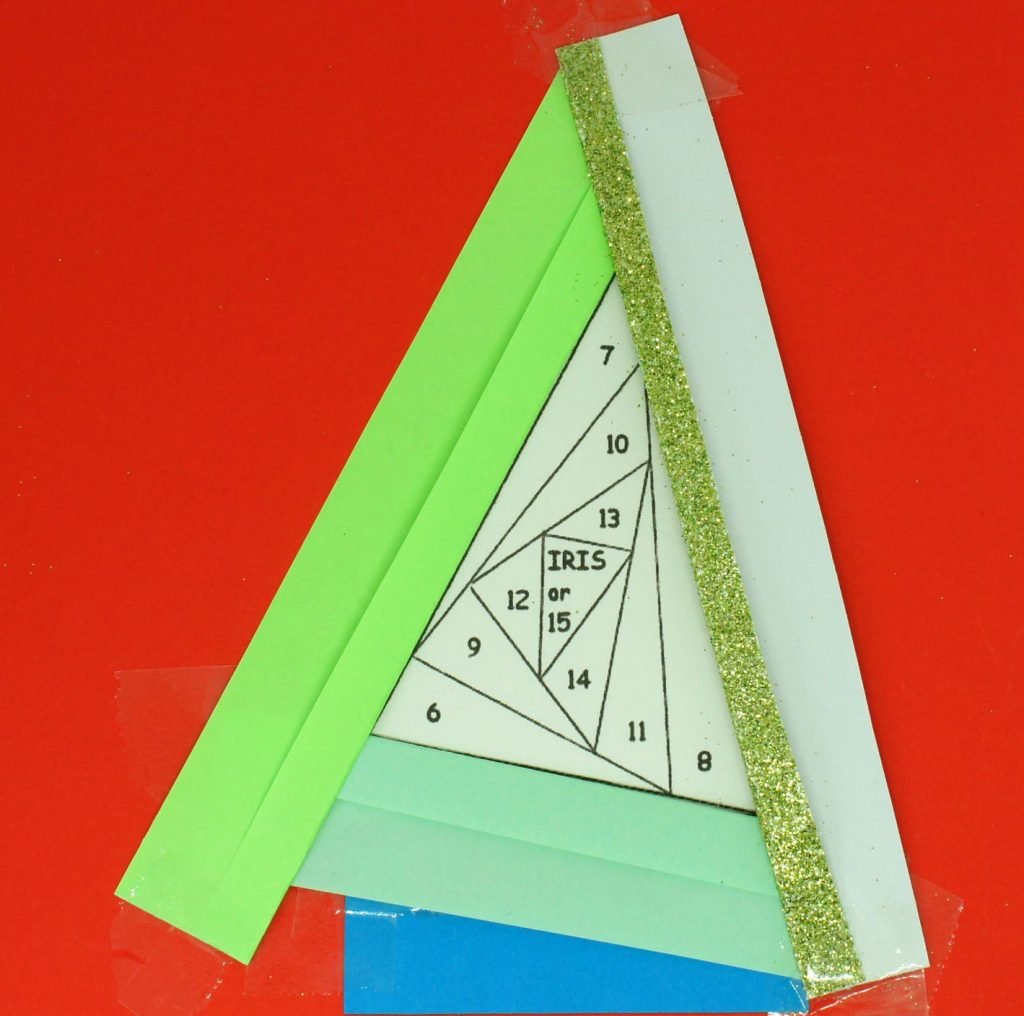
It will get very thick and this is why I recommend using thin paper. When you reach the iris you can continue with your pattern or attach something special as the iris.
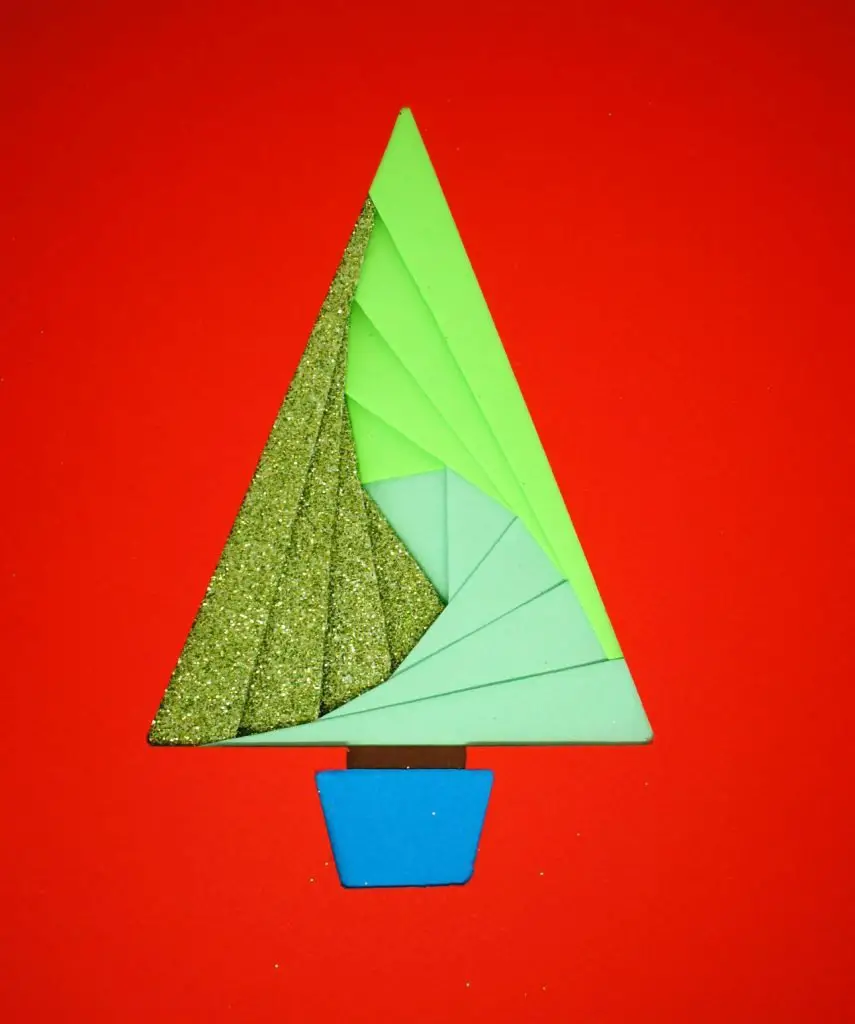
Step 5: Remove pattern
Turn over the card, remove the pattern very carefully and look at your completed iris picture.
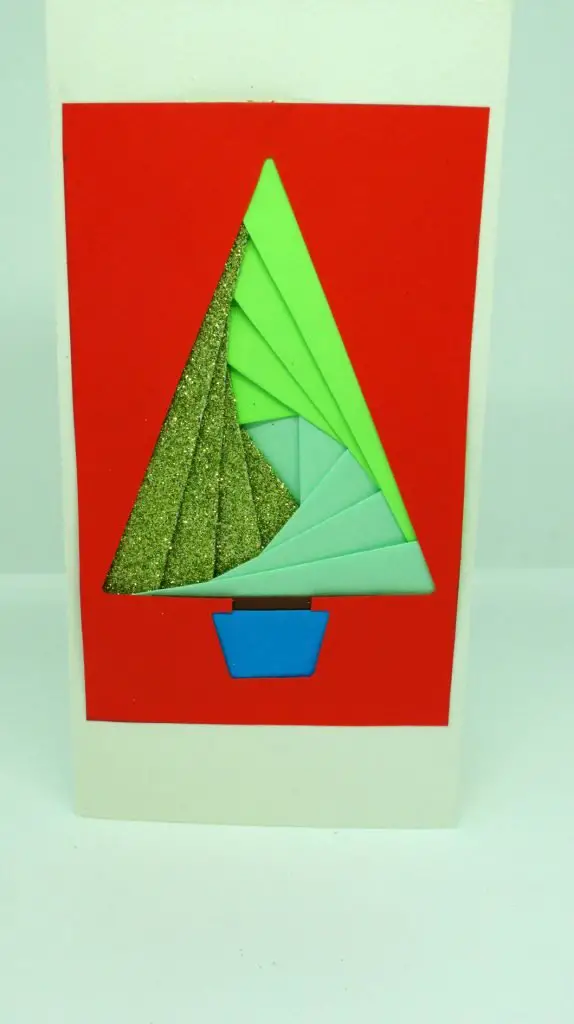
Step 6: Use picture
Do whatever you want with your picture. You can trim down the card or fold it or whatever is appropriate. I cut my card down and used double sided tape to affix it to a Christmas card. I love the effect!
Video Instructions
Summary:
This is a great way of making really effective, professional looking cards or pictures without needing too much skill or specialist equipment. You probably have everything you need in the house already!
So, now you know how to do iris paper folding have a go and let me know, in the comments section below, how you get on. You can also ask any questions that you may have.
If you would like the 3 free patterns that I have created (a circle, square and triangle) then complete the form below and gain access to them plus other exciting downloadable pdfs.
If you like papercrafts take a look at some of my other posts:
Paper Flower Tutorials – tried and tested
Decoupage Tutorial and Project Ideas
Remember to pin this for later!
Thank you for your wonderful instructions
Thank you. Glad you enjoyed them.
Made your iris paper Xmas tree, but don’t
understand how you cover up the mess on
the back side.
You need to stick your completed picture onto a piece of card or even a greeting card so that no-one gets to see the back. If it is a large picture then it will be hidden in a frame but I find sticking them onto greeting cards works well or if you use a greeting card to make your picture simply stick a piece of card behind it on the inside. I hope that helps.
Great ideas
Thank you. Glad you like them!
Love your work
Thank you so much. I am glad you like the tutorials and find them helpful.