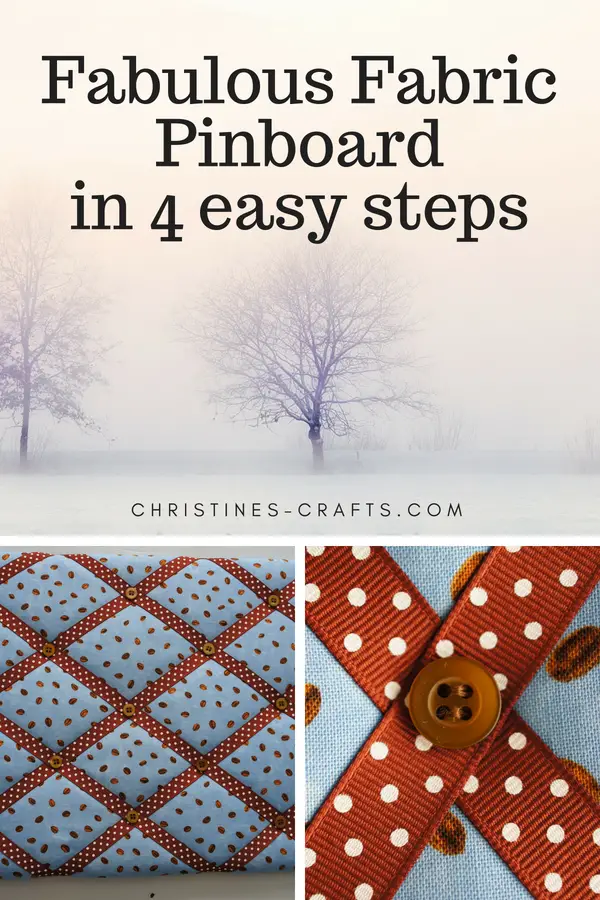
How to make a Fabric Pinboard
As an Amazon Associate I earn from qualifying purchases
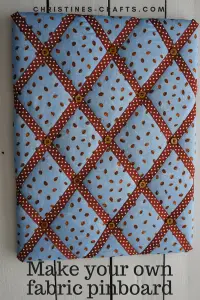
This tutorial will show you how quick and easy it is to make your own fabric pinboard with a professional finish. It can be completed in an afternoon!
This page contains affiliate links meaning I earn a commission if you use those links at no cost to you. I only recommend brands I use and trust.
This full tutorial is available as a downloadable PDF for a small charge so that you can avoid the ads and easily print it off if you want to. Simply click here for details.
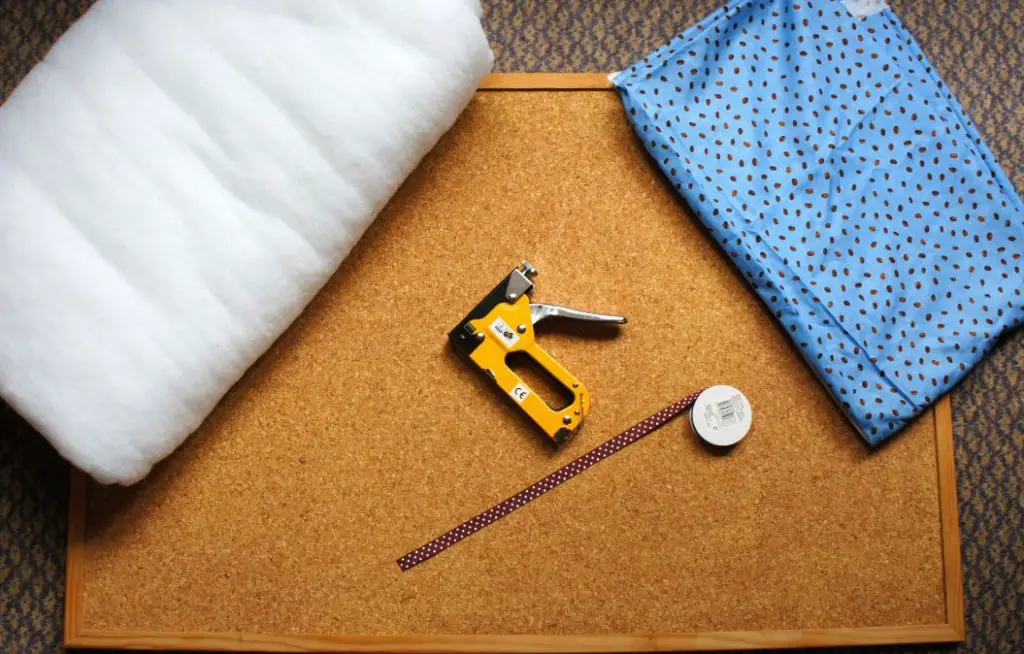
You will need:
Corkboard or stretched canvas board. Canvas boards available at The Works and Amazon
Enough fabric to cover the board
Enough wadding or quilt batting to cover the board
Ribbon (plenty, I used 10m and my 2 boards are 40cm x 50cm and 30cm x 40cm)
Buttons (mine are from Ebay)
Thread
Cut fabric and wadding
Lay the fabric out on a flat surface and position the board on top of it. Cut around the board ensuring that you have enough fabric to wrap around the edges of the board. I allowed enough to form a folded hem as well.
Repeat the process with the wadding remembering that you do not need quite so much to wrap around the board.
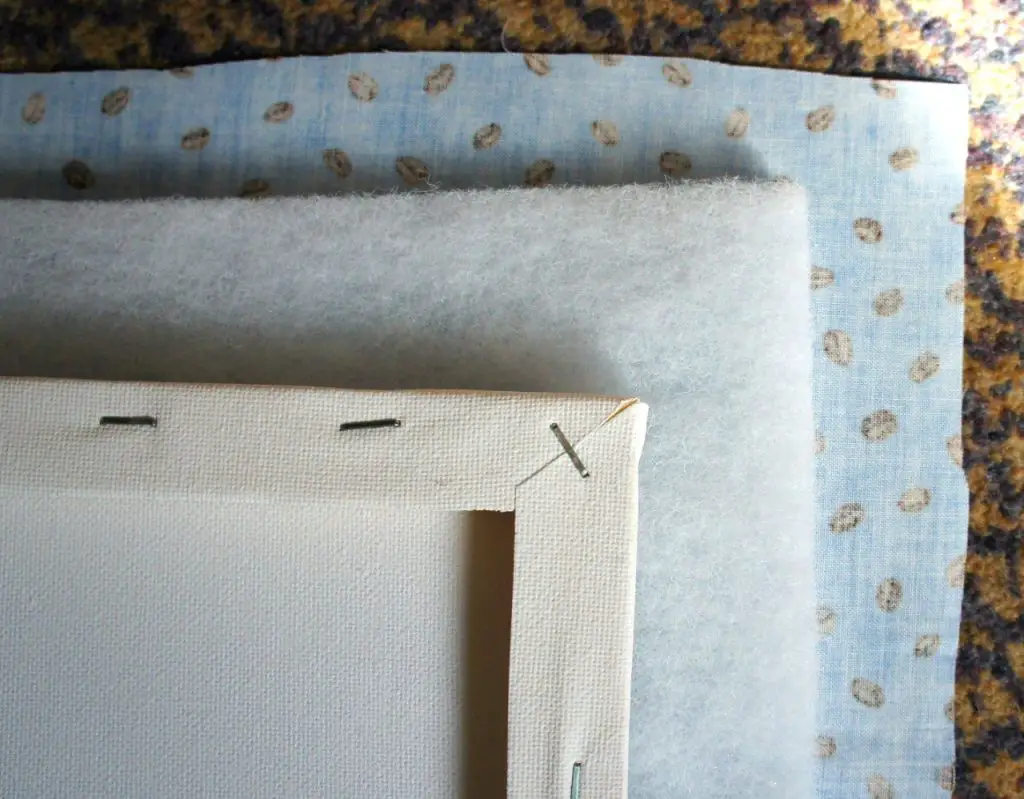
Position fabric and wadding
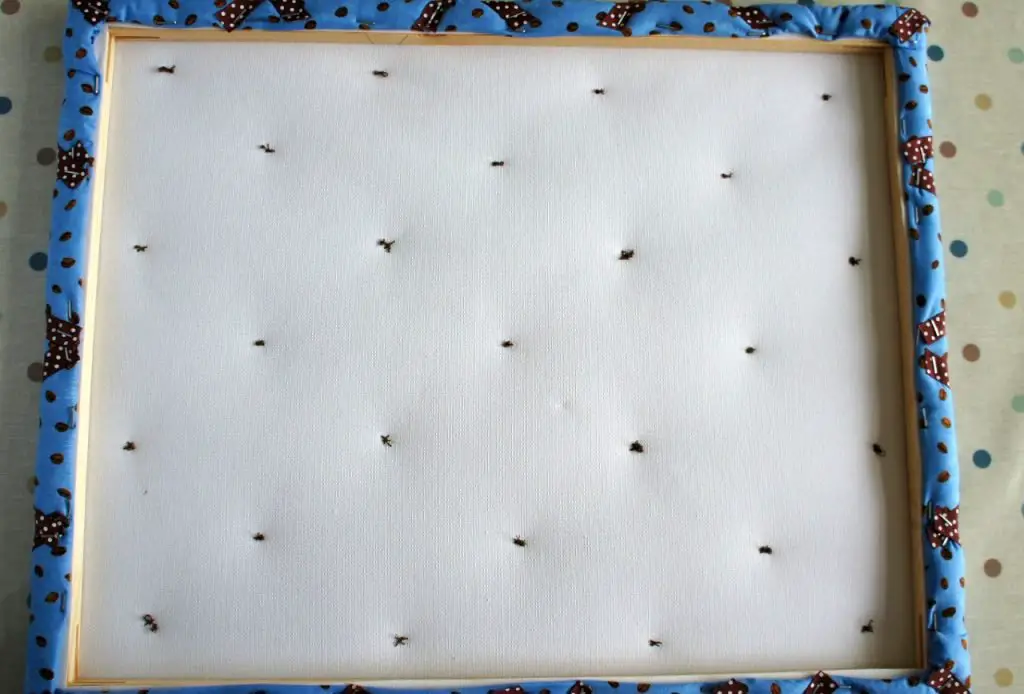
Place the fabric ‘right side down’ on a flat surface. Place the wadding centrally on top of that and finally place the board centrally on top of that. In the middle of each side fold the wadding and fabric around the edge of the board, form a neat hem around the wadding and staple in place using the staple gun. Make sure that the fabric is taut.
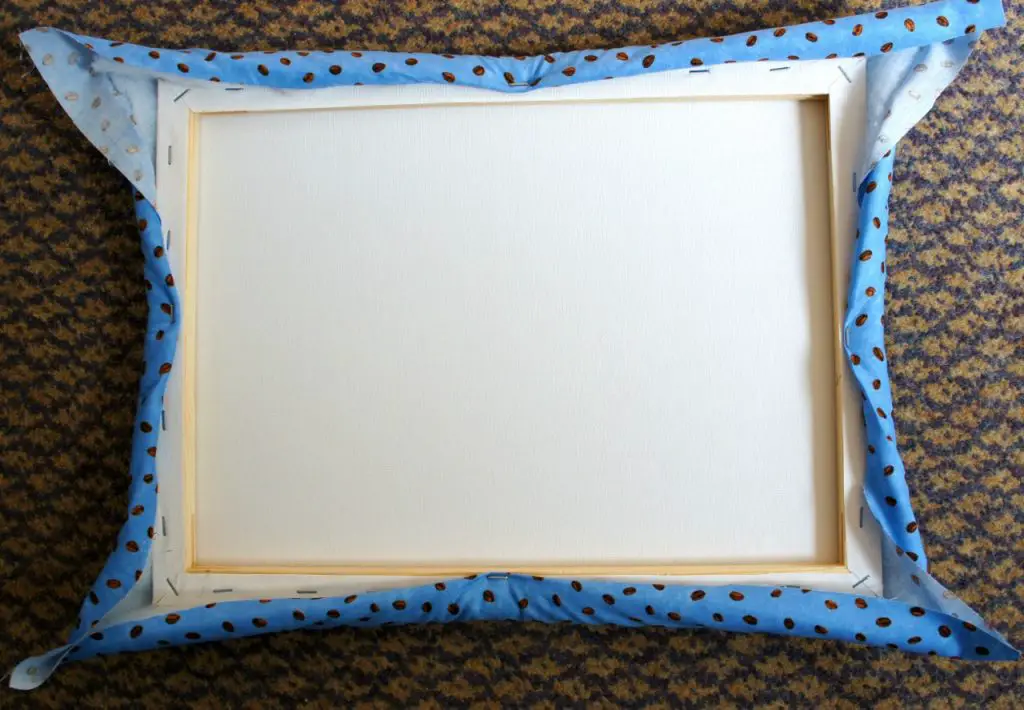
Attach wadding and fabric
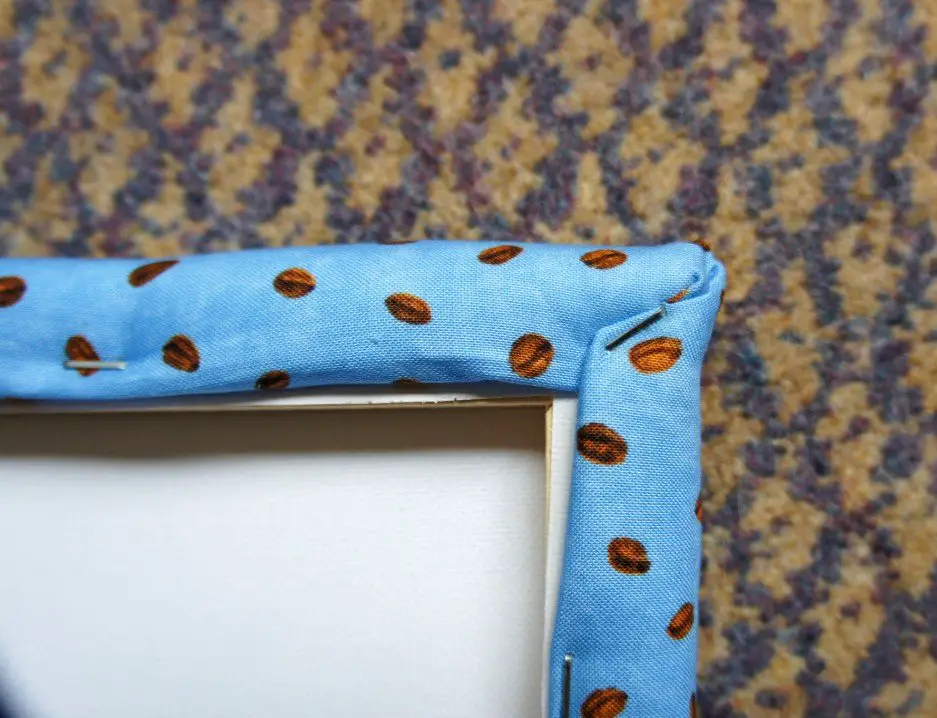
Continue along each side nearly to the corners. At the corners cut off some of the excess wadding. Then carefully fold the fabric to form neat corners and staple all the layers in place.
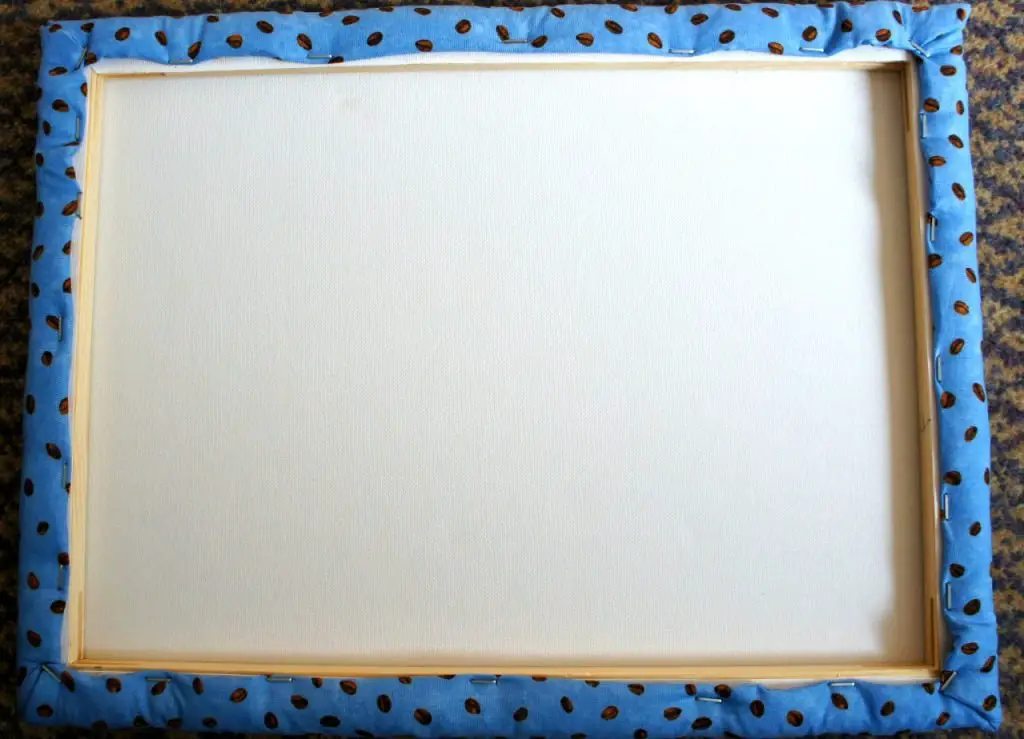
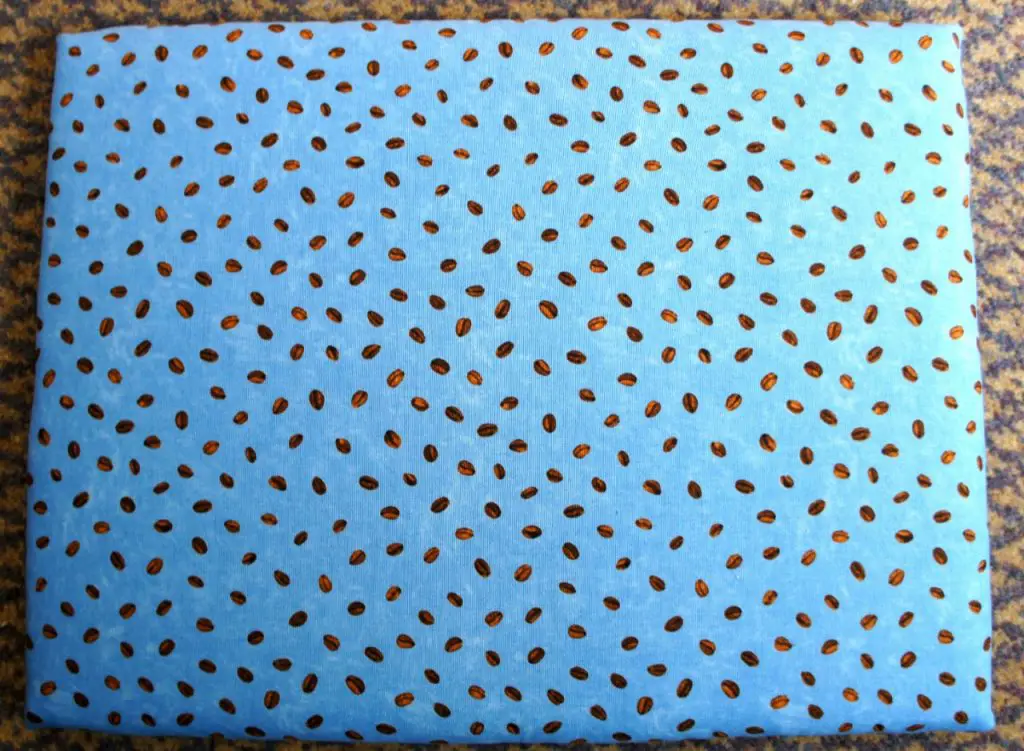
Your board should now look like this!
Add ribbon
Now it is time to add your ribbon. I started by running a length diagonally across the board from each corner to the opposite corner. This gave me a starting point to work from. Secure the ribbon on the back of the board using the staple gun.
Carry on adding lengths of ribbon at whatever interval you choose. I started by measuring mine but quickly realised that it was easier to lay out the ribbon and place it where it looked right (do it by eye).
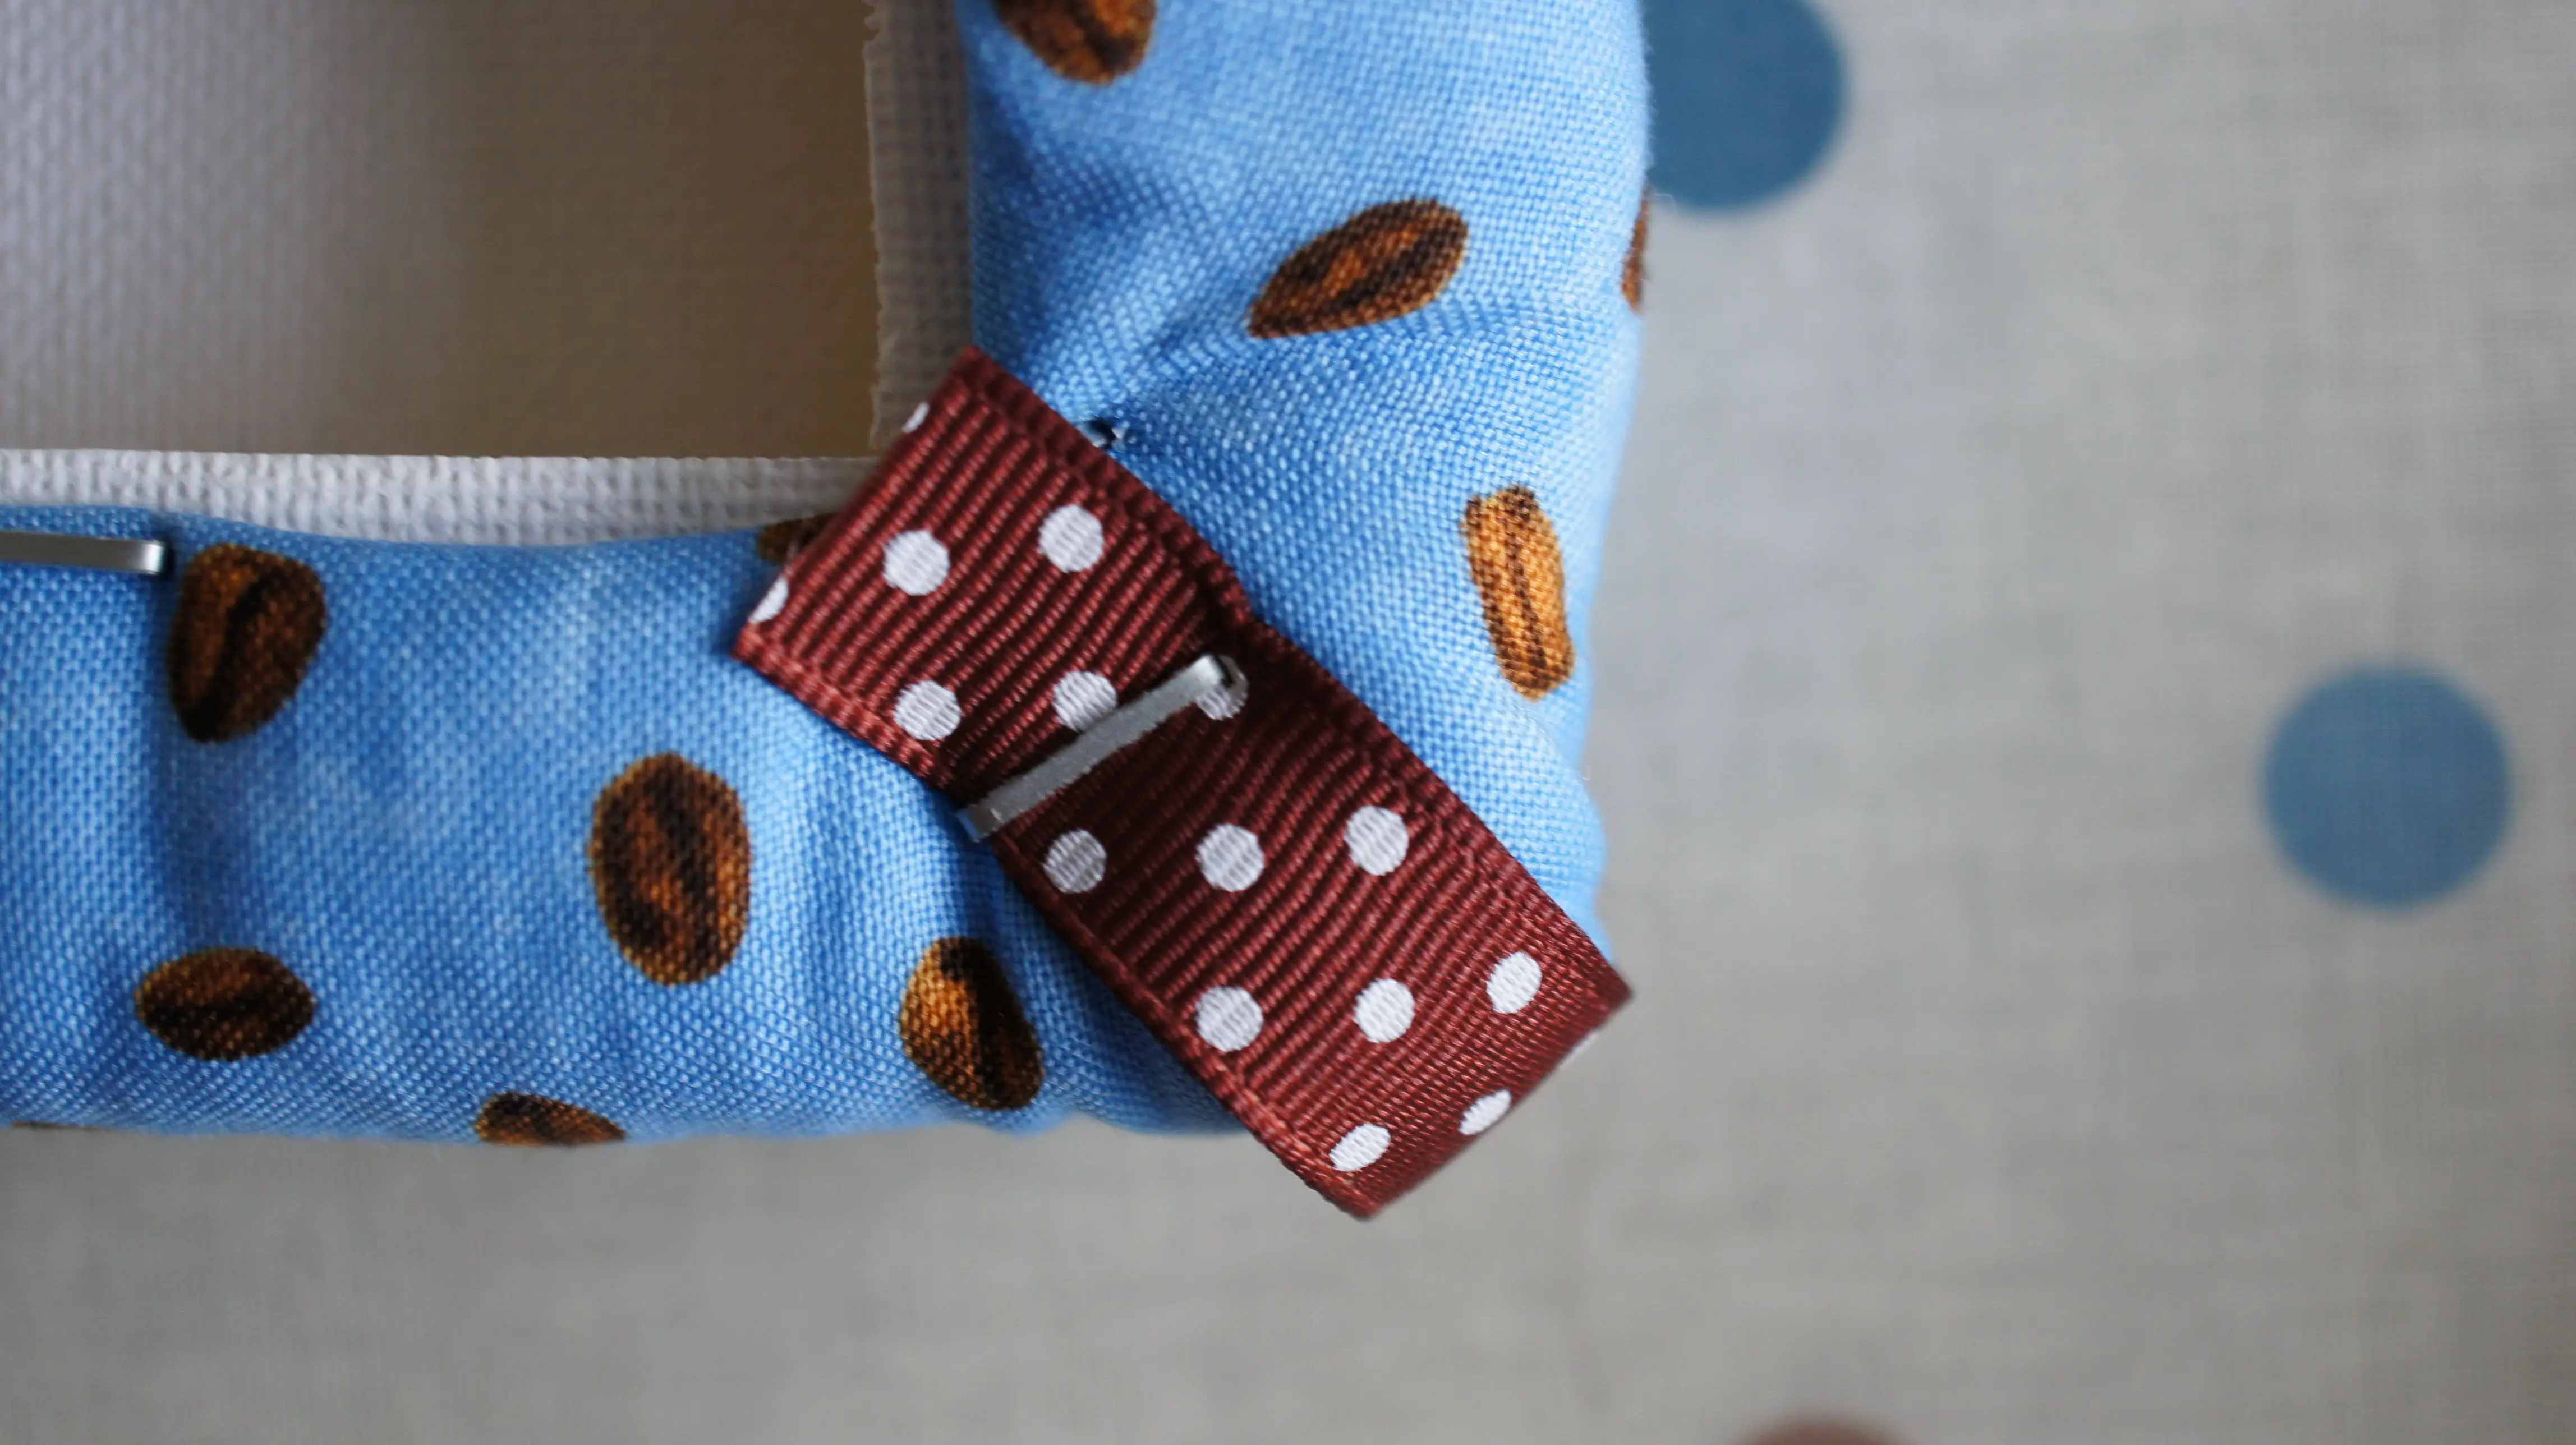
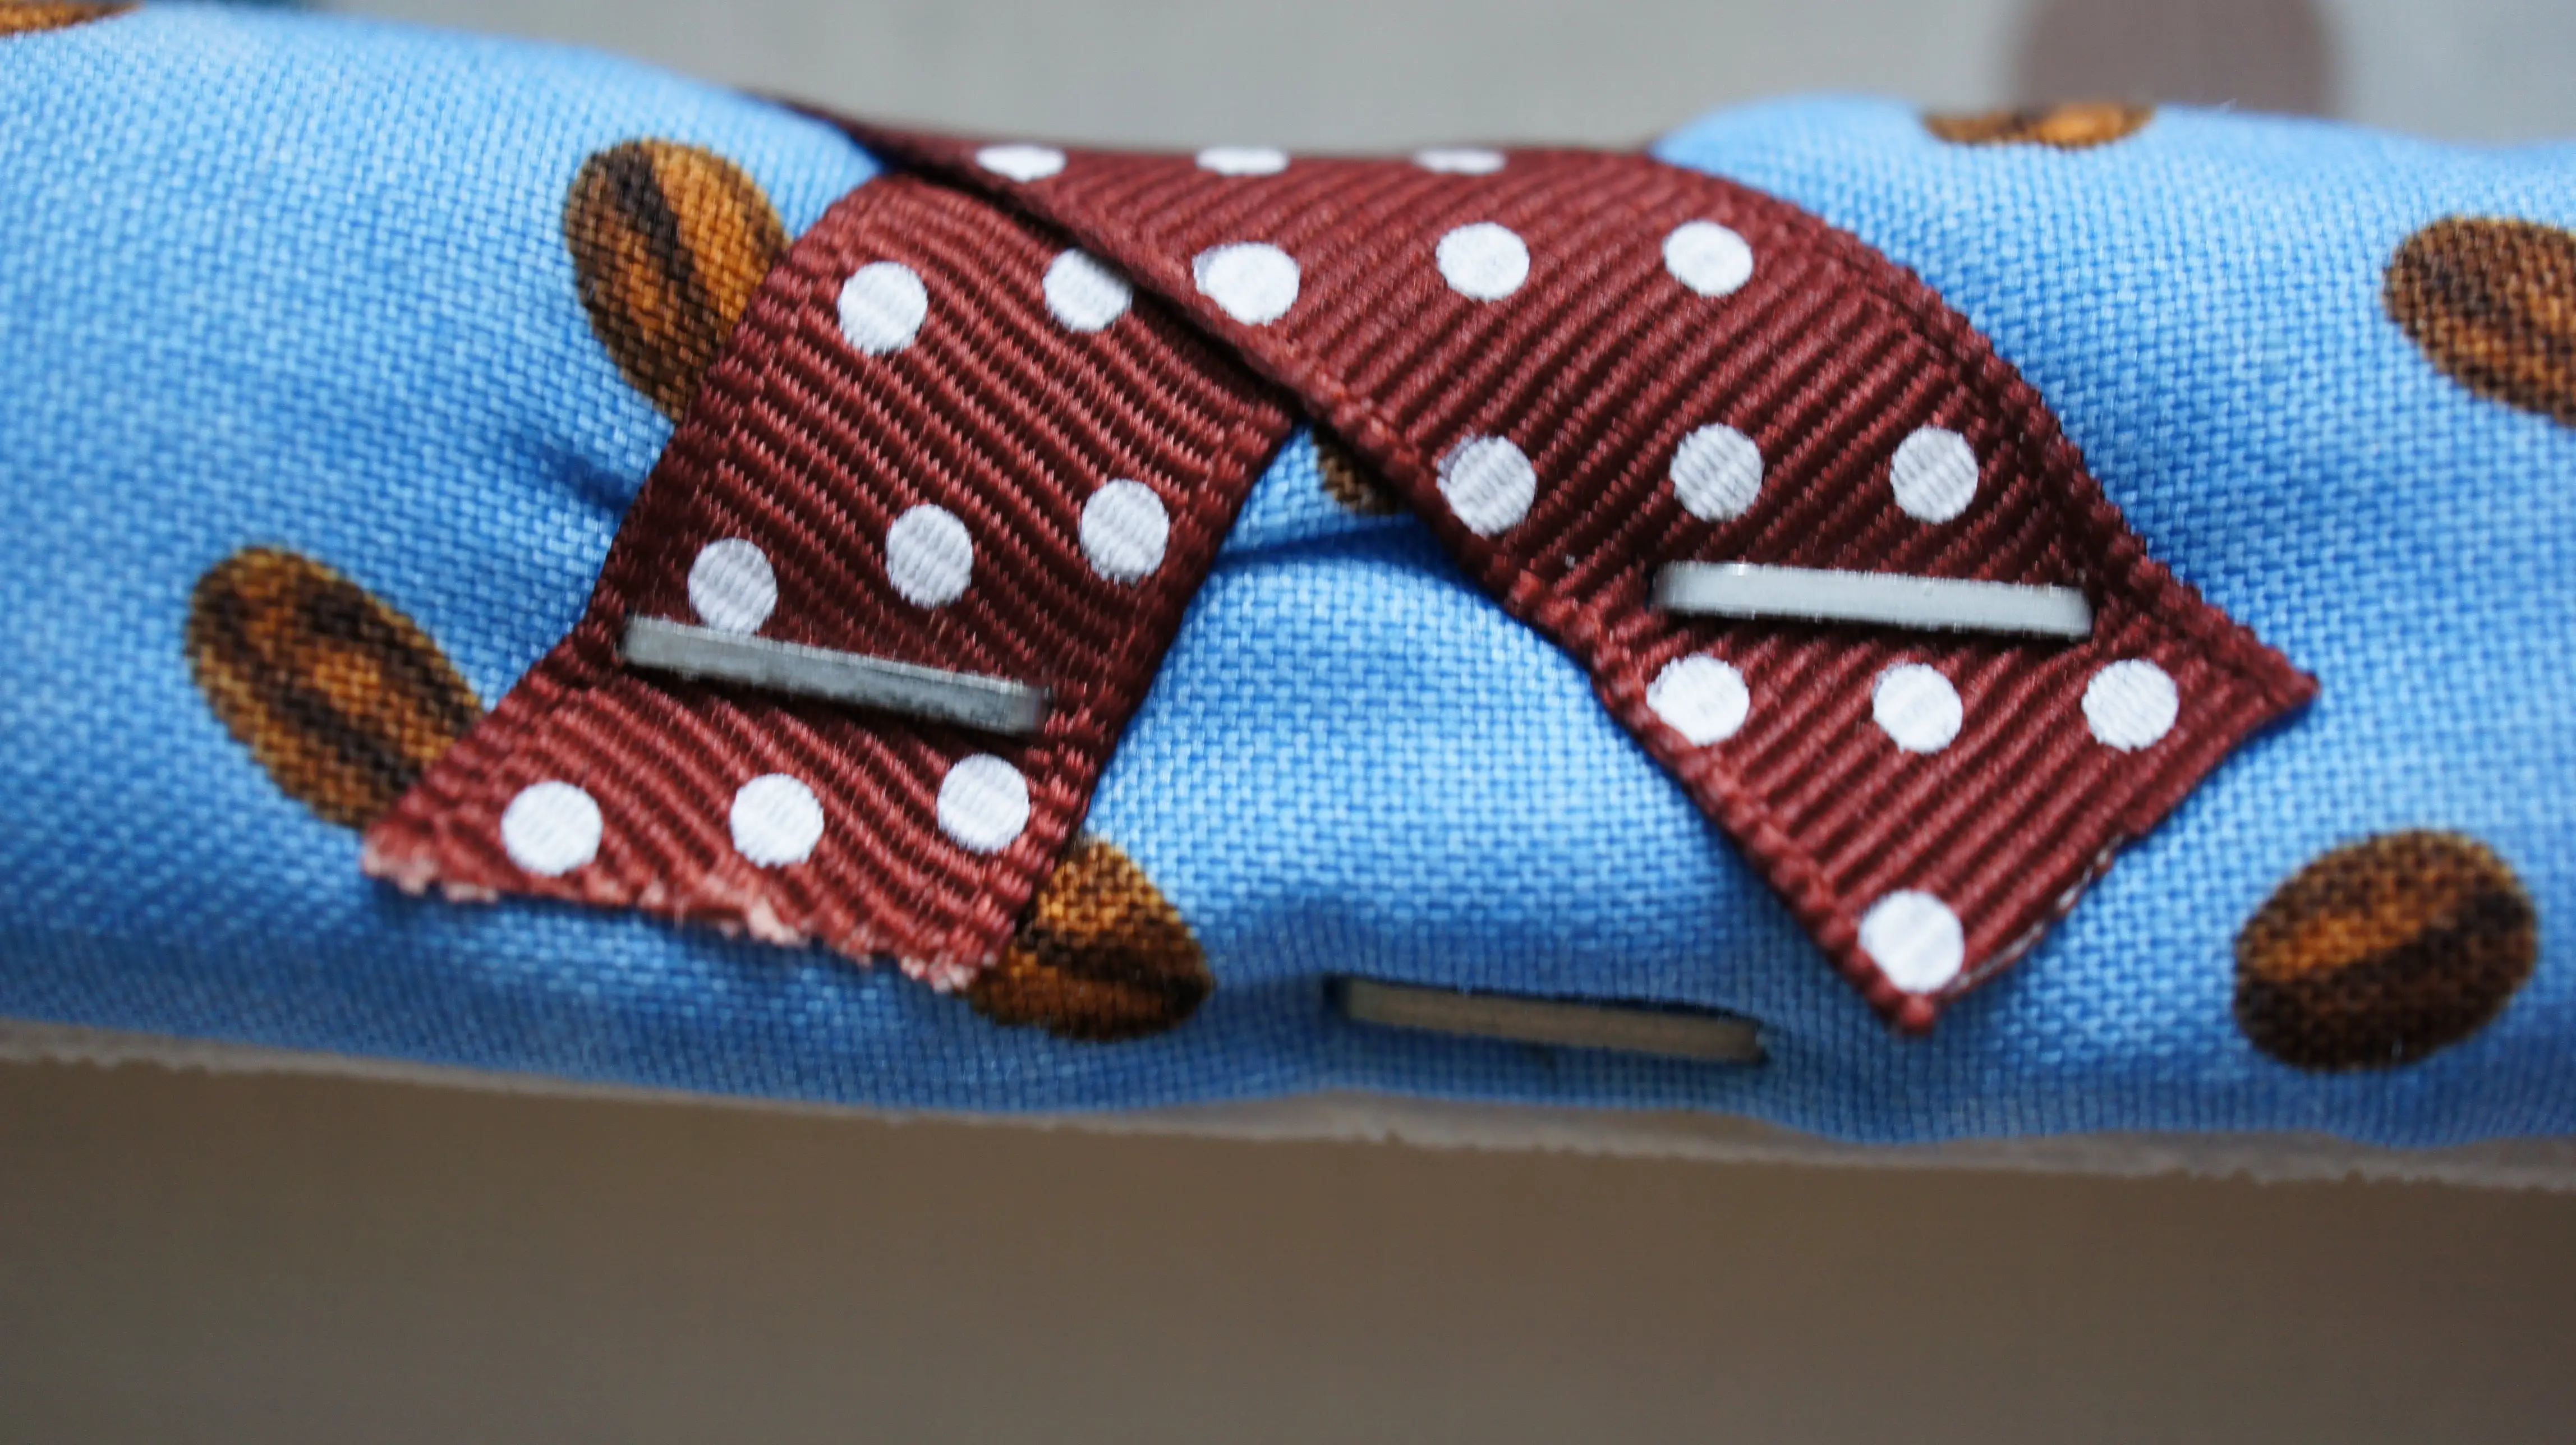
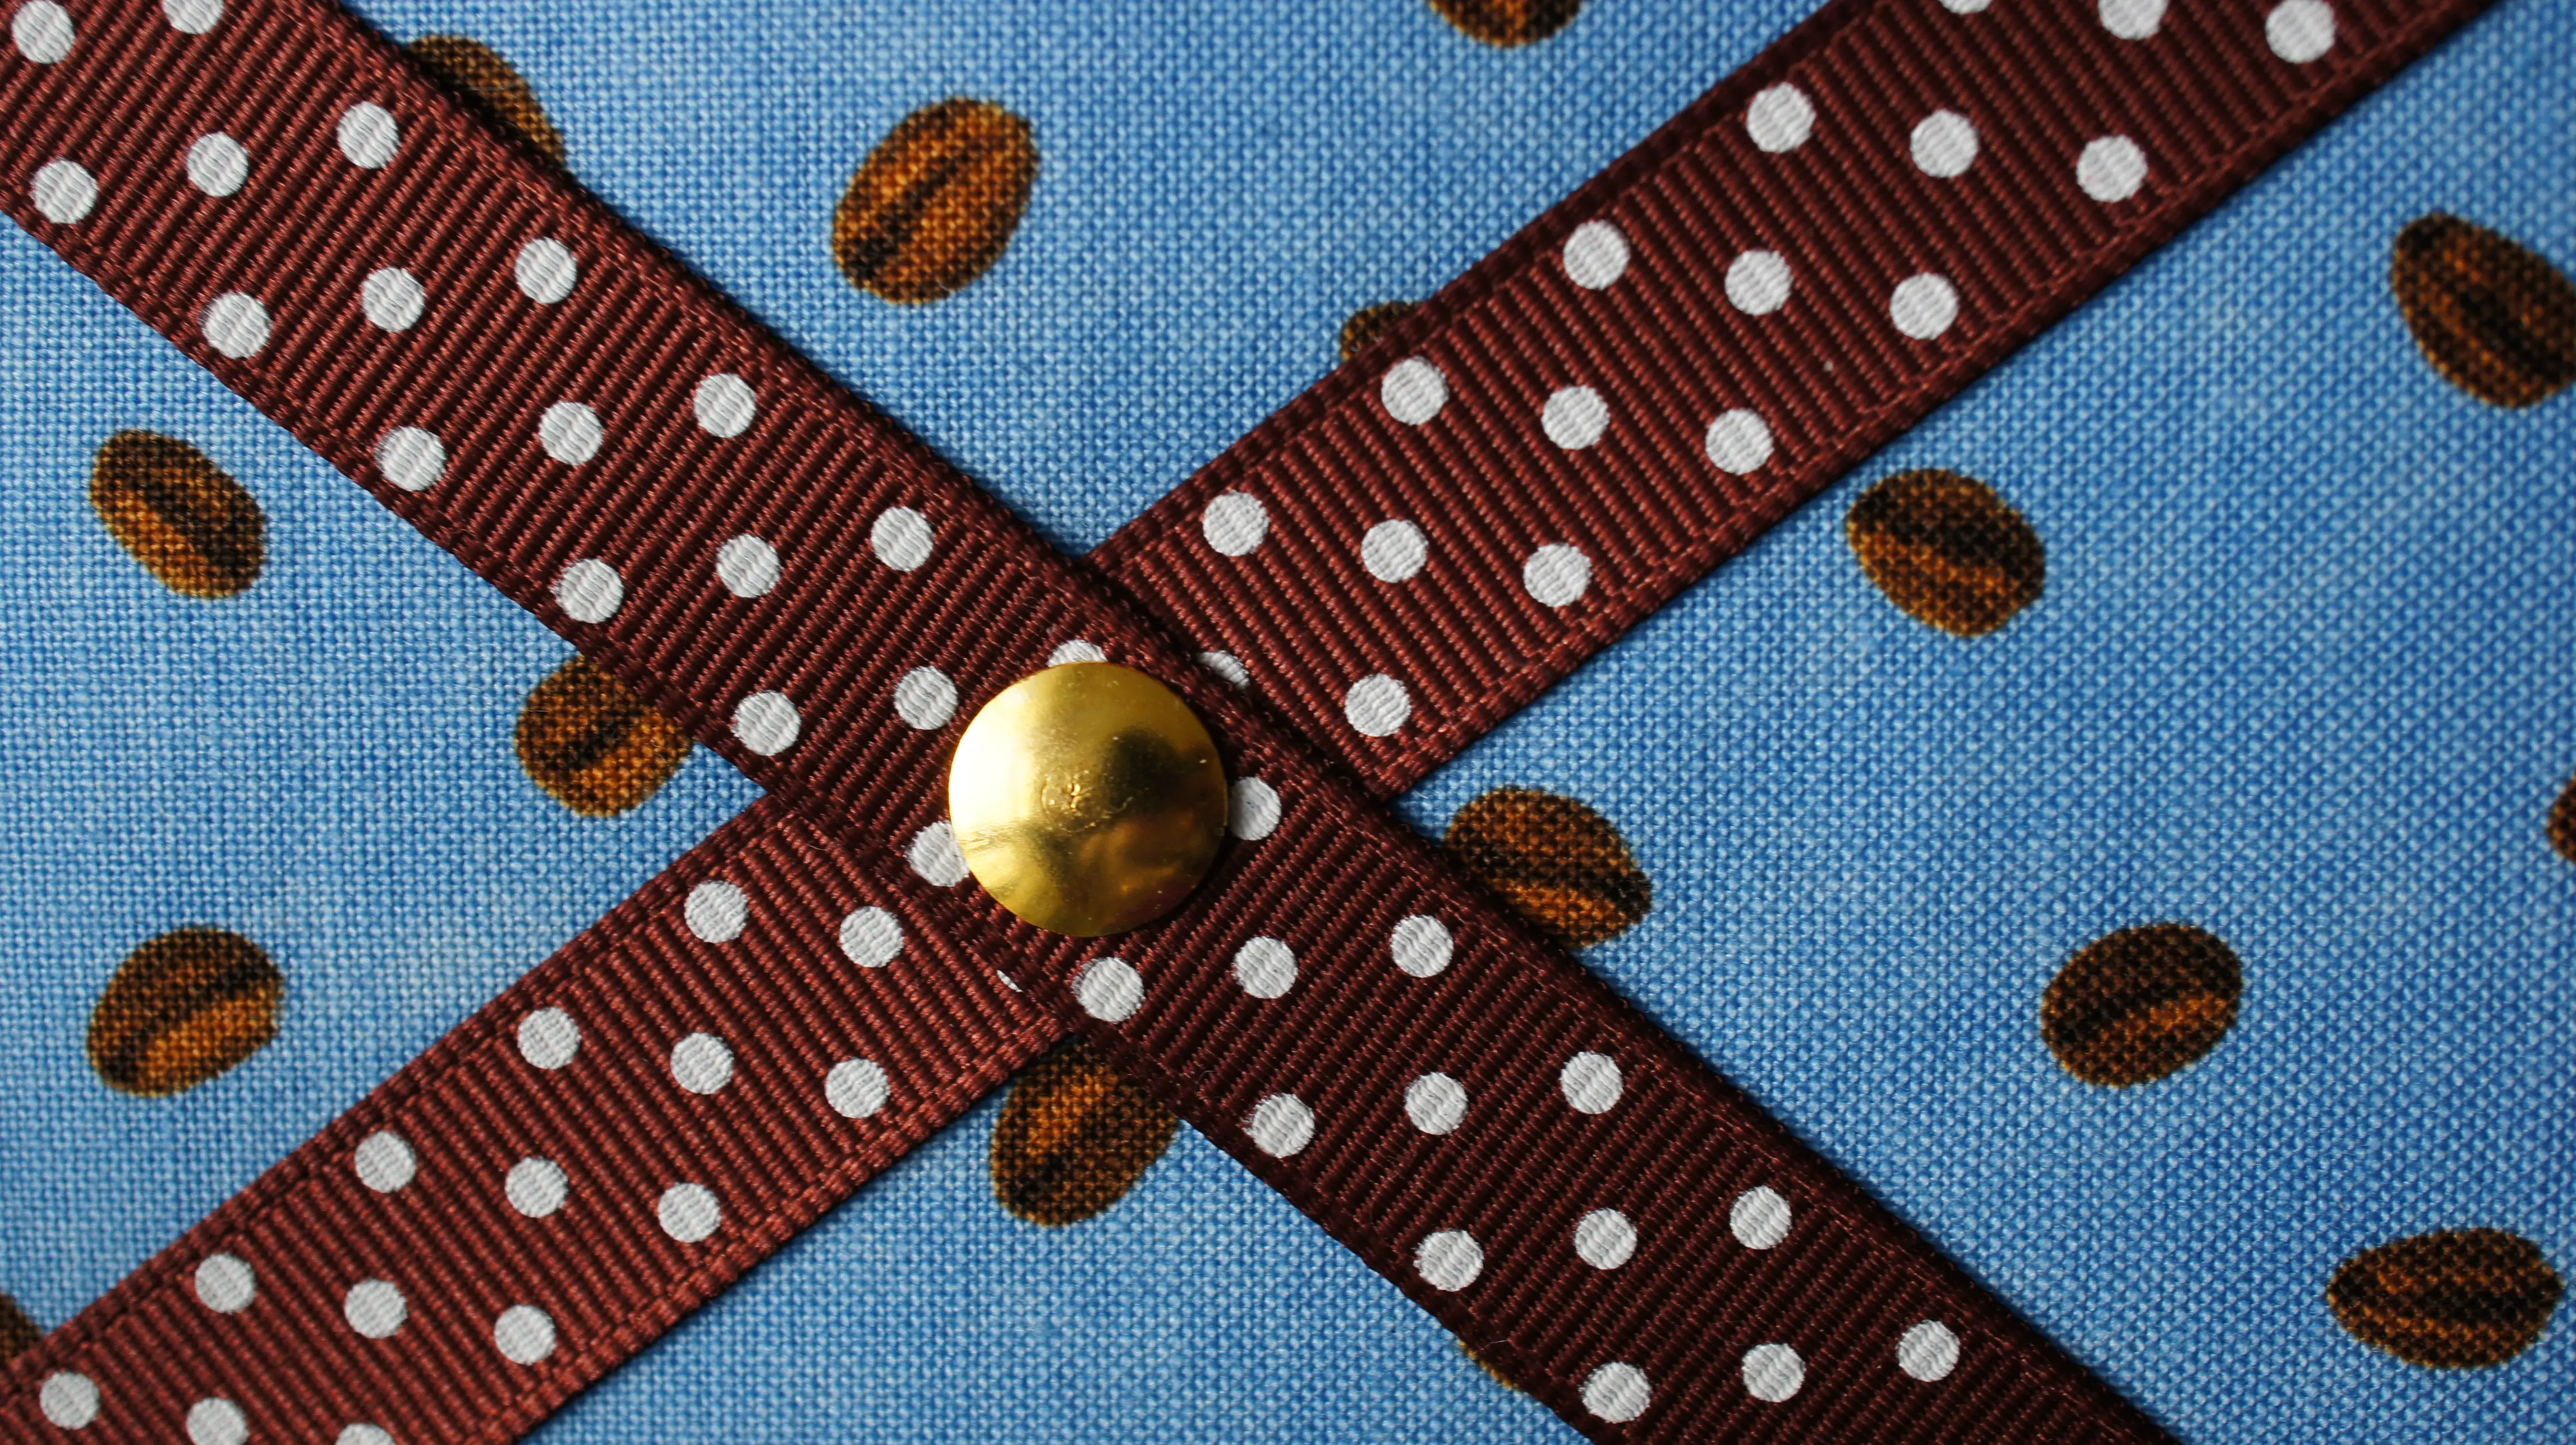
Once all the ribbon is secure you need to fasten it down wherever it crosses on the front of the board. I sewed a button onto the board at each crossing. This secured the ribbon to the fabric and the canvas board behind forming the padded look. If you are using a corkboard pins would be more appropriate. You could bend the ends over at the back to secure them.
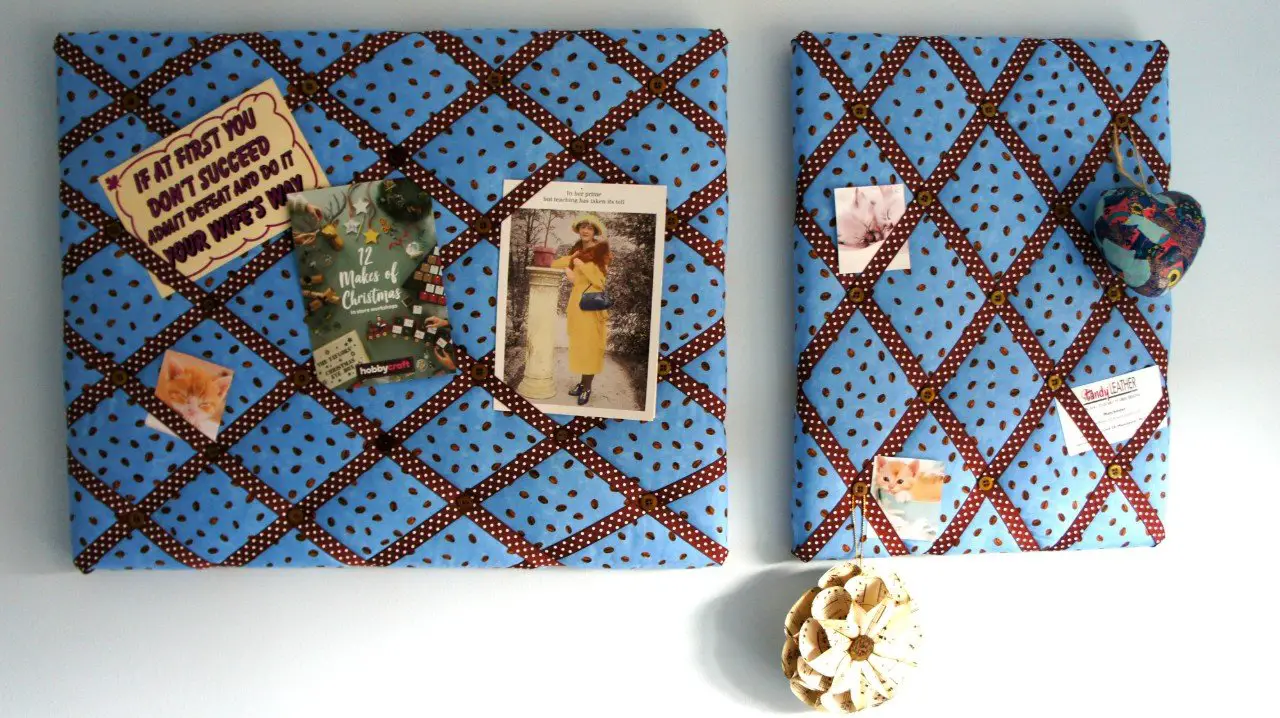
In Summary
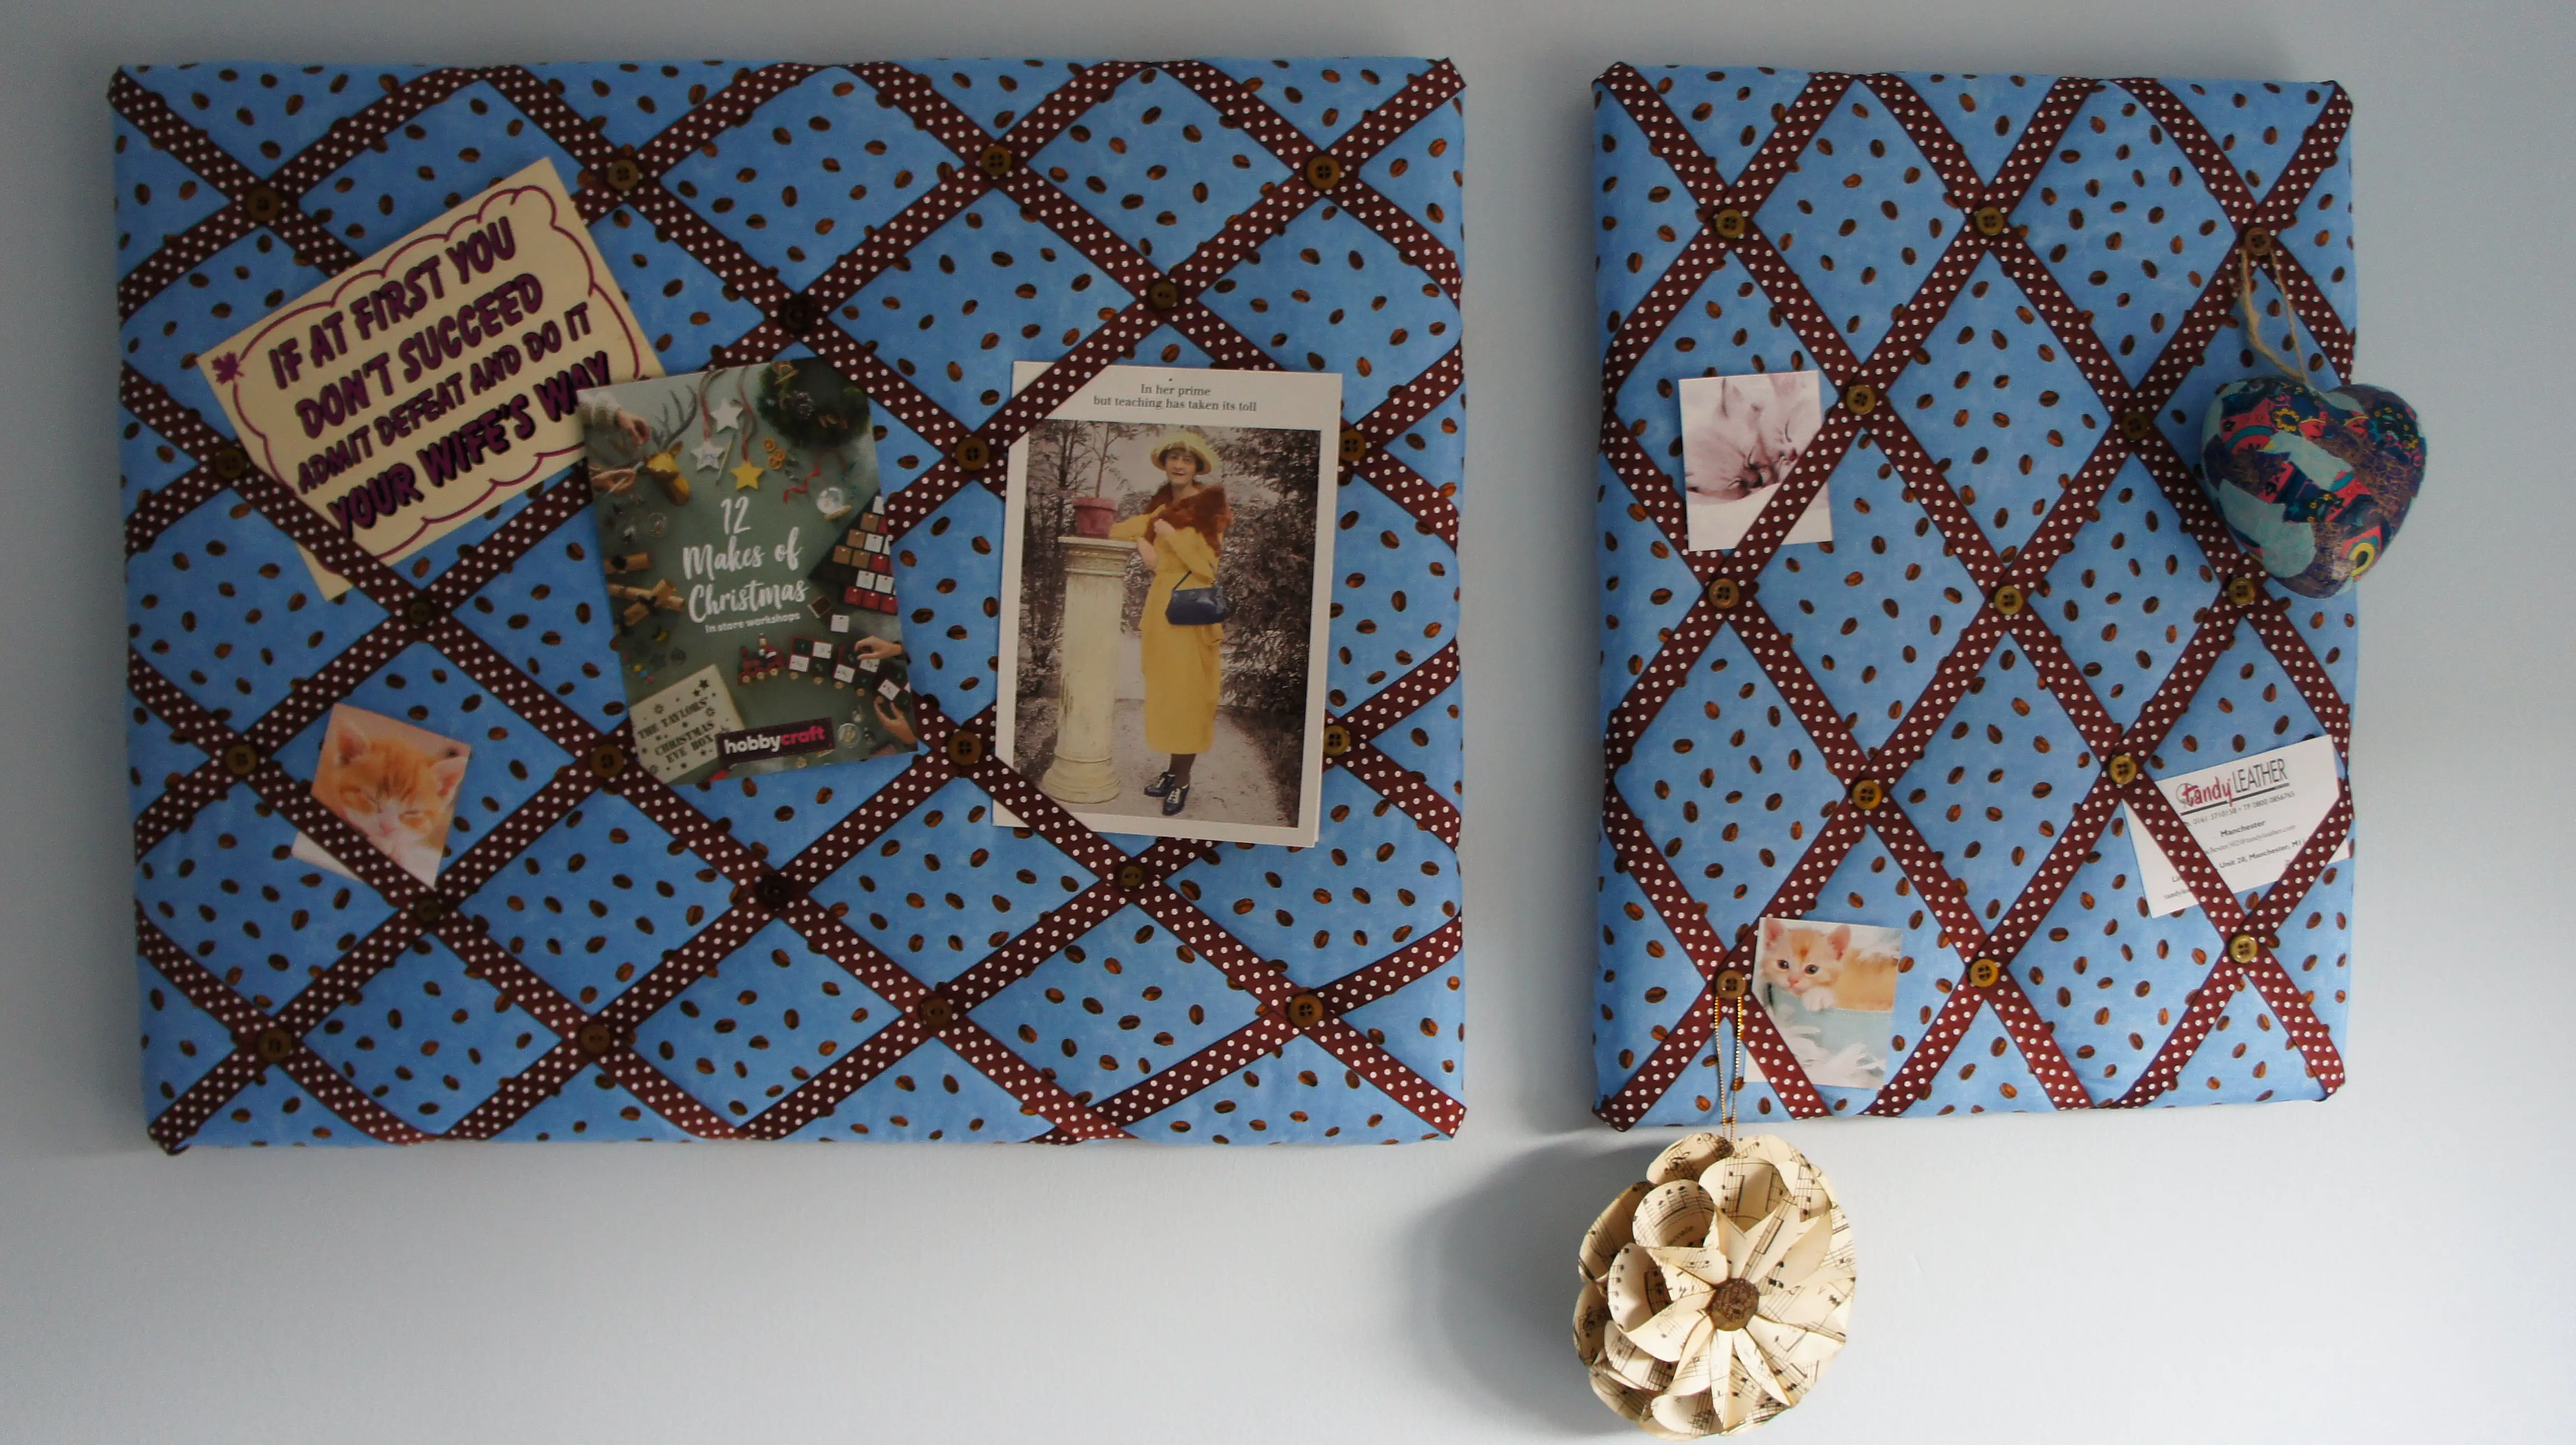
I made two boards as that is what I want for my room. I have decorated the room they are going in and they are fitted next to each other looking gorgeous!
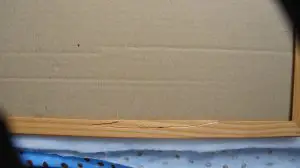
You will notice that I started with a corkboard and finished with canvas boards. I had a disaster where the edge of the corkboard broke when I stapled it. It was too thin to take the force of the staple gun. When buying your board make sure the frame around the outside is sturdy!
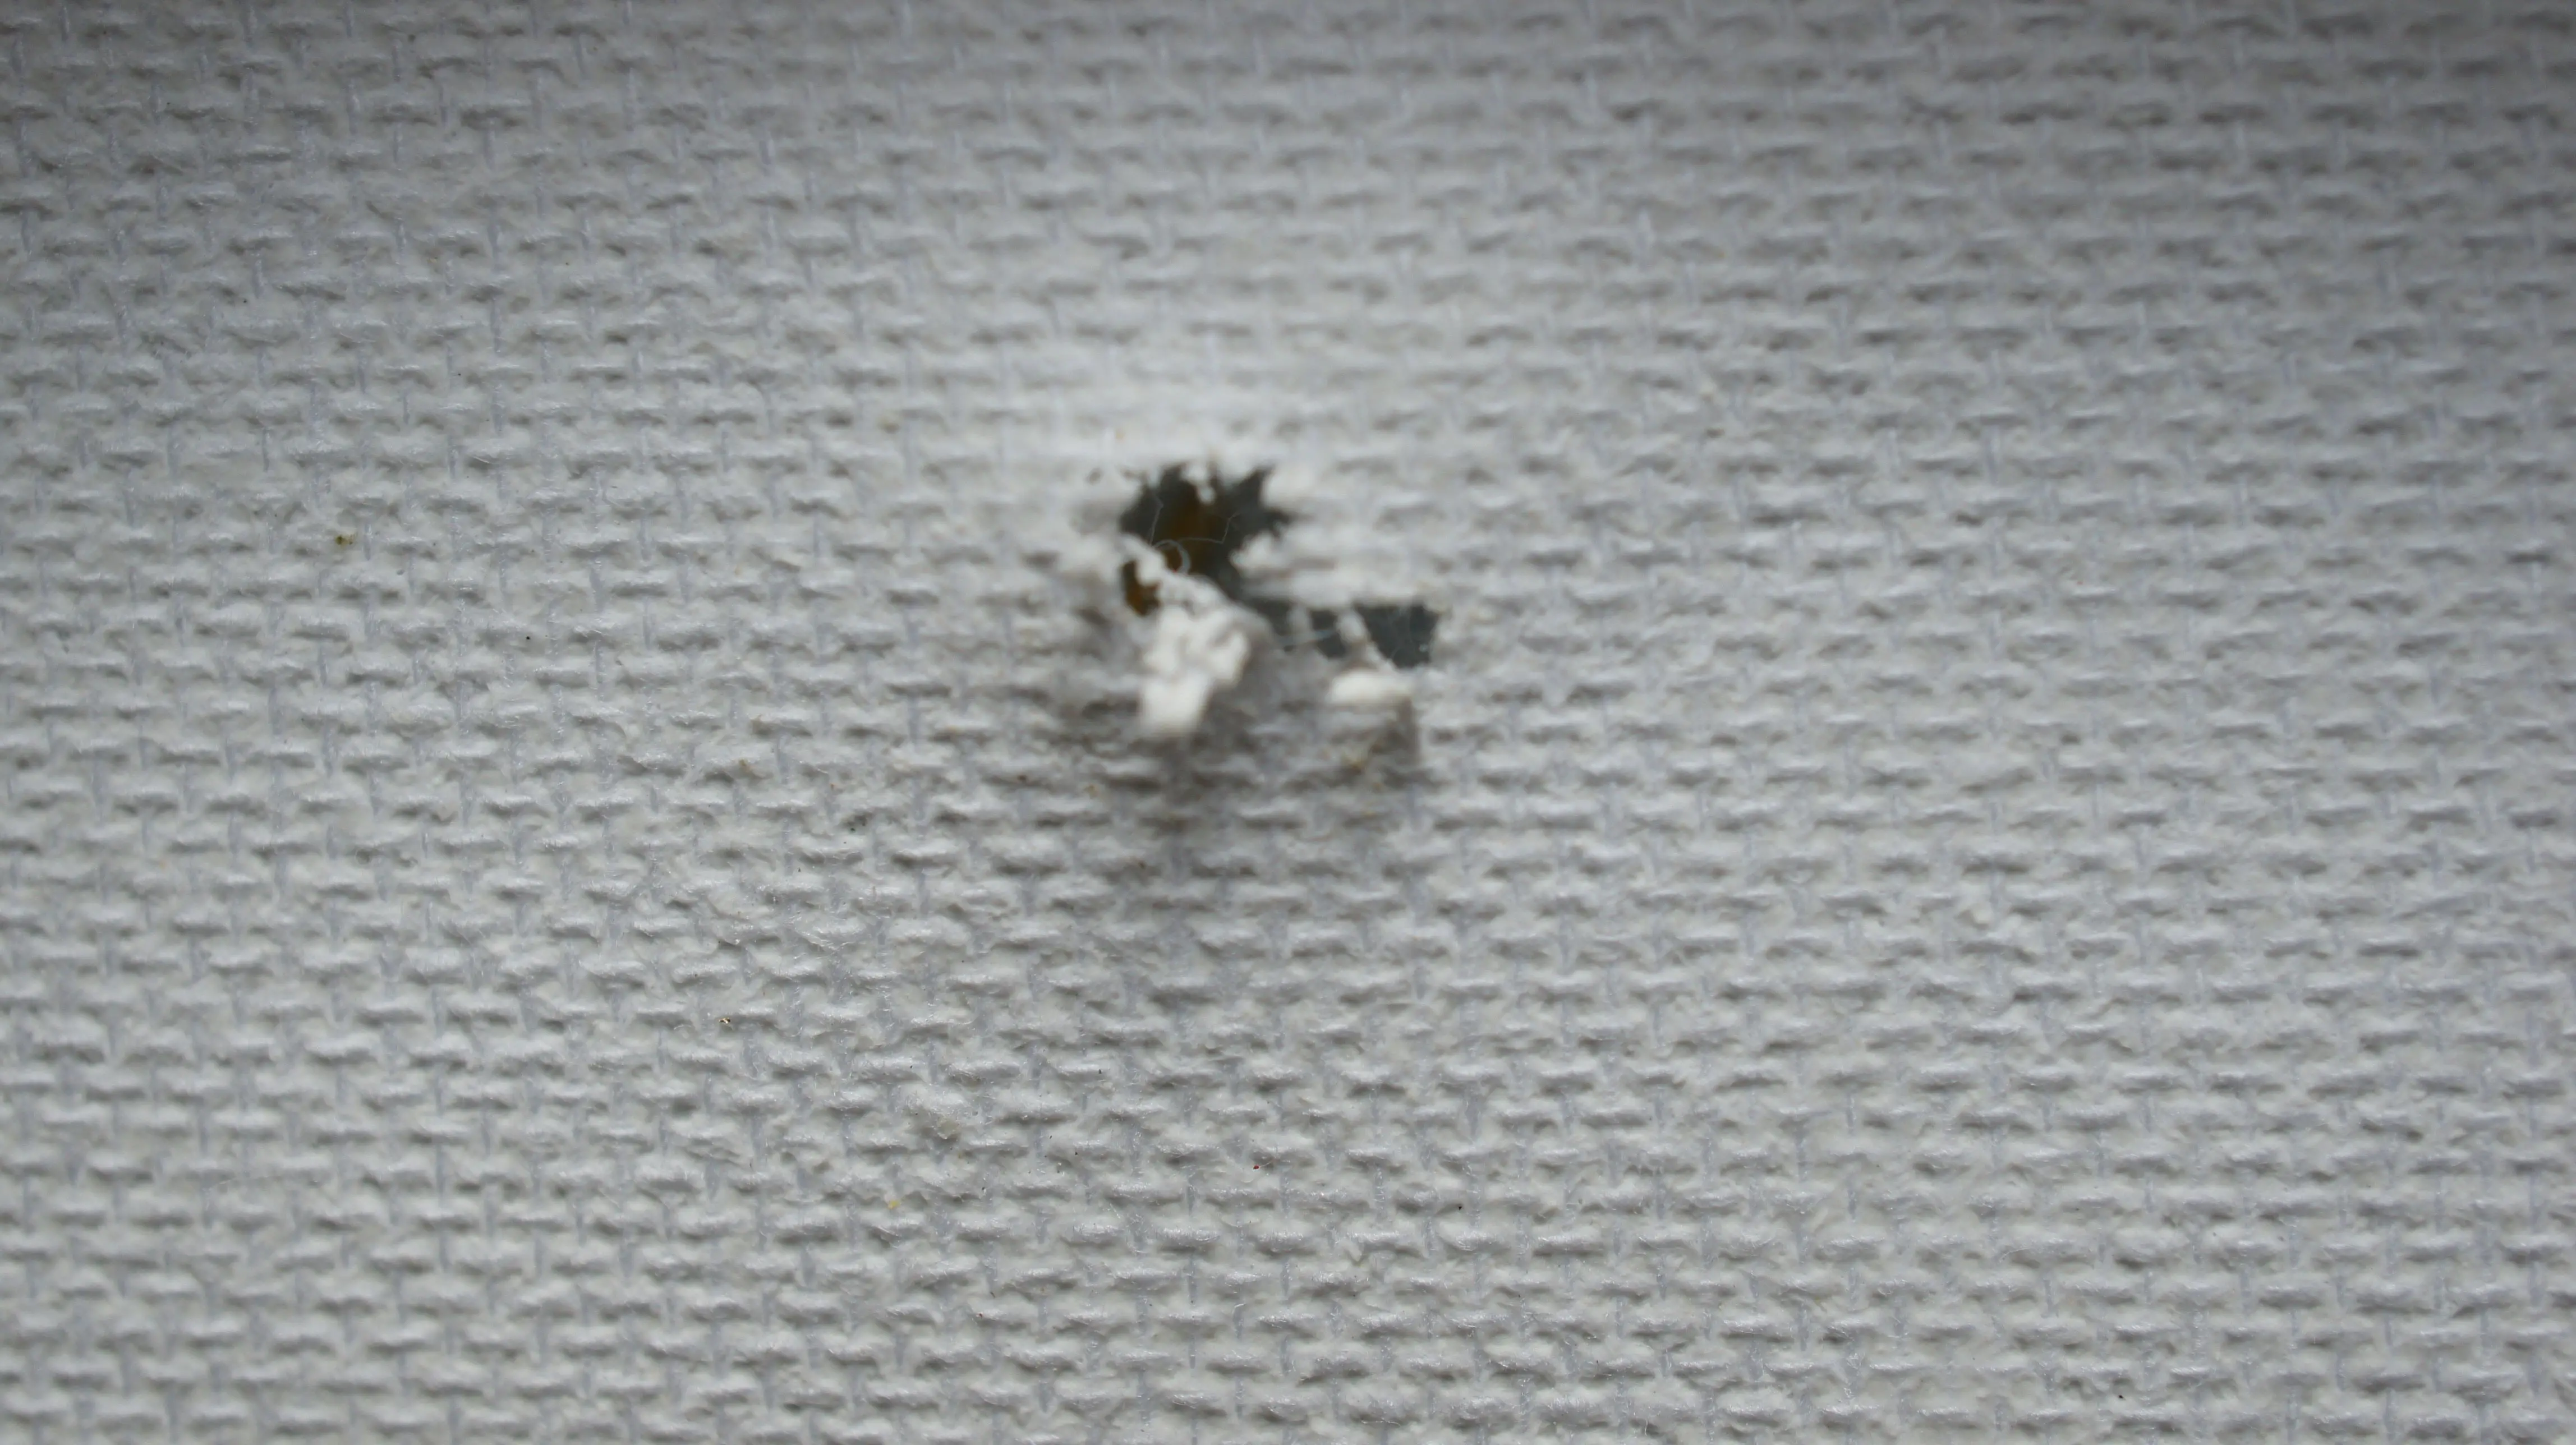
I also tried to secure the ribbons using pins and they just ripped the canvas so I had to do a repair and try the buttons which worked beautifully.

So, once I got past my initial difficulties a fabric pinboard was really fun to make and the results are really beautiful. They would make great inexpensive gifts for friends (so long as you know their colour scheme!).
So have a go at your own fabric pinboard and let me know how you get on. Remember to pin this tutorial on Pinterest so that you can find it again.
If you would like this tutorial it is available as a downloadable PDF for a small charge so that you can avoid the ads and easily print it off simply click here for details.
If you enjoyed this tutorial then try some of my others:
How to make a tool roll for make up brushes, tools paint brushes, etc
How to decoupage just about anything
Good luck with your fabric pinboard!


I am all into art and crafts. I was getting bored now I will start making it. I am really thankful to you for the great idea.
Great tutorial, I never thought making one of these would be so easy 🙂
My hubby has a lot of gorgeous pins he wants to display somehow and I think he’ll adore this! Thanks for the awesome walkthrough ♡
Not as complicated as I thought it would Be! Great tutorial!
Great tutorial. I have one of these I bought and the buttons have fallen off a time or two. Now I know how to make my own or fix the one I have so it’s brand new.