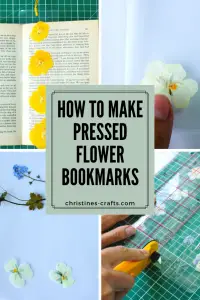
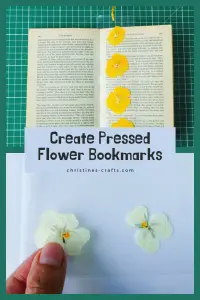
How to Make a Pressed Flower Bookmark
As an Amazon Associate I earn from qualifying purchases
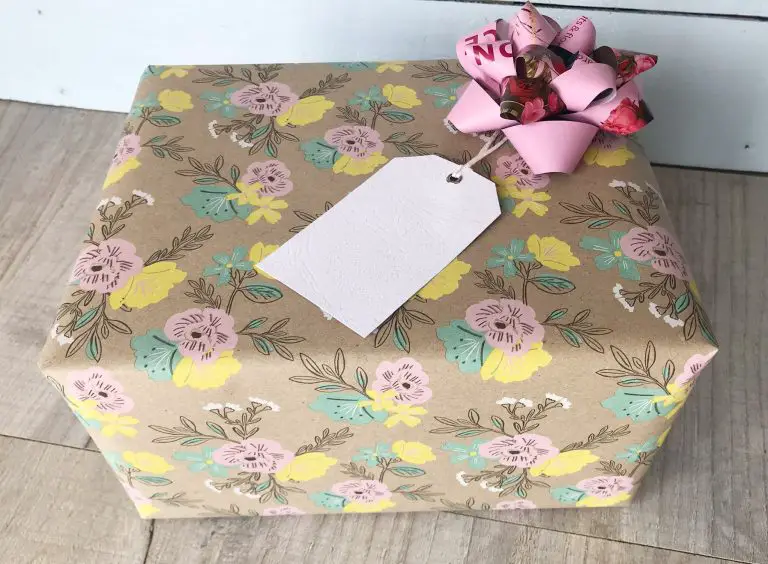
A pressed flower bookmark is so pretty and really cheery when you re-open your book. They also make fabulous gifts that you can post really easily and inexpensively. What a great way to remember a special occasion or simply your garden flowers.
If you would like to make your own flower press so that you can always press flowers easily then take a look at the flower press tutorial including video instructions.
If you are looking at this and thinking it is not very budget friendly remember that if you already have a laminator then this craft is really inexpensive to do. If you do not have a laminator then consider making bookmarks in a simpler way which I will cover soon.
This page contains affiliate links meaning I earn a small commission if you use those links at no cost to you. I only recommend brands I use and trust.
You will need:
Pressed flowers and/or leaves
Scissors / Rotary cutter and mat
Hole punch and embroidery thread (optional)


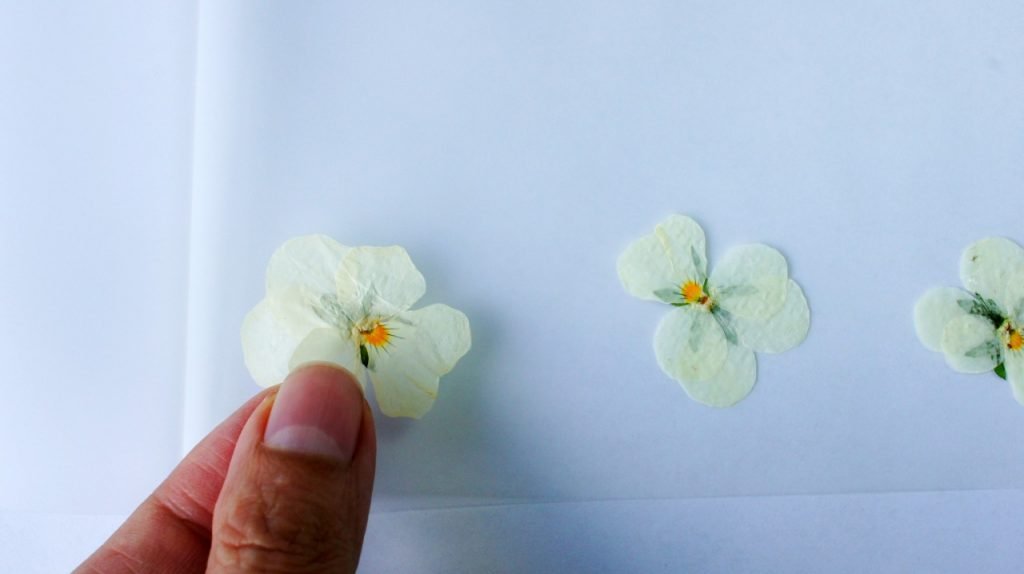
Step 1 – Design
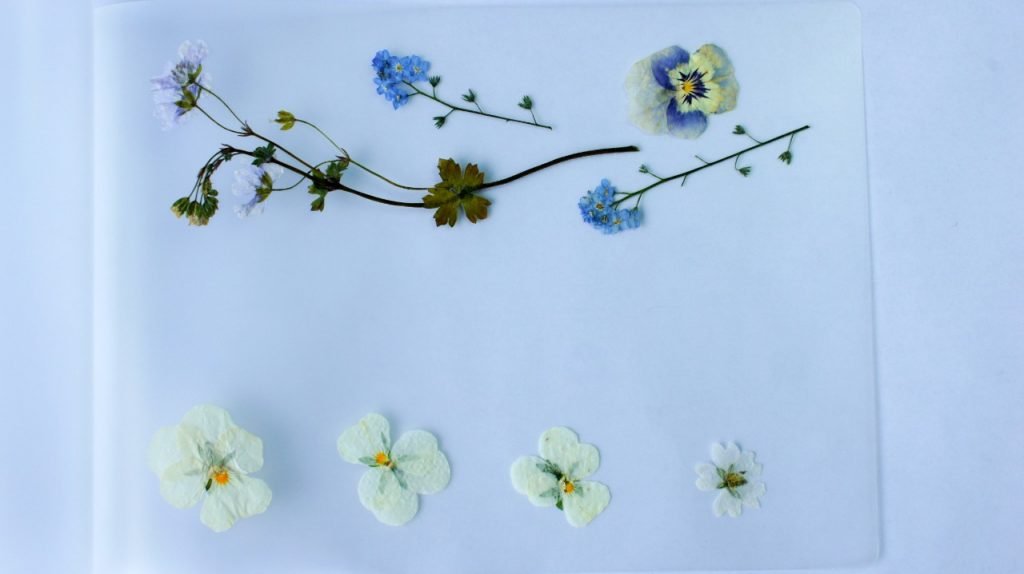
The first step is to look at your pressed flowers and/or leaves and design your bookmark. This can be as complex or simple as you like. It is time to let your creativity shine! You can do this on your work surface or directly into your laminator pouch.
You also need to consider how large you want your finished bookmark to be. This is entirely a personal preference and may be guided by what books you want to use it in. Mine have finished up approximately 2″ by 8″ (5cm x 20cm) and 3″ by 8″ (7.5cm x 20cm).
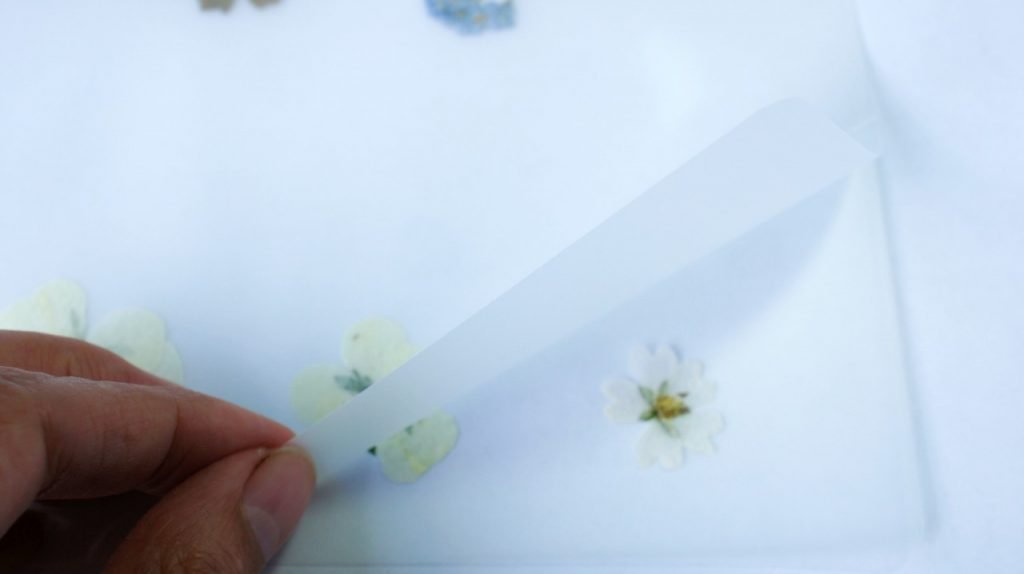
Then carefully close your laminator pouch making sure that your flowers do not move.
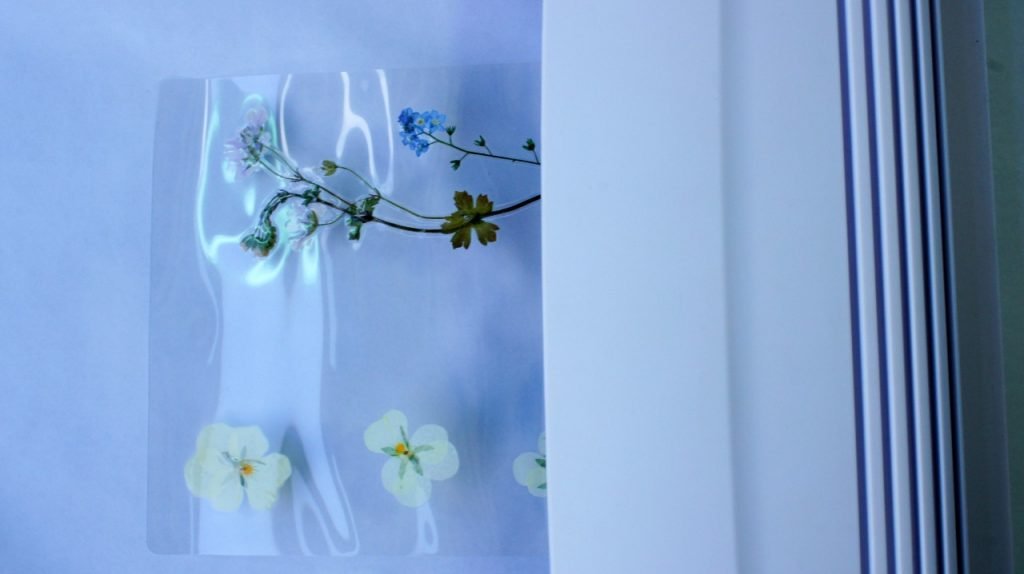
Step 2: Laminating
Heat up your laminator as the appliance instructions tell you to do. Then simply feed your laminating pouch into the laminator. My advice is to hold the pouch horizontally so that the flowers can not move around and spoil your design. Also ensure that the pouch is flat after it leaves the laminator.
Make sure that your pouch has cooled down before you attempt to cut it. Also remember to turn off your laminator.
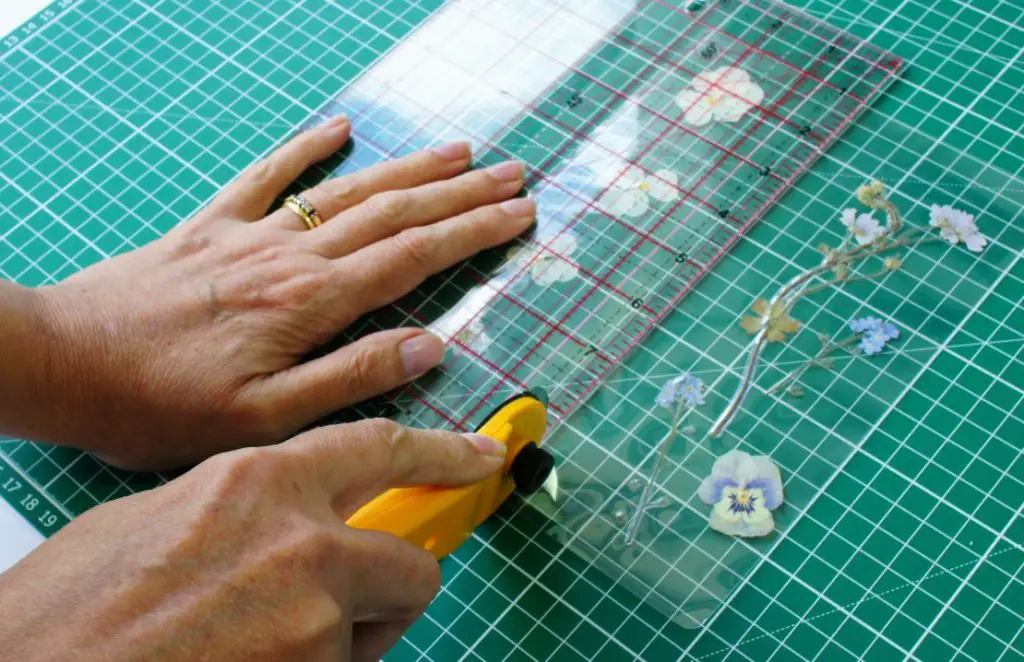
Step 3: Cutting the bookmark
Once the pouch is cool you need to cut your bookmark to size (unless your laminating pouch was exactly the size that you want your bookmark to be).
I used a rotary cutter and self healing mat so that I could get good straight parallel lines but you could easily use scissors.
Cut the bookmark to the exact size that you would like and then consider if you would like square or curved corners. I chose to curve mine so that the edges are not so sharp.
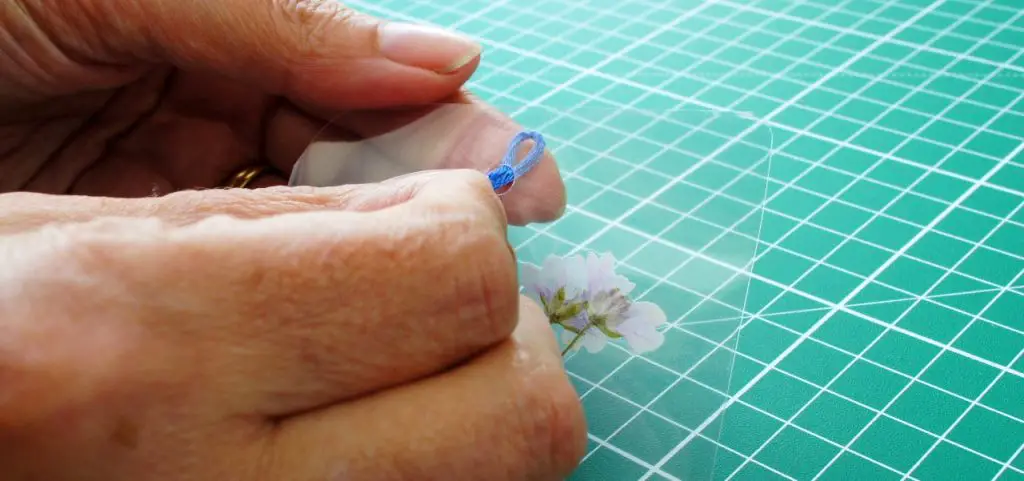
Step 4: Adding a tassel (optional)
Using a hole punch make a hole in the top of your bookmark. I used a standard office hole punch but you can use whatever tool you have available.

Next cut a length of embroidery thread approximately twice the length of the tassel you want. I cut mine 8″ (20cm) long. If you would like a fuller tassel then cut more than one length and place them together. Work through the rest of the step as if your threads are one thread.
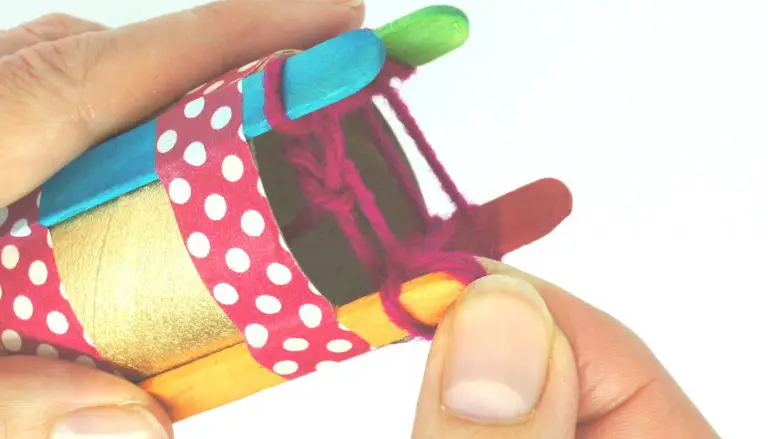
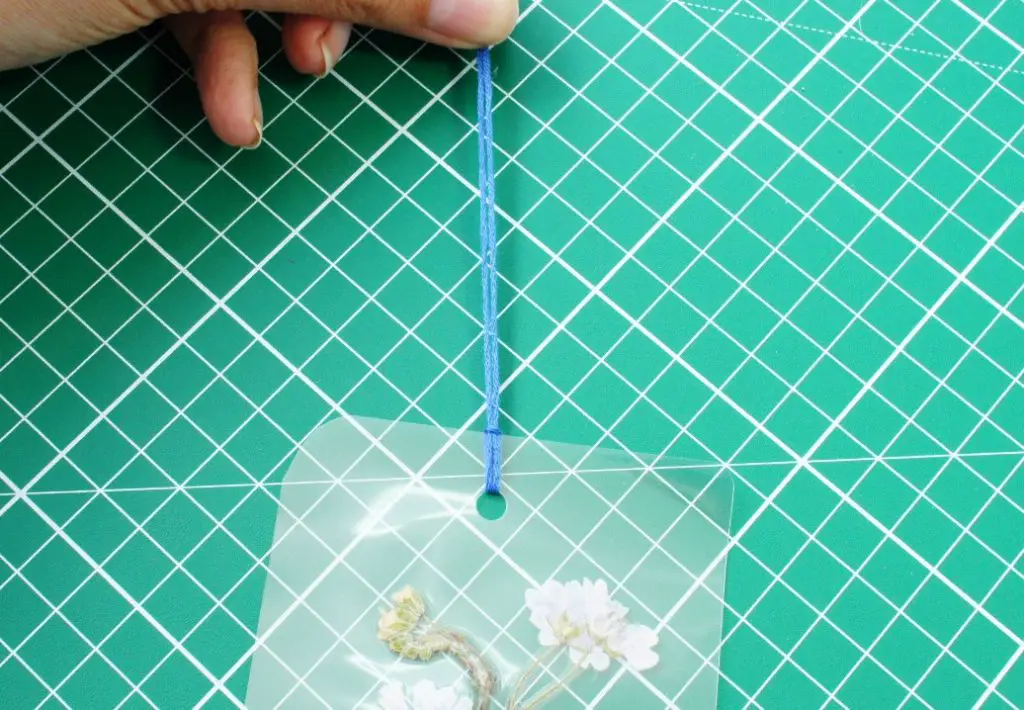
Fold the thread in half and feed the loop through the hole in the bookmark.
Pull the thread through far enough that you can feed the threads through the loop.
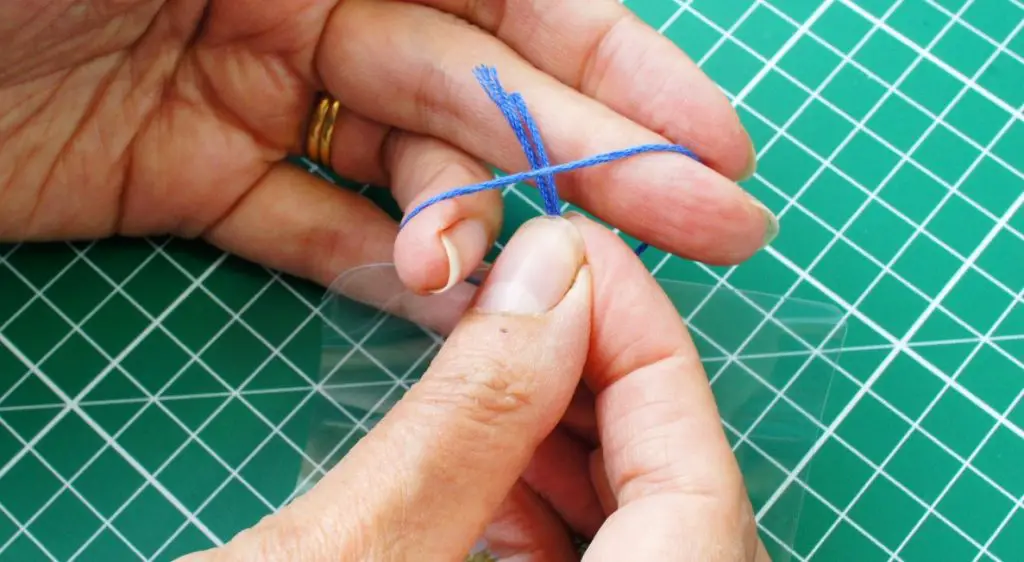
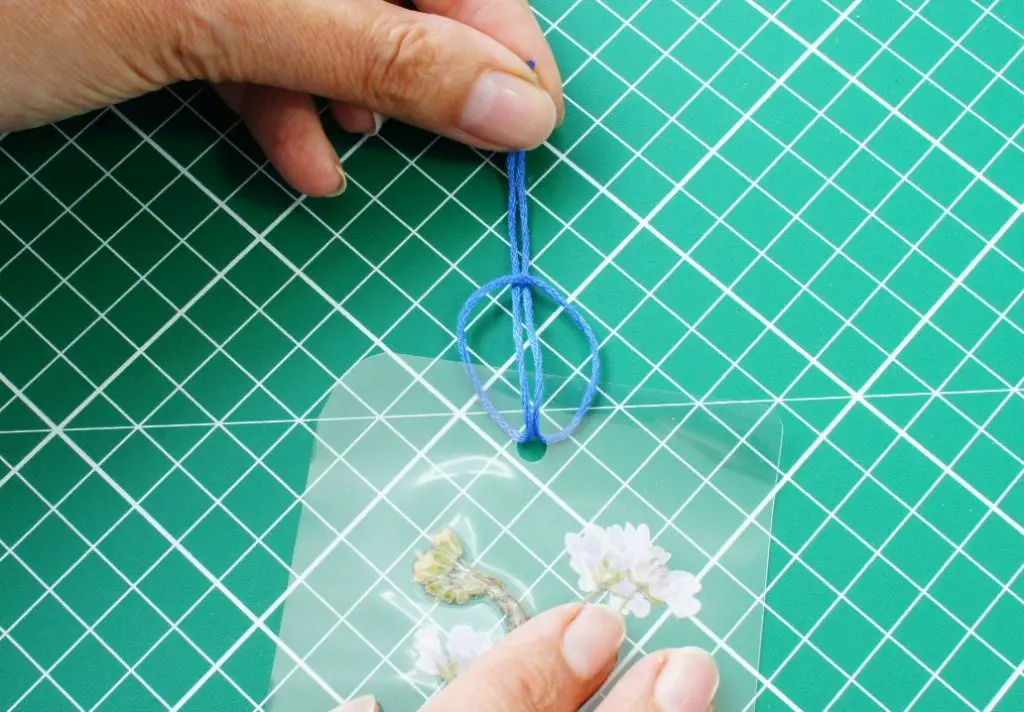
Pull the threads tight keeping the ends together so that your tassel finishes with all the threads the same length.
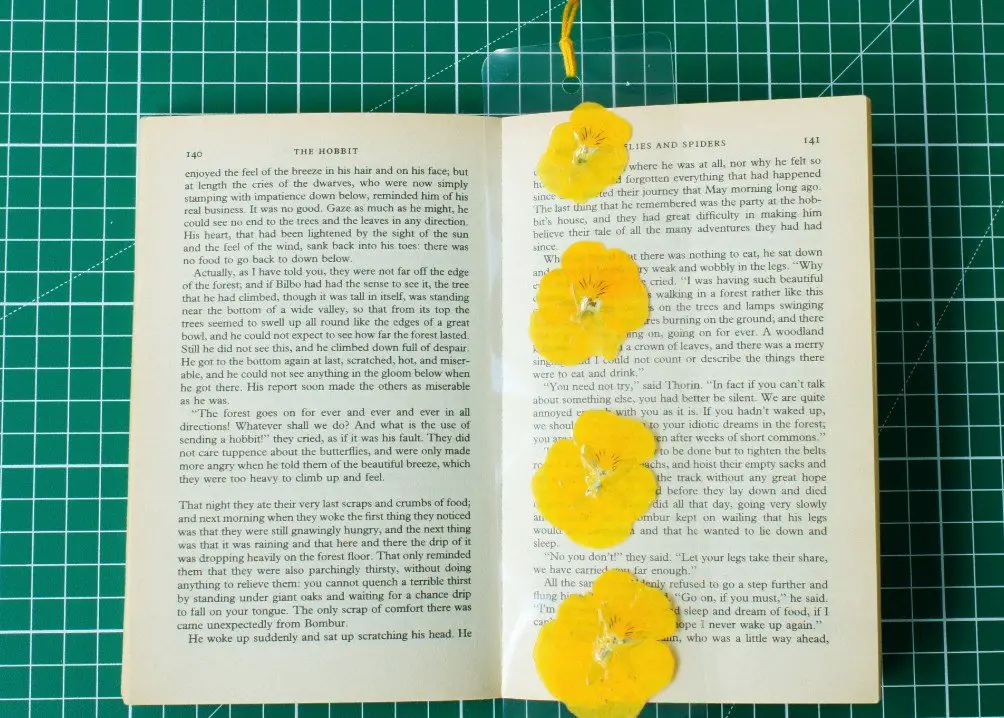
Complete
Congratulations, you now have a beautiful pressed flower bookmark to keep and remind you of the summer garden or a special occasion. You can make many of these really quickly so they can be great for selling at fetes or other events. They can also be used as gifts in party bags or wedding favours.
If you enjoy making craft items then take a look at these other great, free tutorials:
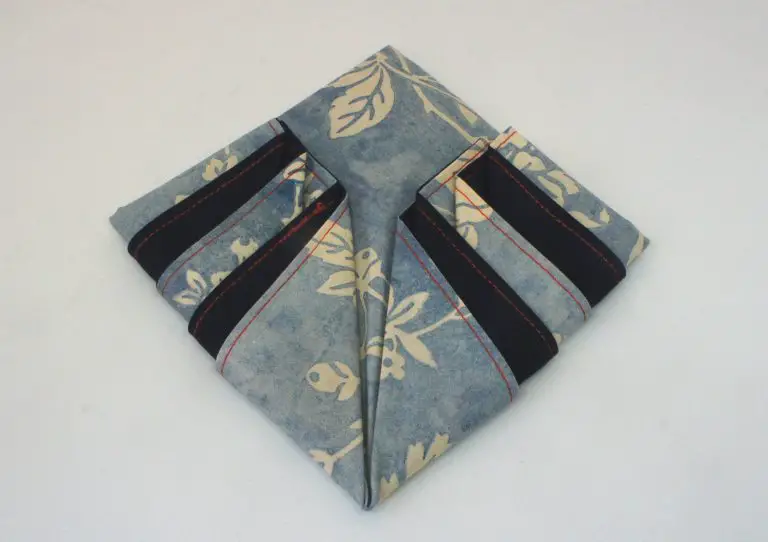
How to Make a Fabric corner Bookmark
Upcycle an old T-shirt into Fabulous Fabric Flowers
How to Make Seed Paper for use in Crafts
Please comment below and let me know about your pressed flower bookmark and other crafts or ask any questions you may have.
Remember to pin this on Pinterest so that you can find it later and you can follow me on there for lots of great ideas as Christine’s Crafts