
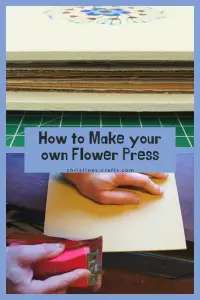
How to Make a Flower Press
As an Amazon Associate I earn from qualifying purchases
Why would you want a flower press? Flowers can look absolutely stunning but most of them are not around very long for you to enjoy. One way of keeping those flowers for longer is to press them. This basically flattens your flowers and removes the moisture so that you can keep them. You can press leaves to use in your various creations too.
You can then use your flower(s) for loads of crafts including cards and pictures. How about pressing some flowers from a special occasion or a wedding bouquet to create something special to remember that occasion by?
This is a step-by step tutorial to making your own flower press using mainly items you may have around the home and garage. I made mine during the coronavirus lockdown and improvised with most of the items used!
This page contains affiliate links meaning I earn a small commission if you use those links at no cost to you. I only recommend brands I use and trust.
You will need:
Sheet of wood or MDF (I used an old sheet of MDF that was 5mm (0.2″) thick)
Thick carboard (I used delivery boxes from various online retailers)
Paper (Kitchen paper towels or printer paper)
4 Bolts and wing nuts (I used M6 bolts that were 15cm (6″) long)
Washers for the bolts (optional)
Saw to cut your wood
Drill
Paint (optional)
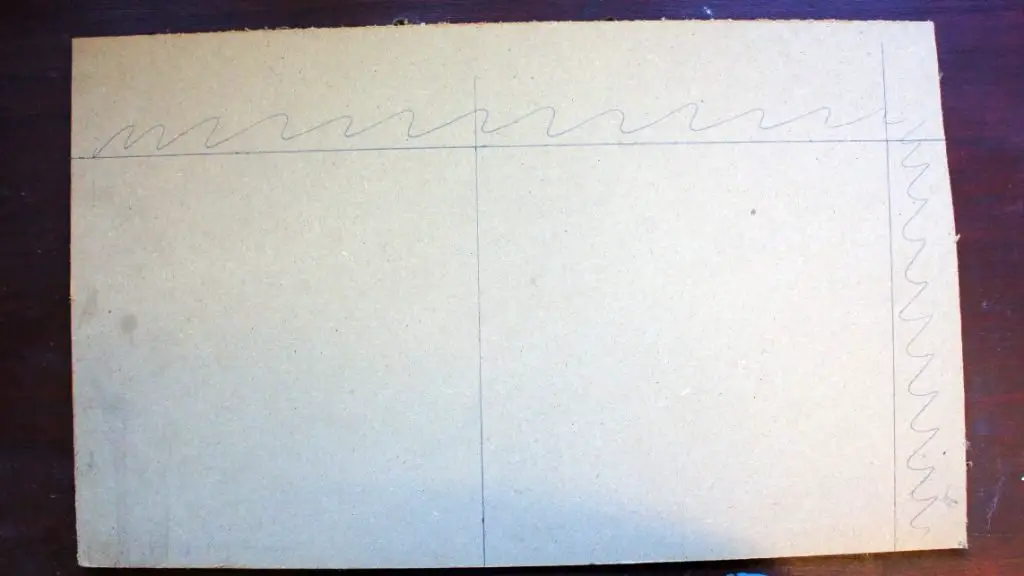
Step 1: Marking out your wood
Decide on the size of flower press you would like. Mine measures 25cm (10″) on each side. Mark your piece of wood with squares the size that you want your flower press. Note: if you go a lot bigger than this size without adding extra bolts you may struggle to press the flowers properly or even snap your wood.
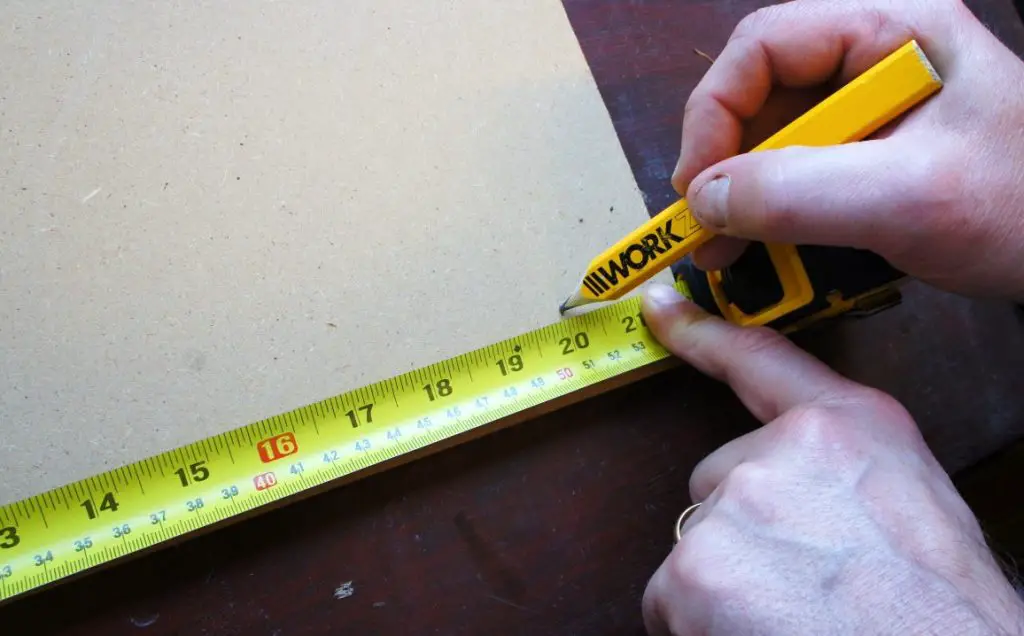
Make sure you are clear where your squares are and what you will be cutting.
Step 2: Cutting out your squares
Cut out your squares using your saw. Be careful and make sure your work area is ventilated and you are wearing a suitable dust mask.
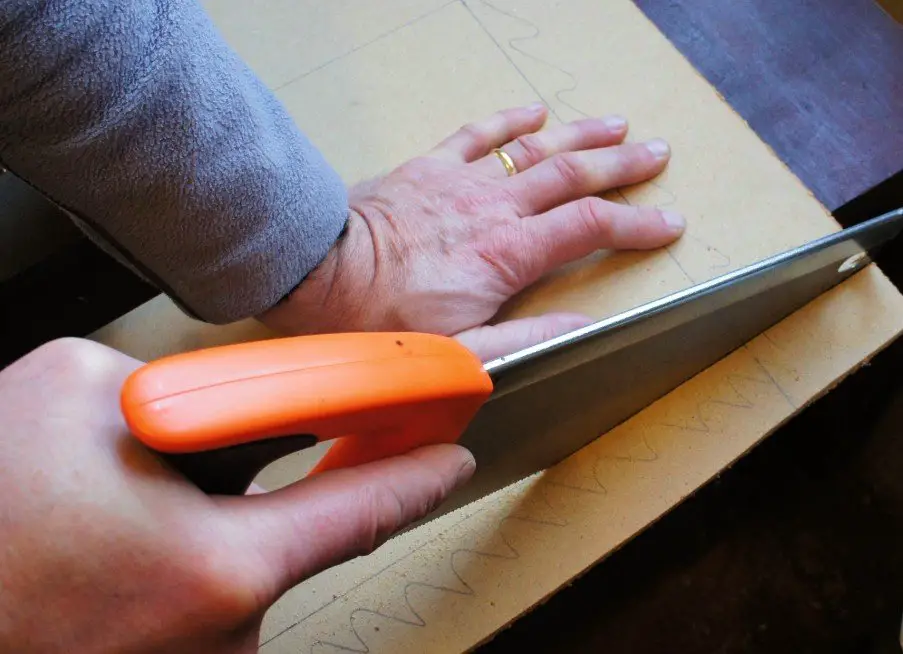
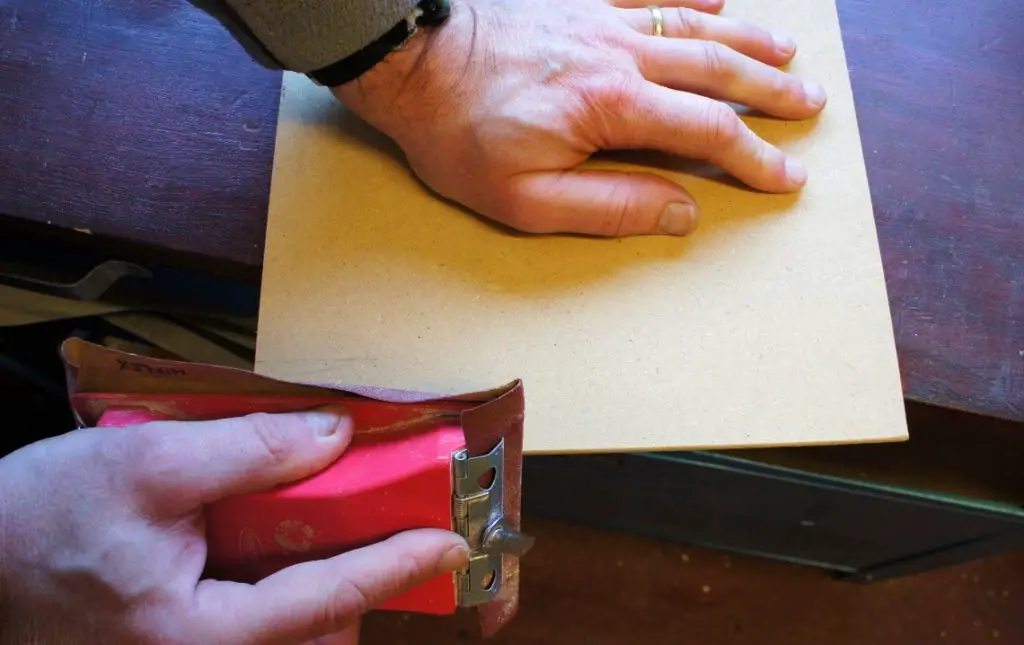
Once you have your squares make sure your edges are smooth by sanding them.
Step 3: Drill the holes
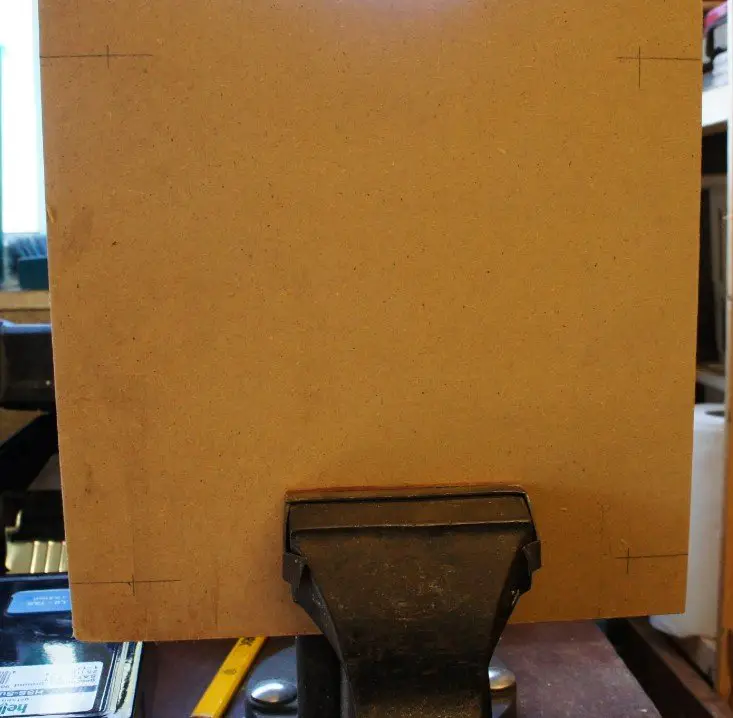
Clamp your two squares of wood together somehow. I used a bench vice but you could use any clamp you have.
Mark where you want your holes for your bolts to be. Mine are 2.5cm (1″) in from each side.
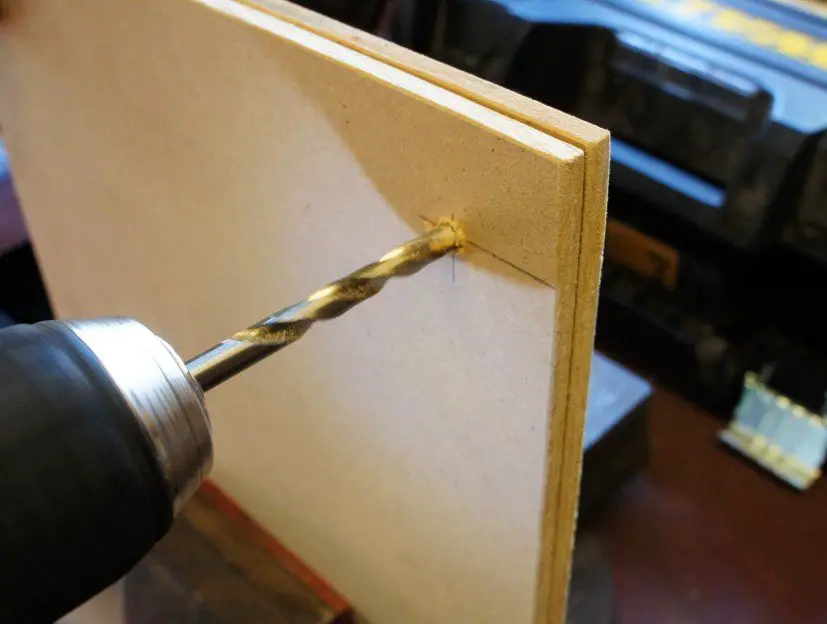
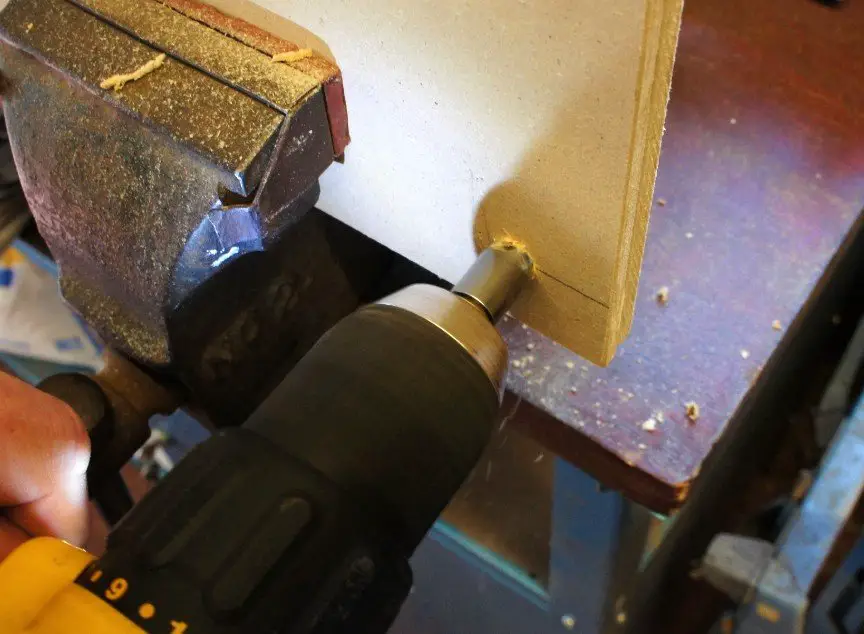
Carefully drill your holes. Now the holes you need are quite big so it is worth drilling a small hole first and increasing drill size until you get to the size you want.
What size do you want? You want a hole that the bolt fits through but does not have a lot of space to spare. They should be a good fit. Just keep trying the bolt in the holes as you increase the hole size.
Once you have all 4 holes you will need to tidy up the edges of the holes. If you have a countersink then use that but if not simply sand around the edges until they are smooth.
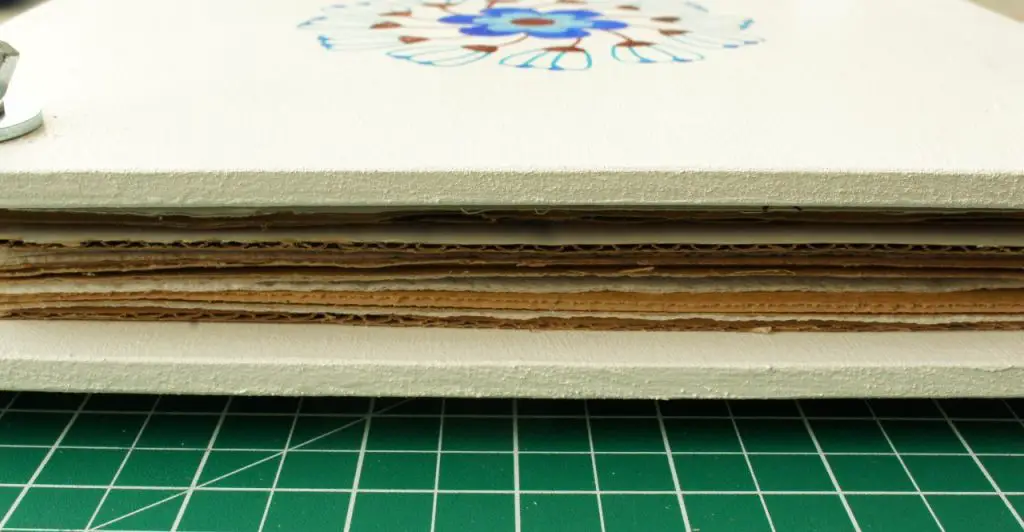
You now have the top and bottom of your flower press. You can use them as they are or you can paint them whatever colour you like.
TIP: If you paint them then your holes will end up slightly smaller and your bolts a tighter fit.
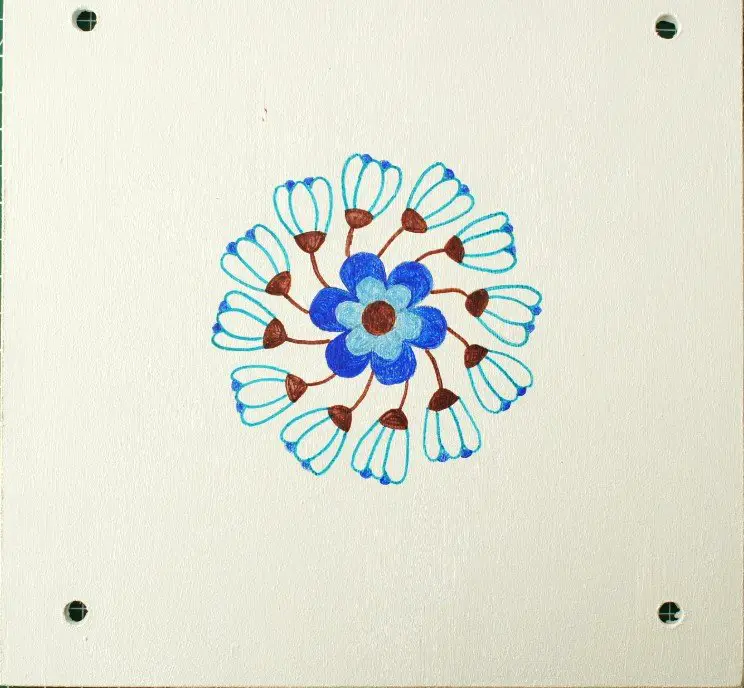
I painted mine white and then added a design to the top using Sharpies. I don’t know how well the design will last but it looks pretty now!
Step 4: Preparing the cardboard and paper layers
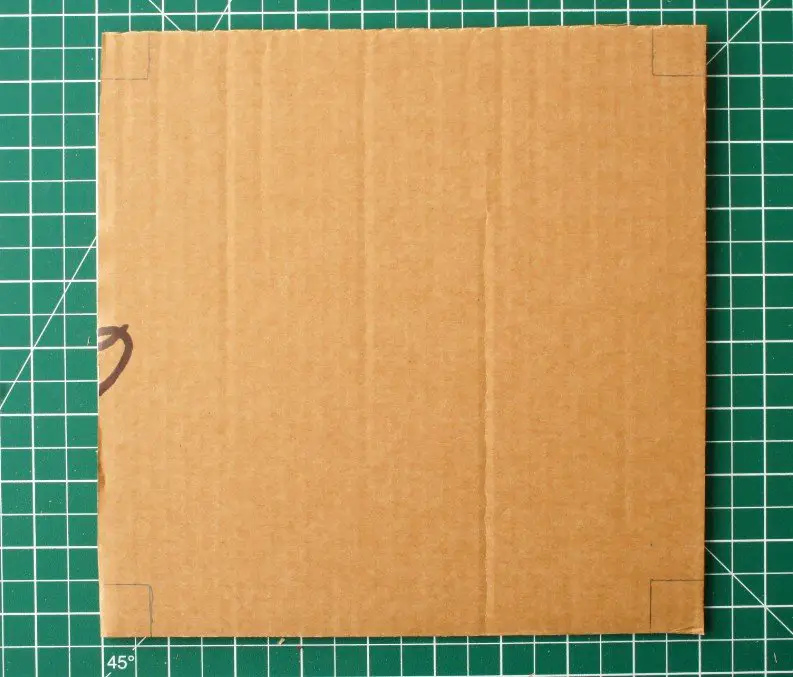
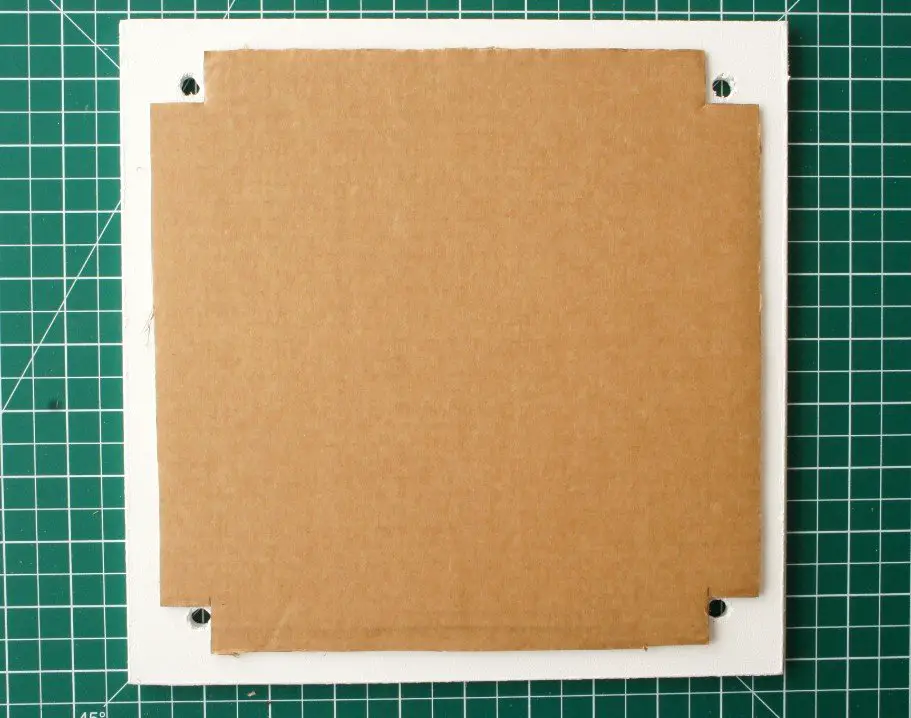
Cut layers of cardboard the right size to fit into your flower press. You can simply cut squares that fit within the bolts or cut them slightly larger and cut the corners out. This prevents them from moving about too much when you open the press.
How many you will need depends on how long your bolts are and how much you want to press at any one time. I have cut out 20 cardboard sheets.
I cut cardboard squares that were 23cm (9″) and removed 1.5cm (0.5″) squares from each corner
Then repeat this process for your paper layers. If your paper is already small enough to fit then you do not need to cut the corners out.
Step 5: Building your flower press
You are now ready to build your flower press and start pressing those flowers and leaves.
Feed the bolts through the bottom square and place it on a flat surface. Place a layer of cardboard onto the bottom square of wood.
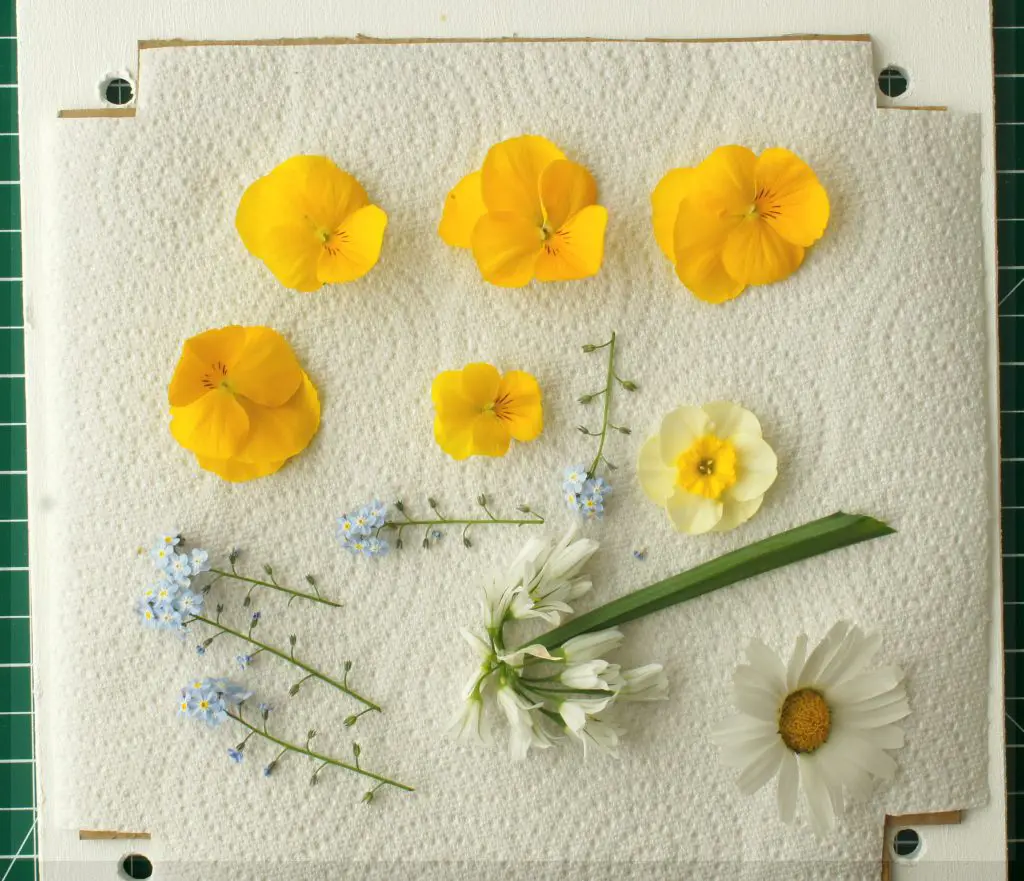
Add a layer of paper and some flowers or leaves.
Add another layer of paper and then another layer of cardboard. Then continue layering up with flowers always between 2 sheets of paper until you are finished.
Then add the top and fasten the wing nuts until everything is sandwiched really tightly. I used washers so that the wing nuts do not dig into the top of the flower press. Do not worry if you do not have them.
Pressing Flowers
This is a video showing you how to press flowers in the flower press that you have just made. If you find watching someone do a task easier then take a look.
Flower Pressing Tips
- Make sure your flowers or leaves are at their best. You want bright fresh petals or leaves.
- Cut flowers from the garden in a morning once any dew has dried off them.
- If your flowers are thick cut them in half
- Decide whether you want a stem or not on your flower.
- Sometimes it is easier to press petals only rather than the whole flower.
- Place them face down on the paper and ensure the petals are smoothed out and not folded over at all.
- Select various flowers and have a go. You will find the ones that work best for you.
Summary
Flower pressing is a great way of saving special blooms perhaps from a wedding bouquet or a birthday gift. If you have your own flower press then you are always ready to press them with very little effort.
Once you have your pressed flowers there are lots of crafts you can use them for. I will be showing you some soon so come back for a look.
If you enjoy crafting take a look at some of my other tutorials:
Fabulous Fabric Flowers from an old t-shirt
Autumn/ Fall Leaves made from Felt
Remember to pin this tutorial on Pinterest so that you can find it later and follow me on there as Christine’s Crafts for more great inspiration.
I have always wanted to learn how to flower press! Thanks for the detailed tutorial!
I love this idea and your tutorial. Thank you for sharing <3
I have been wanting to press some of my favorite flowers. Thank you!
Good luck and enjoy making beautiful things with them.
I’ve wanted to do more of this and find a better way of doing it, thanks for sharing!
Awesome post, good to know. Thanks so much for linking up with me at my #UnlimitedMonthlyLinkParty 14, open until July 26. All party entries shared if social media buttons installed.
CONGRATS! Your post is FEATURED at my #UnlimitedMonthlyLinkParty 15, open until August 26.
That’s great, thanks!
Christine, I need to make one of these! Can you identify the flowers in your top photo for me? The first ones look like the flower I picked in a field in England years ago and pressed in my London A to Z book (by sitting on it as we drove along!).
I am so pleased that this is bringing back memories. The bright yellow flowers are violas that I grow in the garden. The tiny blue ones are forget-me-knots. the other yellow one is a daffodil and the white ‘bells’ are wild garlic flowers. I hope that helps you identify them all.