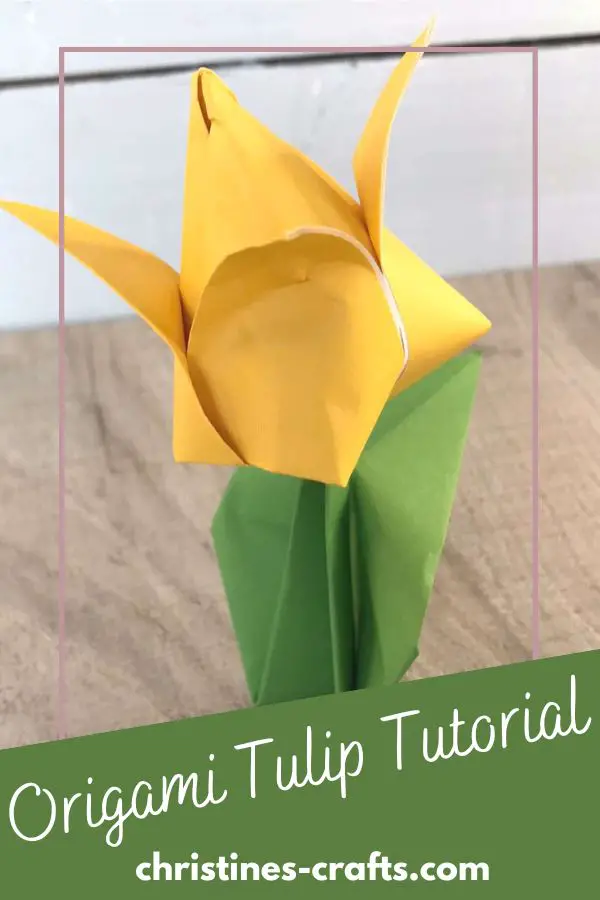
How to Easily and Quickly Fold a Cute 3D Origami Tulip
As an Amazon Associate I earn from qualifying purchases
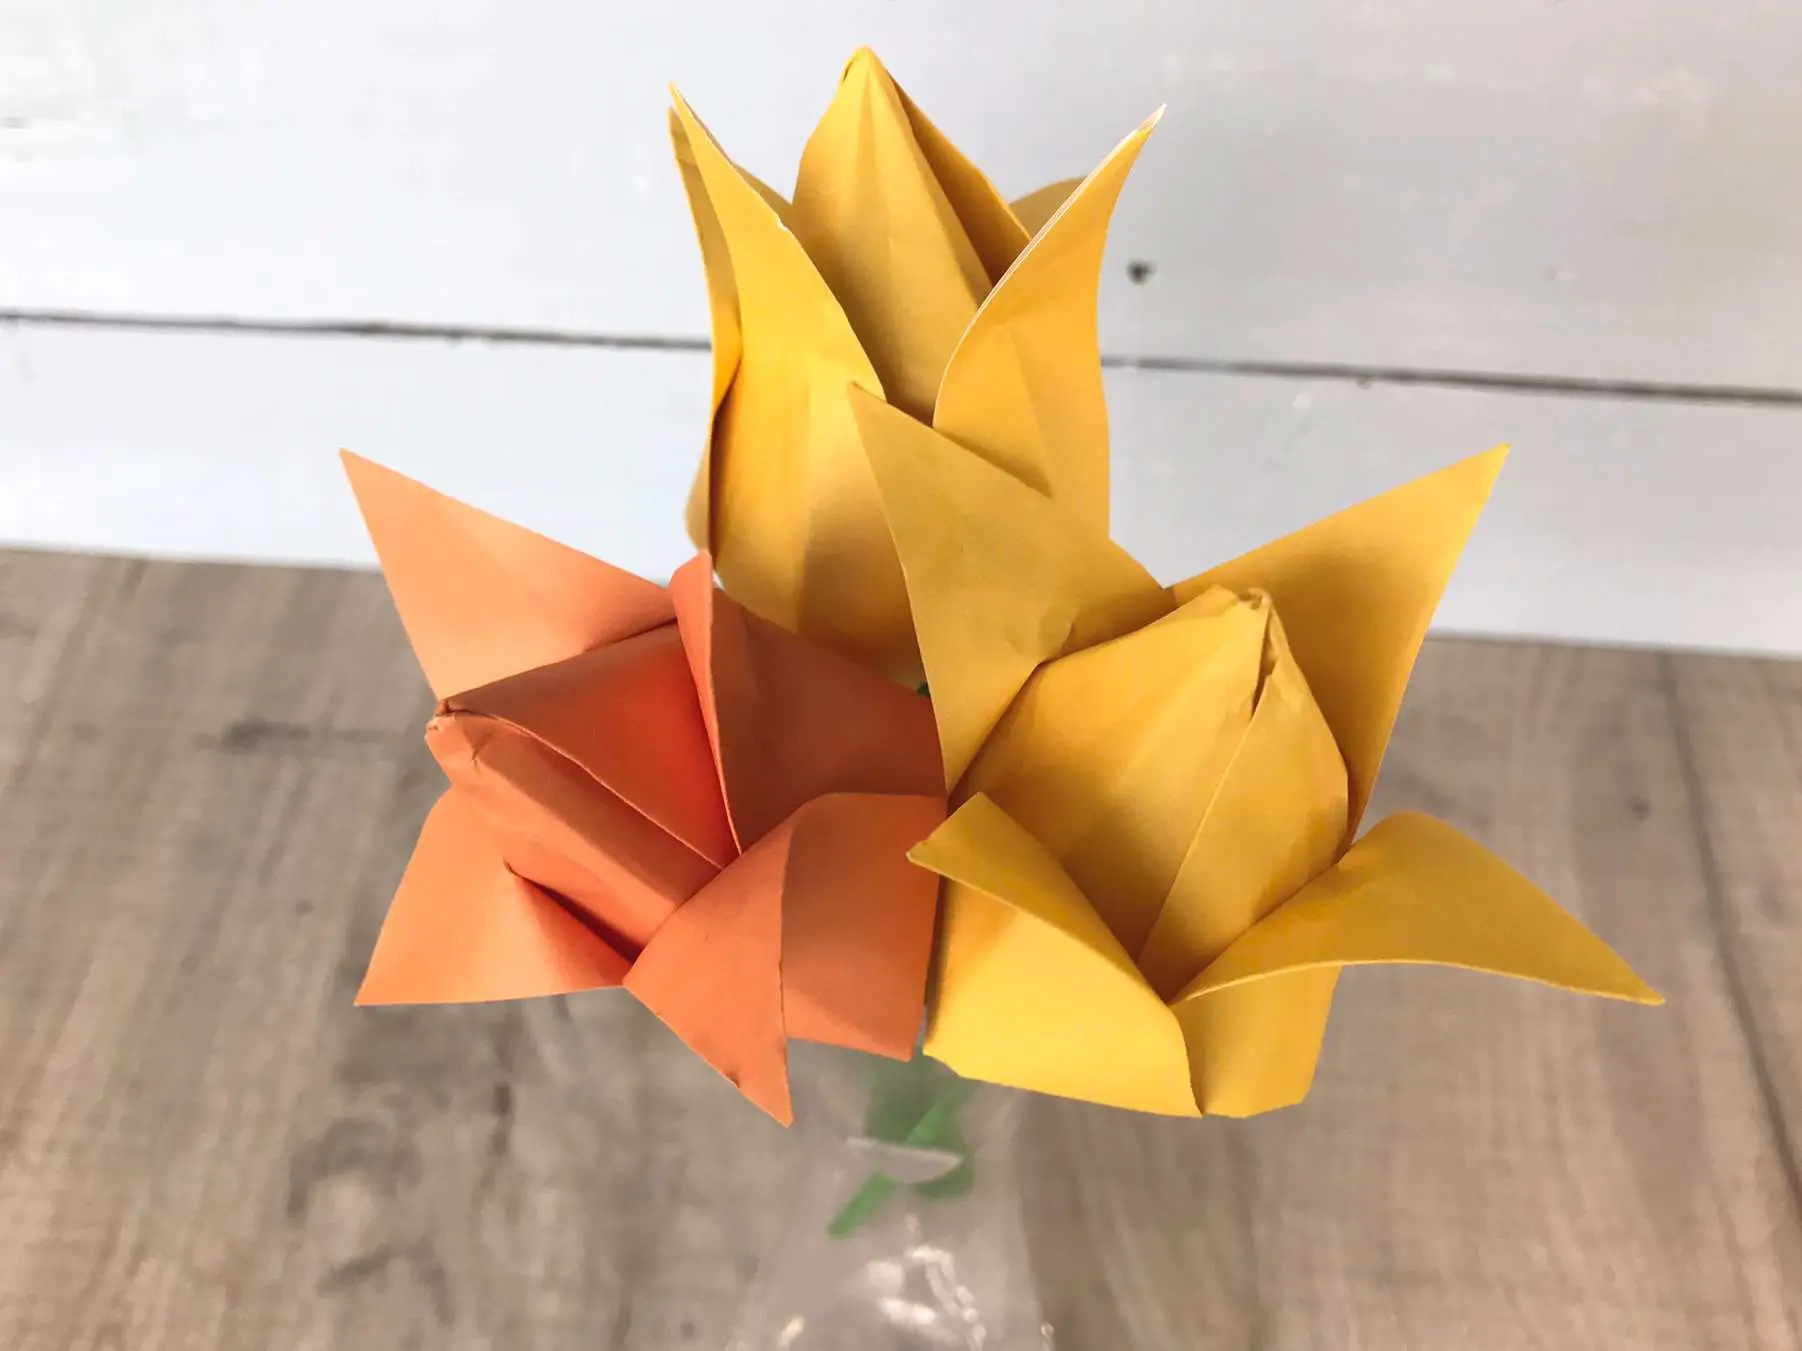
How would you like to make an Origami tulip flower? Wouldn’t it be great if that was a 3D flower? Well, in this tutorial you will see step by step instructions to make your own Origami tulip flower and stem in minutes.
Whether you have done Origami before or not you will be able to make these Origami tulips and enjoy the spring feel they bring to your environment. You can just make one and enjoy that but a bunch of them look lovely in a vase.
You can make them out of any paper you like (use up those leftover scraps) but obviously Origami paper is ideal.
This page contains affiliate links meaning I earn a little commission if you use those links at no cost to you. I only recommend brands I use and trust.
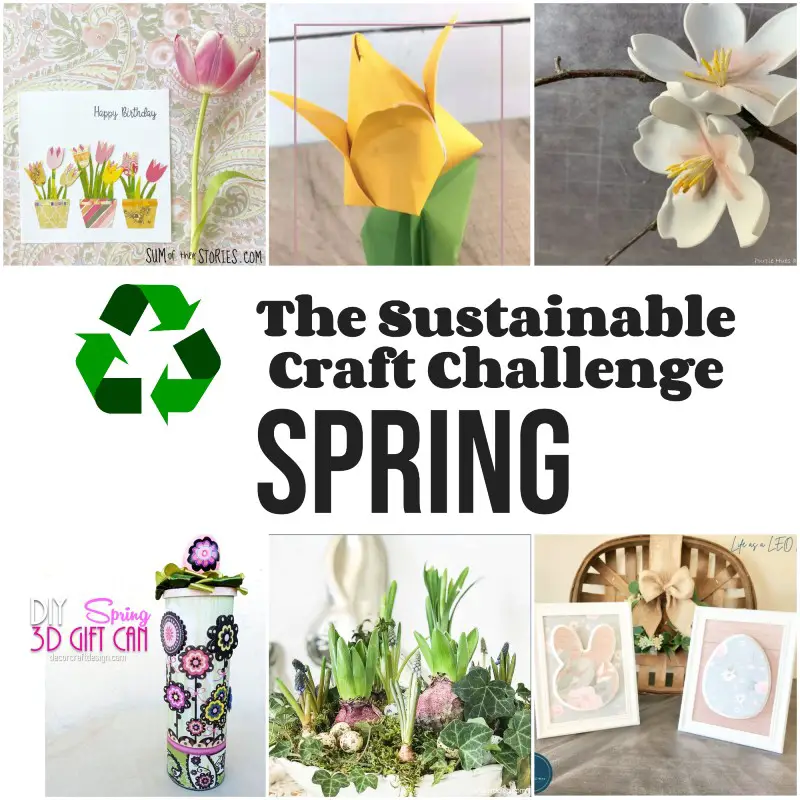
This tutorial is part of the monthly Sustainable Craft Challenge and I am joined by so many talented crafters from all around the world to bring you some great inexpensive sustainable craft ideas. This month’s theme is ‘Spring’ and at the end of this tutorial you will see links to them all so take a look.
You will need:
- Square of paper (I used 6″ by 6″ and the tulip flower is 2.5″ tall)
- Stem (make one from green paper or use a small stick, craft stick, etc)

General Origami Tips
- Ensure all folds are accurate
- Press all folds firmly
- Running your fingernail along a crease makes it a sharp crease
- Upon completion press under a book if not sitting flat
- Ensure your paper is the same way round as mine at every step
- If you want to learn some basic origami folds take a look at The Beginner’s Guide to Origami
Make a Water Bomb Base
It may sound a strange thing to do but this is the Origami term for the first step in making your tulip flower.
Fold your square of paper in half from one corner to the other. Open it back up and fold the other 2 corners together. Open it back up again and you should have a cross on your paper. If your paper is coloured on one side then have the coloured side down onto the table.
Turn your paper over so that the back of the folds face up (coloured side). Now fold your square in half again but taking one edge to the other so that the resulting shape is a rectangle. Open it back up again.
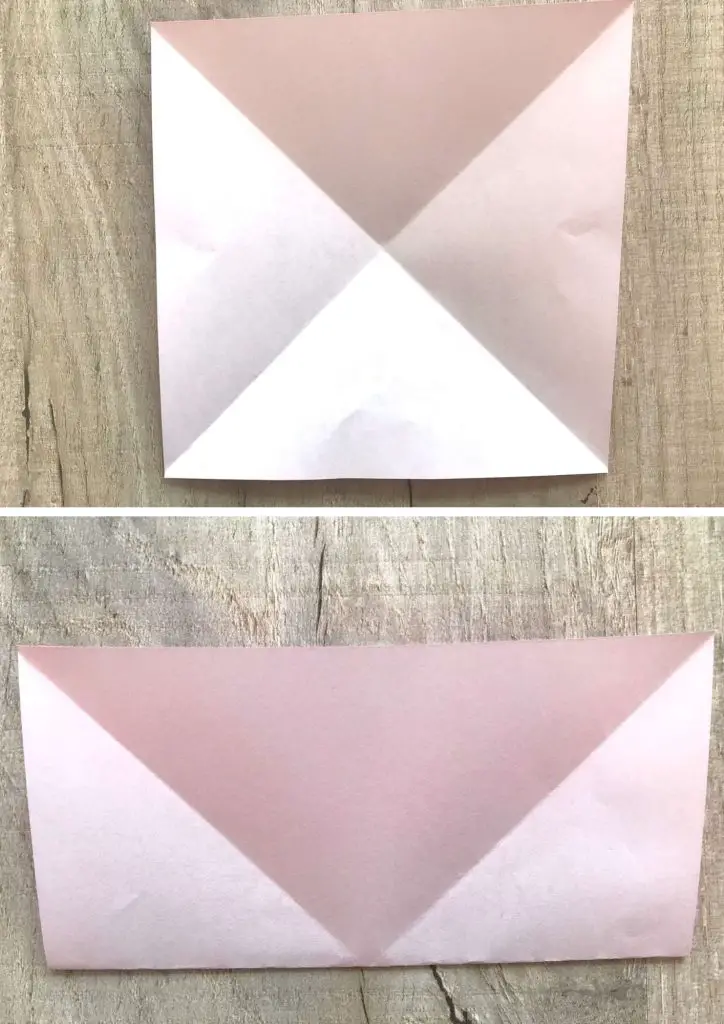
Turn your square over. The fold you just made will make the sides of the square want to fold inwards. Encourage them and use your first diagonal folds to form a triangle. Hopefully the pictures will help you with this.
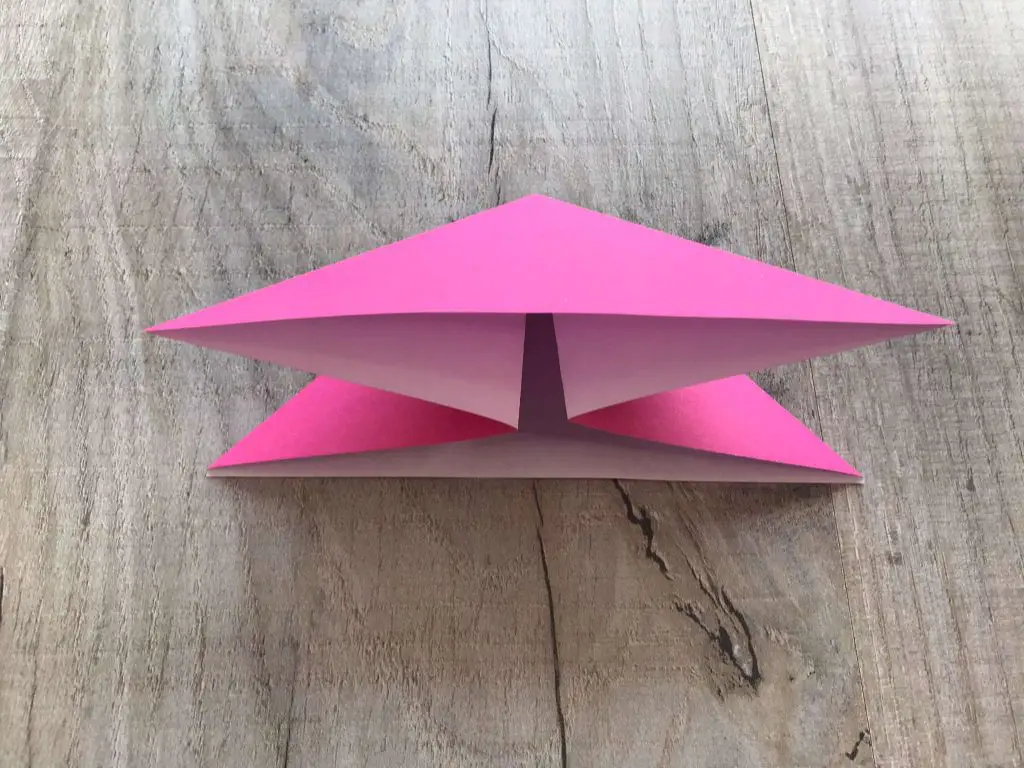
Fold the Tulip Flower
Place your ‘water bomb base’ on the table so that the point is away from you. Fold the right front point up to the top point. Repeat with the left front point.
Turn the paper over and repeat for the remaining two points so that your paper looks like this.
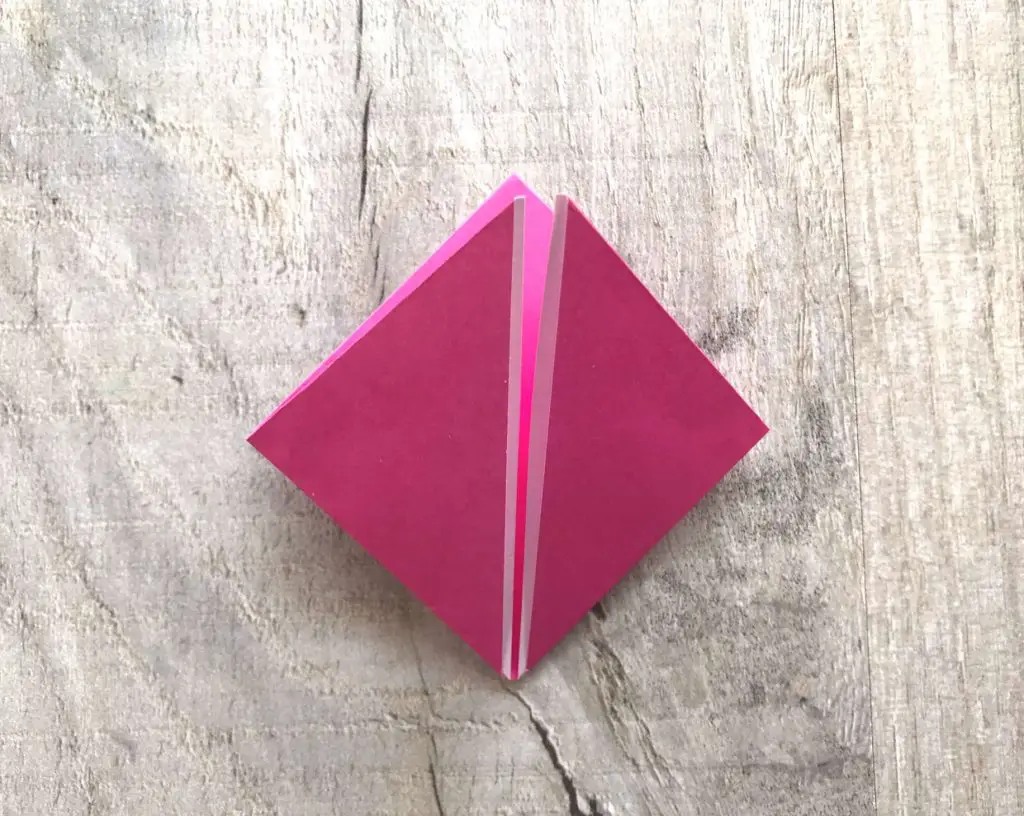
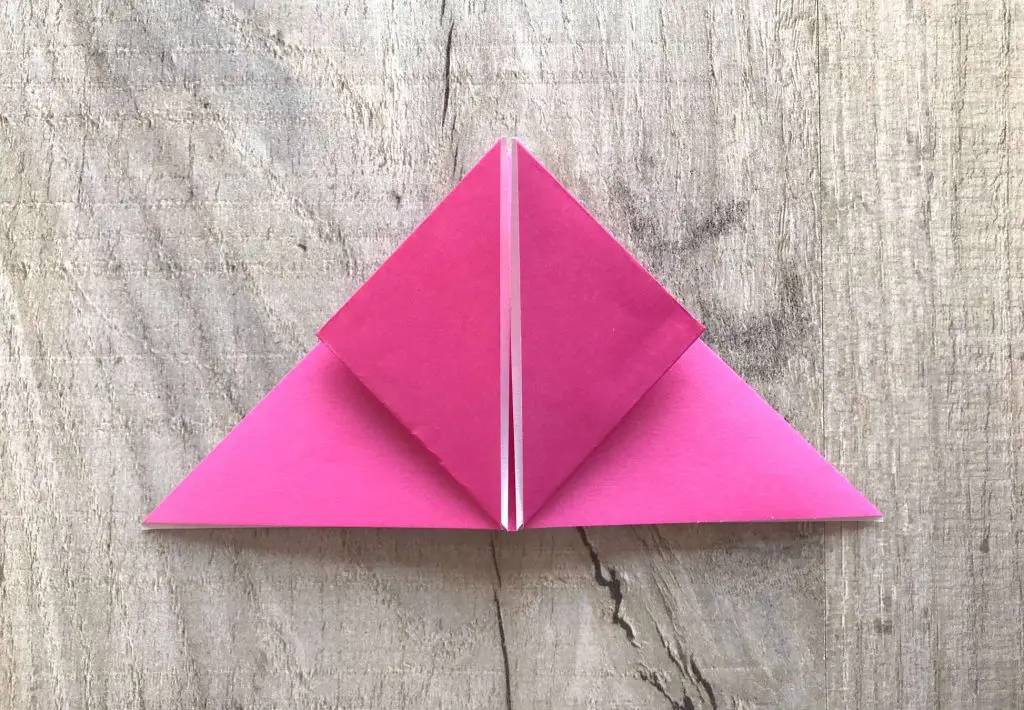
Now take the right front point (only the front (or top) one) and fold it over to the left hand side.
Turn the whole thing over and repeat. This step is important or you will not be able to form your petals.
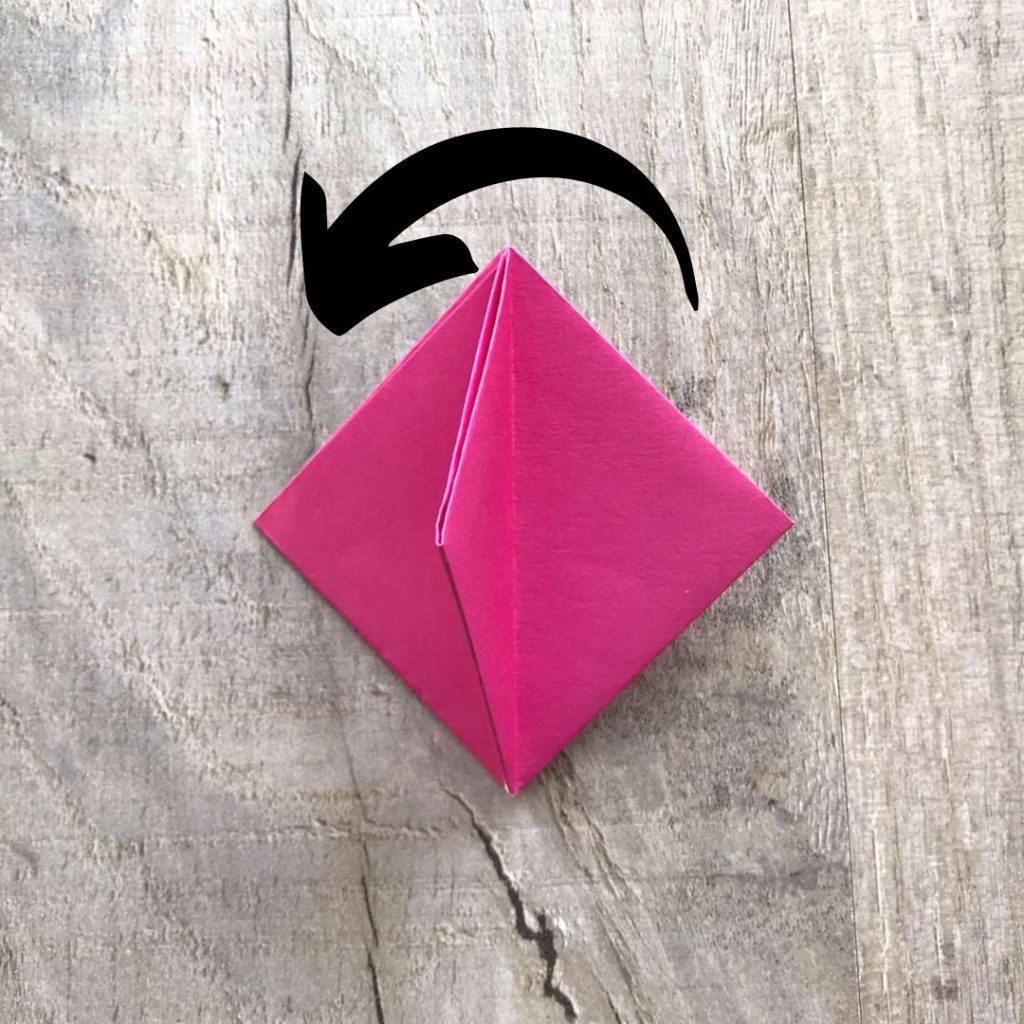
Working only with the front layers you need to fold the two points in and insert the right point into the left flap. Then press these down flat. Make sure that the point is inserted as far as you can.
Turn the whole thing over and repeat so that it looks like this.
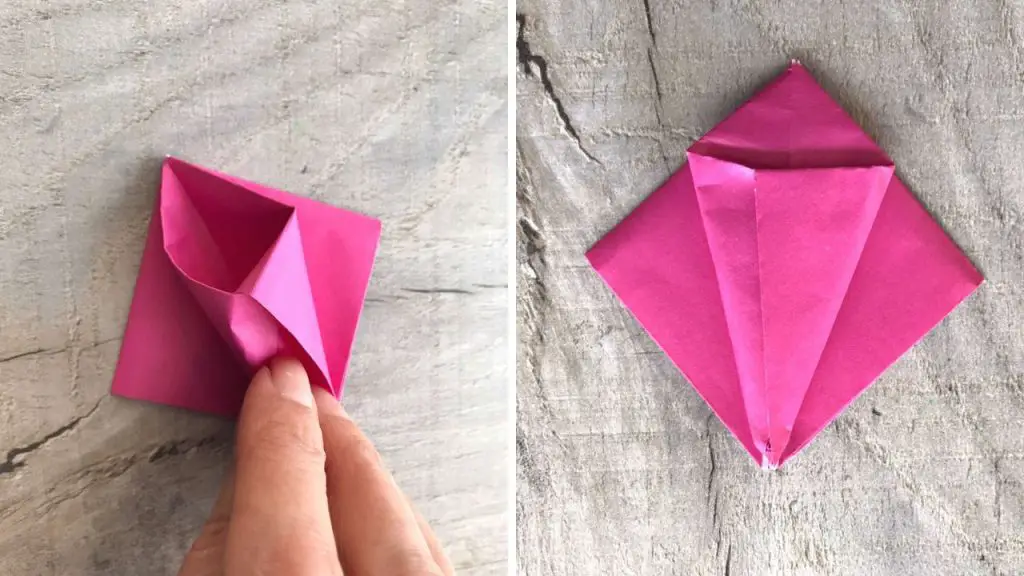
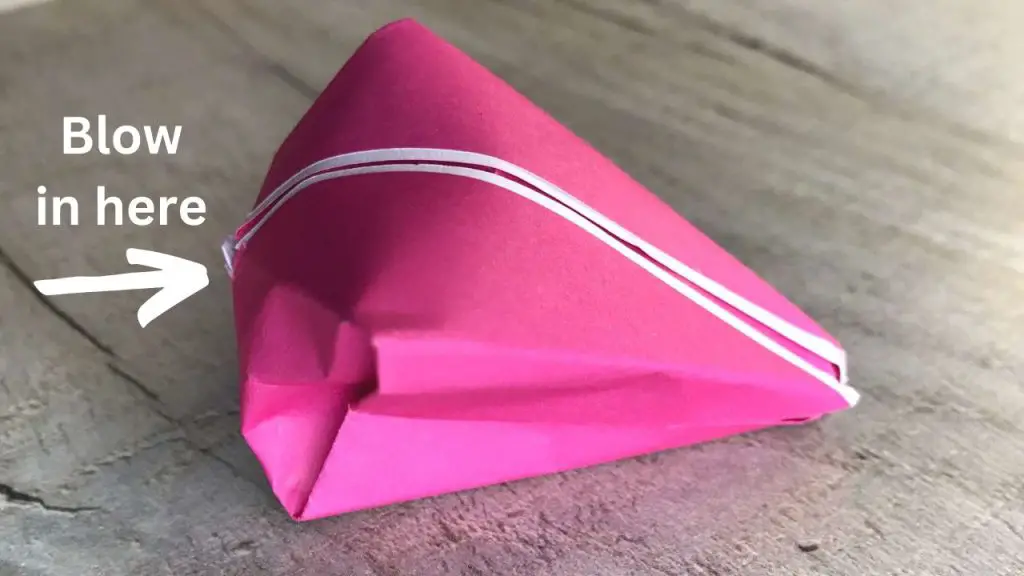
Now, we come to the only tricky part. Pick up your paper shape by the long pointed end and open the flaps out a little so that they are all at 90 degrees to each other.
Then blow into the small hole in the bottom of the shape so that the shape inflates. If you have a lot of trouble getting the tulip to inflate you can try wiggling your flaps a bit or widening the hole slightly (I do mean slightly as you do not want a huge hole). I often end up widening the hole a little with a pin.
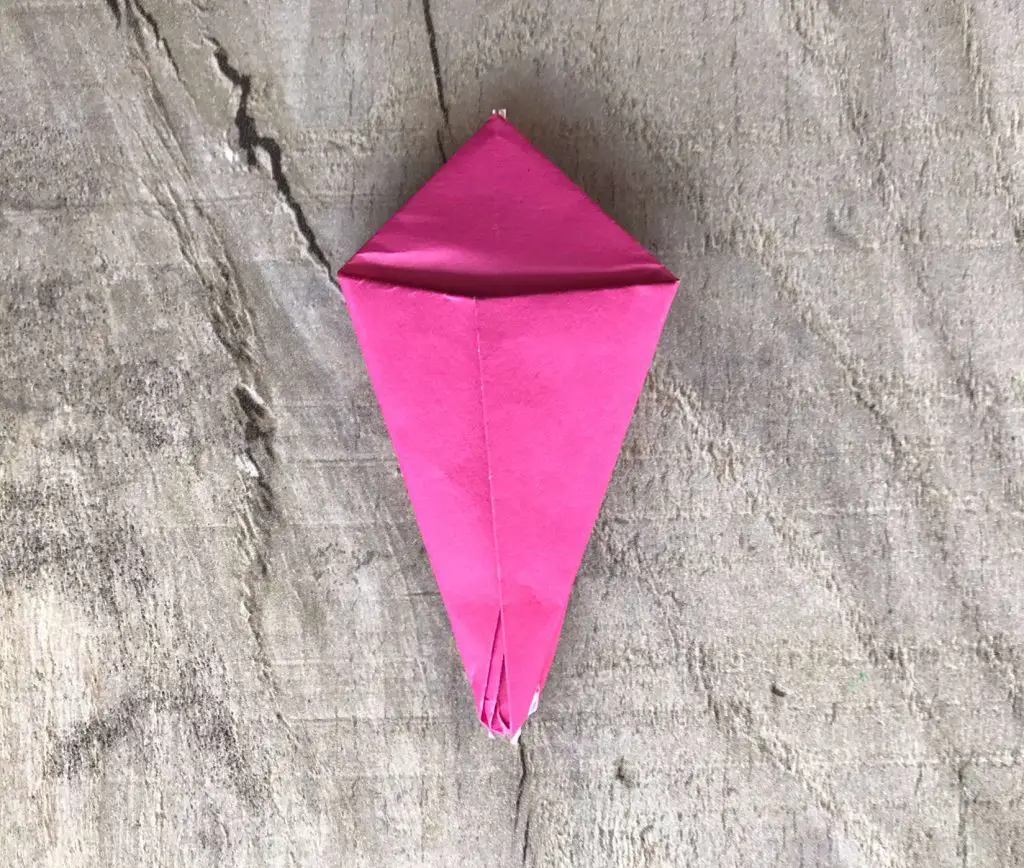
All that is left to do is to carefully peel back the four petals. Take care so that you do not rip your paper or untuck the work you did earlier. How far you peel them back is up to you.
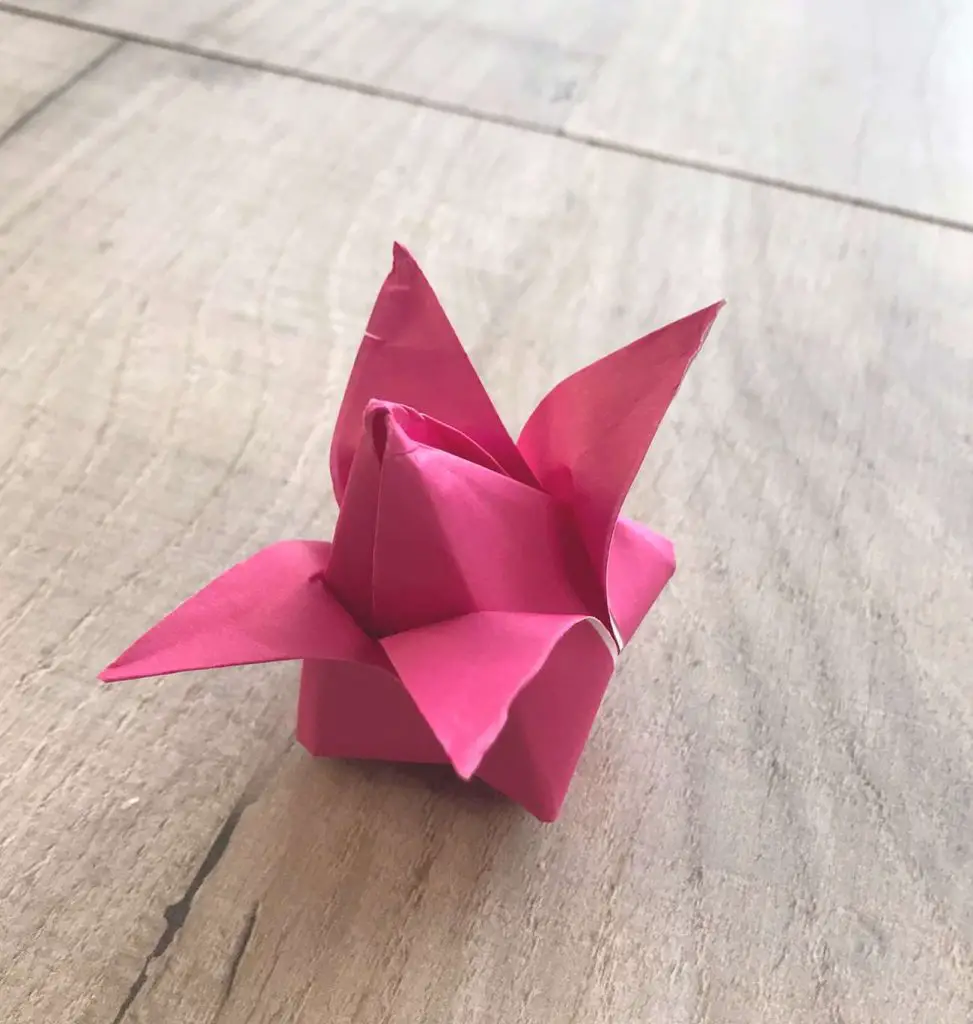
Congratulations you have completed your first Origami tulip flower! Now you just need a stem for it. You can use anything you like. Small garden twigs can work well as can craft sticks. If you would like an Origami stem then take a look at the Origami Stem tutorial.
Spring Craft Challenge Links
For more fabulous sustainable craft tutorials on the the theme of ‘Spring’ take a look at:
- Tulip Collage Greeting Cards
- Everlasting Spring Blossoms DIY
- DIY Spring 3D Gift Can
- Natural Spring Decor (that is perfect for Easter)
- Farmhouse Style Framed Bunny & Easter Egg
Give them a visit and see what great Spring items you could make today!
For more Origami
If you have enjoyed making an Origami tulip and would like to do more Origami then check out some of my other Origami tutorials:
- Cute but simple Origami Rose
- Origami Butterfly in 3 minutes
- Origami Lotus Flower
- 5 Pointed Star
- Heart Corner Bookmark
- Book Page Rose (not strictly Origami!)


As someone who has just had to put an old bunch of tulip stems on the compost heap as they’d gone over, the idea of an everlasting bunch is really appealing to me! I love a bit of simple origami and this doesn’t look too difficult at all.
I agree that they are not too difficult and they will certainly last. Good luck with yours!
These are so cute! I made paper flowers for my wedding, and everyone loved them. Now I can add another type of flower to my skill set! They’re perfect for spring. Pinned!
So glad you love them. They are perfect for spring!